
Block Printed Plant Pot Cover
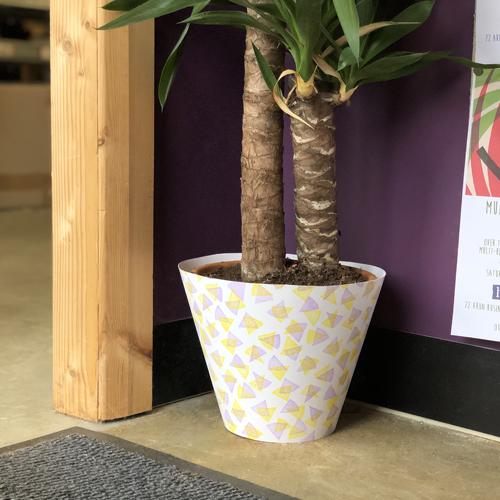
This is a really quick, easy and inexpensive way to change the look of your indoor potted plants. Create a streamlined paper cover printed with your own design. Read on for full instructions or scroll to the bottom for a video of the whole process.
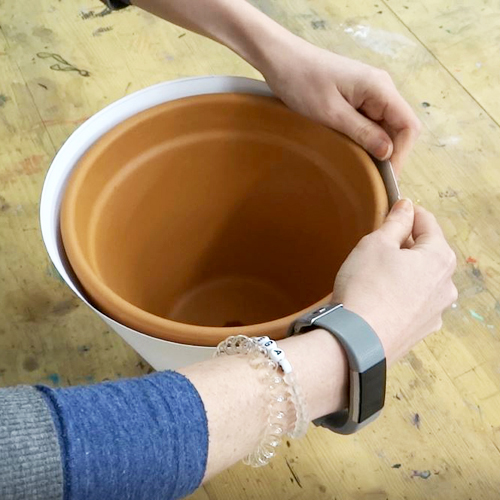
You will need a large piece of stiff paper or card. This will need to be large enough to roll the plant pot along in one full revolution. We are using a piece of A1 Snowdon.
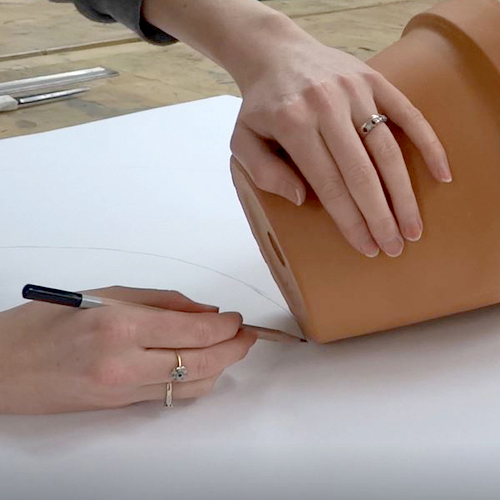
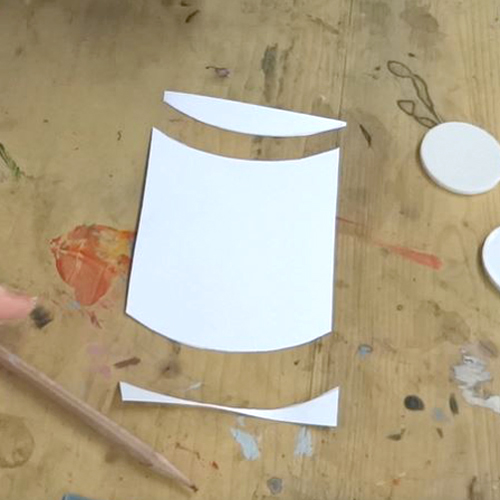
Mark the plant pot with a line at the top. Draw a line (or stick a piece of tape) straight down the length of the pot and draw another mark at the bottom. Starting with the marked edges to the paper, trace the curved path of the pot as it rolls along the paper.
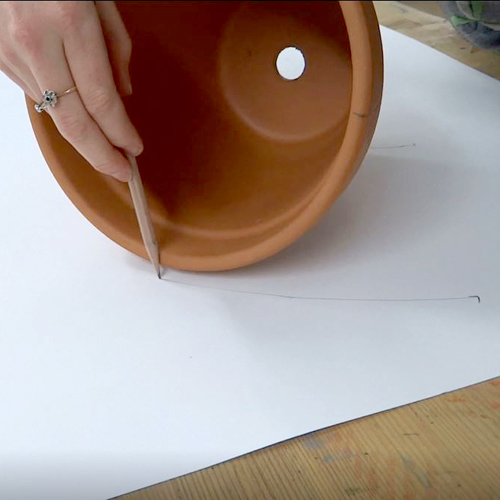
Trace both the path of the top edge and the bottom edge each time you turn the pot a little.
When the marked edge makes contact with the paper again, mark the paper at the top and bottom matching the marks on the pot. Continue to trace the path onto the paper for a few centimetres to create an overlap for the paper cover.
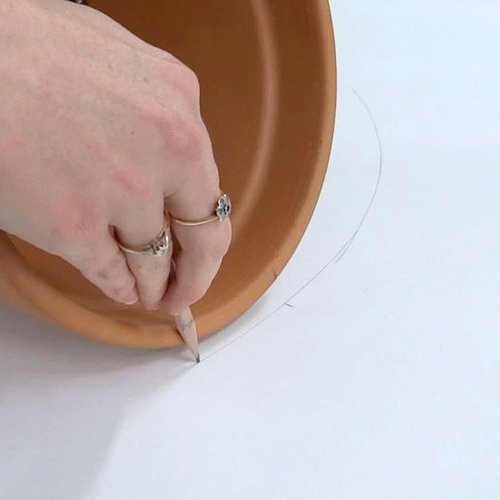
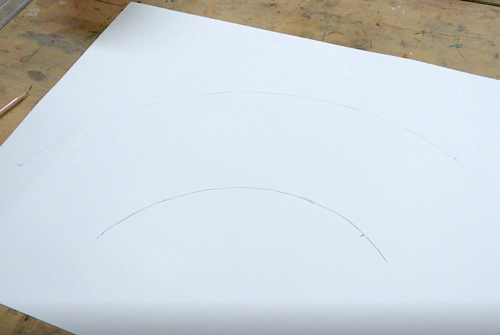
Use a ruler to join the marks on the top and bottom lines at both ends of the shape. Cut out the paper, leaving a little extra at one end for the overlap.
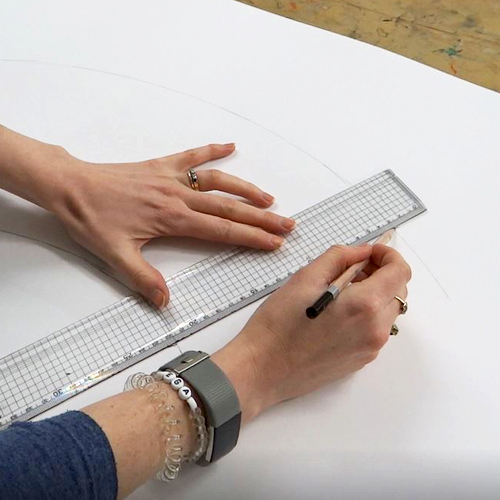
Check your paper cover by wrapping it around the pot.
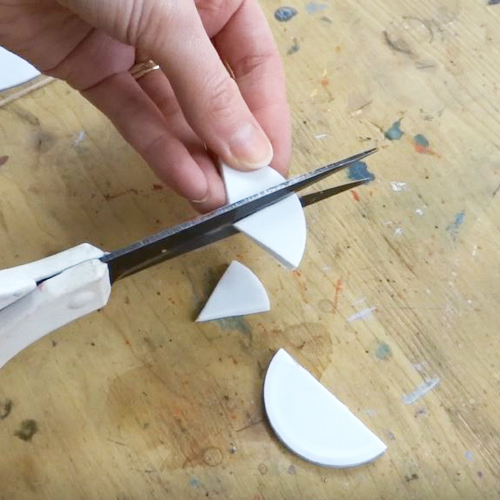
Create your stamping block using an acrylic stamp block. Mastercut printing stamps are self-adhesive and so can be stuck onto the block and used immediately. Sticky foam could also be used. Make sure to stick to one material per stamping block as the height of the raised areas must be consistent.
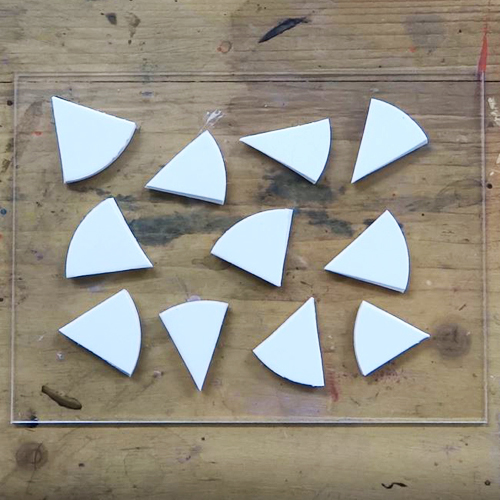
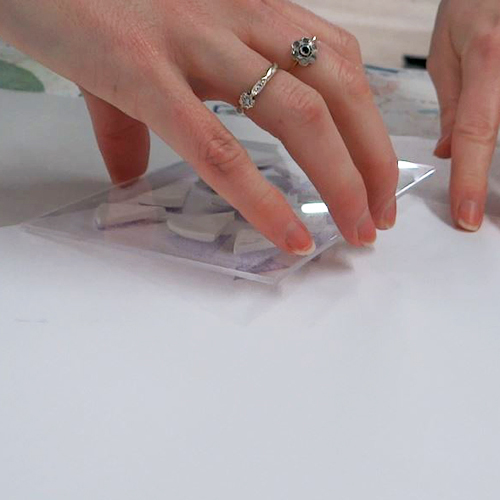
Mastercut blocks can be cut using a scalpel or with scissors. We are cutting each circle into six wedge shapes. We will use these to create a scattered repeat pattern.
In order to make our pattern repeat but not leave obvious grid lines between prints, it can be helpful to create a shaped paper template. Begin with a paper rectangle the same size as the acrylic block. Cut a curve off one edge, move it over to the other side and trace it. Cut off the other side so they both have the same curve.
Repeat this process on the top and bottom of the paper.
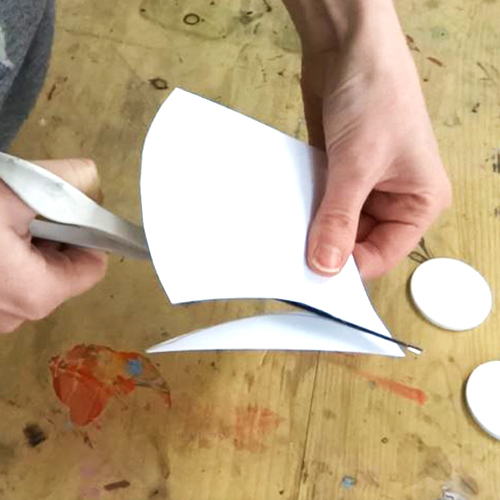
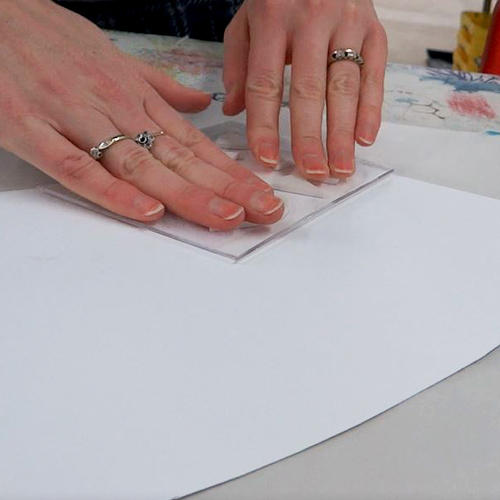
Place the paper underneath the block. This gives us an area to fill with pattern that we know will fit together well, giving an even scatter pattern without large gaps or crowding whilst also disguising the grid of the repeat.
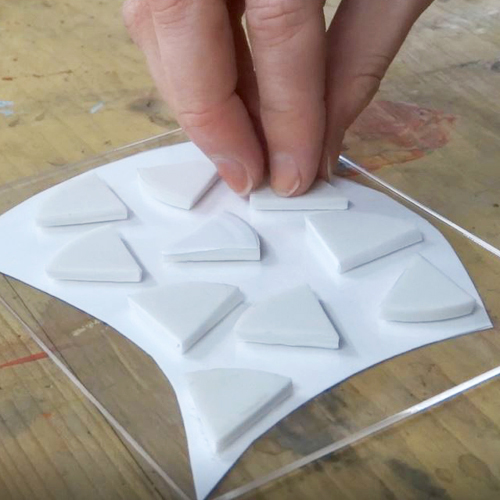
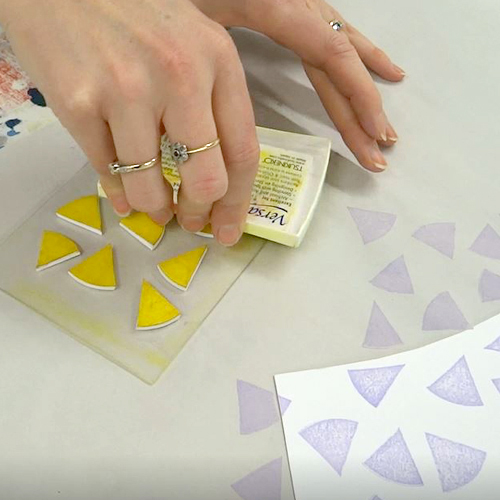
Peel the paper backs from the shapes and stick them to the block.
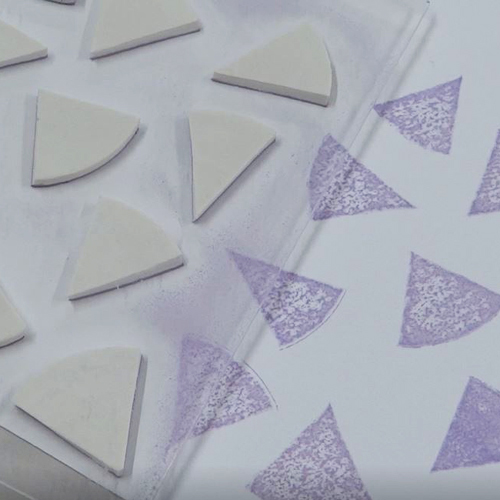
Place the block face up and, using a Versacraft Ink Pad face down, pat the stamp block to cover all of the raised areas with ink.

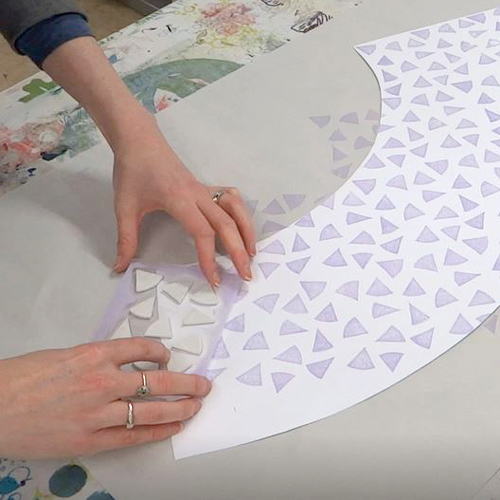
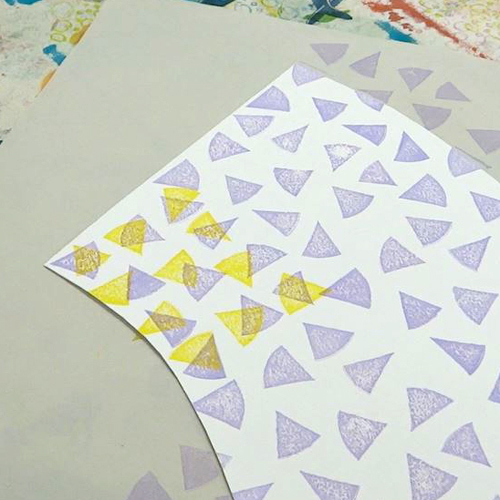
Press the block face down on the paper. A slightly padded surface can help ensure the prints are even. We have placed our paper on top of a sheet of newsprint so that we can print over the edges.
The transparent block will enable you to see where each print is being laid down in relation to the prints around it.
Continue to build the repeat pattern until the whole template is covered.
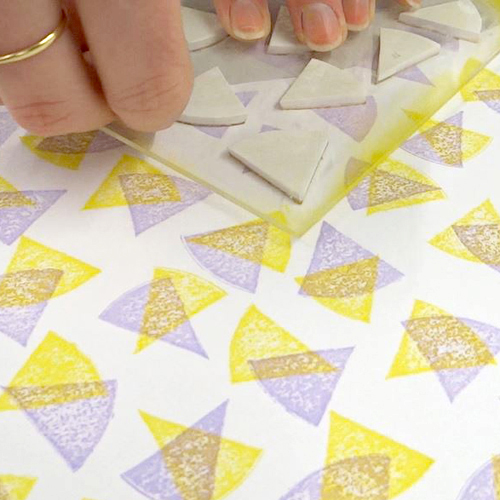
To print another colour, gently wipe the ink from the block, being careful not to detach the Mastercut. Ink up the block with the new colour.
We have flipped our block upside down in order to shift the pattern whilst maintaining a regular repeat that will print evenly.
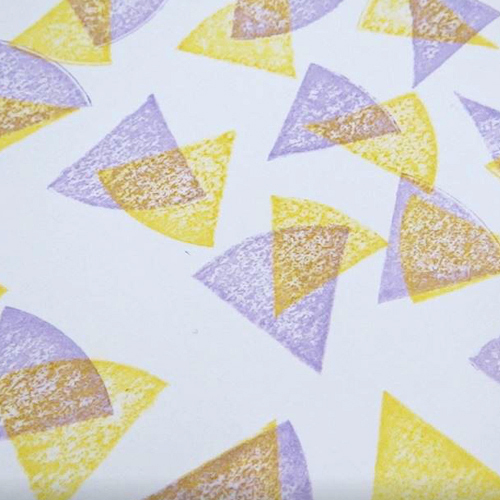
The lemon yellow and wisteria coloured inks overlay to create ochre as a third colour.
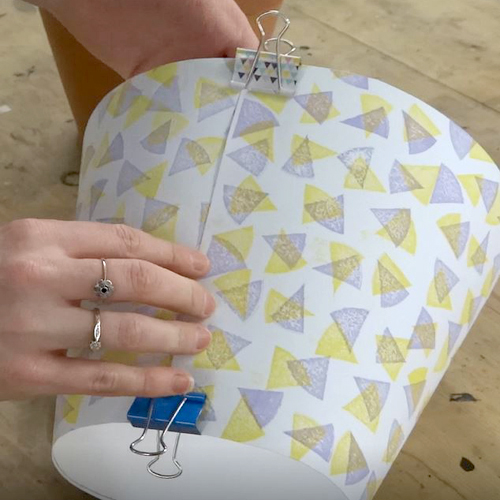
When the ink is dry, wrap the paper around the plant pot and mark where it overlaps. Take the paper off the pot and use tape to secure the two pieces together on the inside. Glue the two pieces together on the outside of the pot cover.
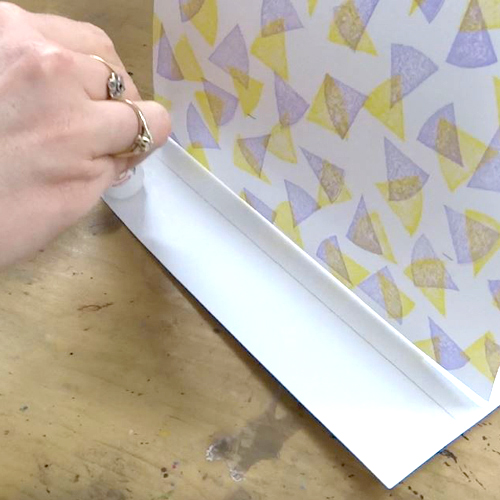
Sure the ends together with clips until the glue dries.

For this project you will need:
– plant pot to cover
– large piece of stiff paper or thin card
– pencil
– ruler
– scissors
– Acrylic Stamp Block
– Mastercut Printing Stamps
– Versacraft Ink Pads
– masking tape and/or glue stick
– bulldog clips or paperclips