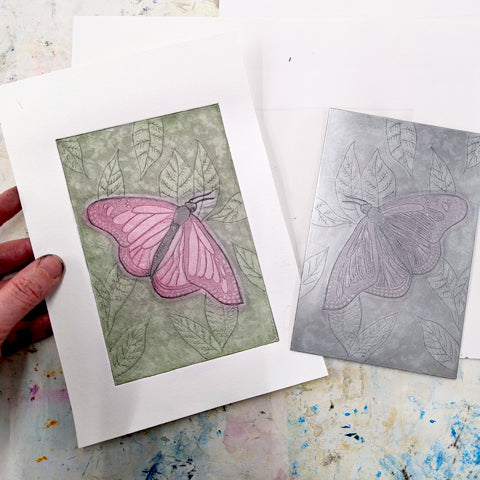
Inking Methods for Etching

Once you've made an etching plate, you may be ready to print an edition - or you might want to proof it to decide on further edits. Taking a print is the only way you’ll be able to see how your plate is progressing.
This blog is part of a series featuring tips and techniques to get you started with aluminium or zinc plate etching. This post will demonstrate two different ways to ink your plate and achieve different colourful effects in your prints.
Inking Method: Single Colour
Before you start inking up, it’s a good idea to roughly set the pressure of your press first, as well as prepare some paper. See our previous blog on how to do this. Now it’s time to get inky! We're using an etched plate from our previous blog. First, make sure the plate is clean and free of any dust or leftover resists.
Squeeze out a small amount of ink onto glass and use a palette knife to loosen it up. We’re using Caligo Safe Wash Etching Inks by Cranfield. We find they are easy to use and clean up quickly with just a bit of soap and water. As it was cold in the studio, we also added a little bit of Safe Wash Oil to make our ink slightly runnier.

Using a piece of mountboard, scrape the ink across the surface of the plate in one direction. Then rotate the plate 90 degrees and scrape the ink across the alternative way. Ensure all of the plate gets a coating. Then use the piece of mountboard to scrape away any excess ink from the surface, and back on to your glass plate.

When the plate is thoroughly coated, use some scrim to work the ink into the plate. Hold your scrim in a bunched wad, but ensuring the outside is smooth with no folds or kinks. With a circular twisting motion, push the ink into all the little etched marks.

When that piece of scrim is sodden with ink, re-adjust your scrim bundle so that you are using a cleaner part of scrim. Keep twisting away at the ink and repeating these steps until you've removed most of the ink from the plate surface.

Next, polish the plate with some tissue paper or newspaper. Try to do this part with flat contact, and a flat palm – don’t bunch up the material. Be careful not to over-polish - if you polish too much, you might remove too much ink which would result in a pale print or a loss of marks.

Our plate is ready to be printed. The plate looks dark due to ink sitting in the grain of the metal, and the plate appears paler where the resists where. We’re using an aluminium plate, which will never get fully clean or provide bright whites.
Using soaked and blotted Snowdon paper, we took a print using our etching press and blankets. And here is our final image!

Inking Method: À La Poupée
The À La Poupée inking method allows you to use more than one colour to ink up your plate. À La Poupée roughly translates to 'with a dolly'. Using a several smaller wads of scrim that are tightly wound (known as a 'dolly') you can ink up small individual areas with different colours.

To make a dolly, gather a small piece of scrim into a wad like we explained earlier, and tightly wind some thread around the outside. Tie off the thread so that the wad stays tight and gathered.
Create as many dollies as you need, to the sizes required for your image. By using less or more scrim, you can create dollies of smaller or larger sizes. Smaller areas of colour will need smaller dollies, and larger areas of colour will need larger dollies. We recommend making two dollies of the same size, for each colour or area you are inking up.

For this demonstration, we're using the same plate with Akua Intaglio Inks. Gather the colours needed for your print, and use a palette knife to decant some ink onto a glass plate. We've gone for black, red and green.

Using the previous inking method explained earlier in this blog, coat your plate with a neutral base of black ink. This provides the colour for your line work. Polish off the surface well, so that the next colours aren't mixed in with the first colour.

Using a dolly for each colour, ink up the individual areas of your image. Use a twisting action to push a generous amount of ink into the grain of the plate. We found it easiest to apply our colours from the centre out - so red first for the wings and then green for the background.

Once the colour has been applied, remove the excess ink by using a fresh clean dolly for each colour. This needs to be done carefully to avoid over polishing and colour mixing. Slight blending of colours will be inevitable, but by going carefully and slowly, you'll minimise this effect. A final light polish with tissue paper is all you need.


The plate is ready to be printed. Using soaked and blotted Snowdon paper, we took a print using our etching press and blankets. And here is our final image!

To ink your plate, you will need:
- Intaglio ink such as Caligo Safe Wash Etching Ink or Akua Intaglio Ink
- Mountboard or Thick Card for scraping ink
- Scrim
- Tissue Paper or Newspaper
- Glass Plate or Inking Tray
- Palette Knife
