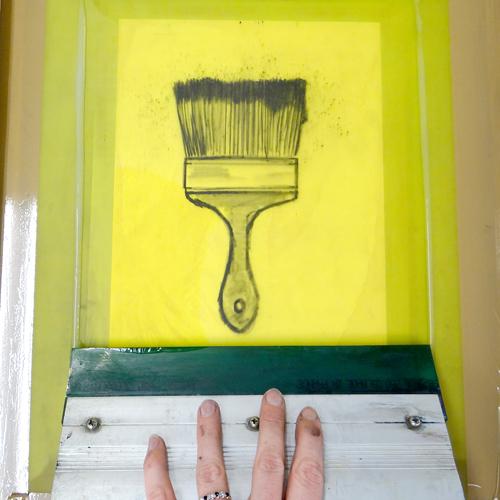
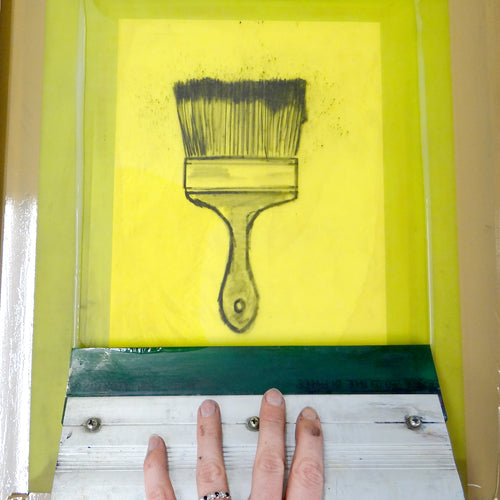
Screen Printing a Graphite Drawing

When we think of screen printed artwork we tend to see bold areas of bright colour and graphic lines but there are lots of different styles that can be achieved. By using graphite directly onto the mesh of a screen we can create loose, printed sketches that can be used for layering or as prints in their own right.
This technique requires limited equipment. We’re using a screen attached to a board using hinge clamps to make printing and registration easier. We’re using a 90T screen with an exposed aperture but a taped aperture would be just as good.

You can trace drawings through the translucent mesh. Place your drawing underneath the screen.

Use a graphite stick to draw directly onto the mesh. Use lots of graphite and goo back and forth over your lines.

You can also use a soft pencil like a 6B or 8B. Make sure the point is not too sharp or it could damage the mesh.

Use your nail to scatter flecks of graphite onto the mesh.


The drawing can be printed through with Acrylic Screen Printing Medium. Scoop an ink well along the top of your screen. Place a piece of paper underneath your screen.

Use a squeegee to pull the ink down the screen and force the graphite through to the paper.


Your graphite drawing can be printed through several times using the acrylic medium and will become paler each time. When you’re finished, wash your screen with cold water.

To print your own graphite drawing you will need:
- 90T Screen
- Hinge clamps and board or table
- Squeegee
- Parcel Tape
- System 3 Acrylic Printing Medium
- Spatula or spoon
- Paper to print on
- Graphite stick
- Soft pencil
