
Transferring an Image onto Lino
This week we wanted to test a technique for transferring an image onto lino using a printed image and an iron. It worked surprisingly well and was very quick and easy. Here’s how we did it:
![]()
Your image needs to be printed either through a laser printer or a photocopier (inkjet printers will not work). If you are working from a drawing, scan it into the computer and print it out. It needs to be full black.
![]()
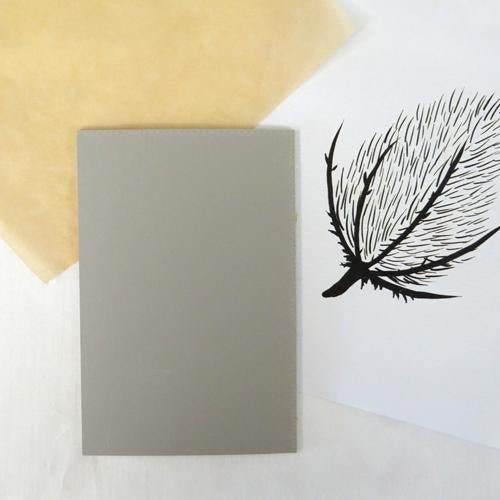
Place your printed image face down onto the lino. Your paper needs to be larger than the lino block.
![]()
Place baking parchment over the top. This will protect the lino and paper from becoming too hot and make it easier to slide the iron without moving the image.
![]()
Iron over the top of the paper for a few minutes. Hold the paper and lino still with one hand. We used the iron on its hottest setting for about three minutes. You can carefully peel up the paper in one corner to check its progress.
![]()
![]()
We tested this technique on a few of our other printmaking materials but the traditional lino was definitely the most successful:
Softcut lino – the image turned yellow before it turned black. The black can be removed with nail varnish remover but the yellow stain stays behind. The softcut also warped a little in the heat! In retrospect perhaps it would have been better to turn the iron down a little…
Mastercut – the image turned yellow and then the Mastercut started to warp before the image could be properly transferred.
Japanese ply – the image transferred beautifully but then the layers of ply began to separate (!) The think this would work better on a solid piece of wood.
You can watch a video of the transfer here:
or click here to see the video full size.