
Woodcut Postcards
A simple step by step to printing postcards using Japanese Ply and Caligo Safe Wash Relief Inks.
You will need:
- Soft Drawing Pencil – we used a 6B
- Paper
- 110mm x 160mm Japanese Ply
- Blank Postcard
- Powergrip Woodcut tools
- Sandpaper
- Brush
- Inking plate or Inking tray
- Roller
- Caligo Safe Wash Relief Ink
- Bamboo Baren
Draw your design using the pencil onto thin paper (photocopy weight works well)

Place your image facing down onto the Japanese Ply and rub the back of the image with a pencil. Do not press too hard as you do not want to cause indentations in the Ply.

Carefully lift the paper away and you should be able to see your image faintly printed onto the Ply. This method is great for lettering as it reverses it.

Go over the faint image in pencil – again do not press too hard as you do not want your pencil marks to indent the Ply as this will make it difficult to print.

Cut away the outside edge of the image using a small U gouge. Remember to always cut away from yourself, keep your hand that is not holding the cutting tool behind the blade at all times. You could also use a hand guard or a bench hook.

Clear the remaining Ply that you do not wish to print using a larger U.

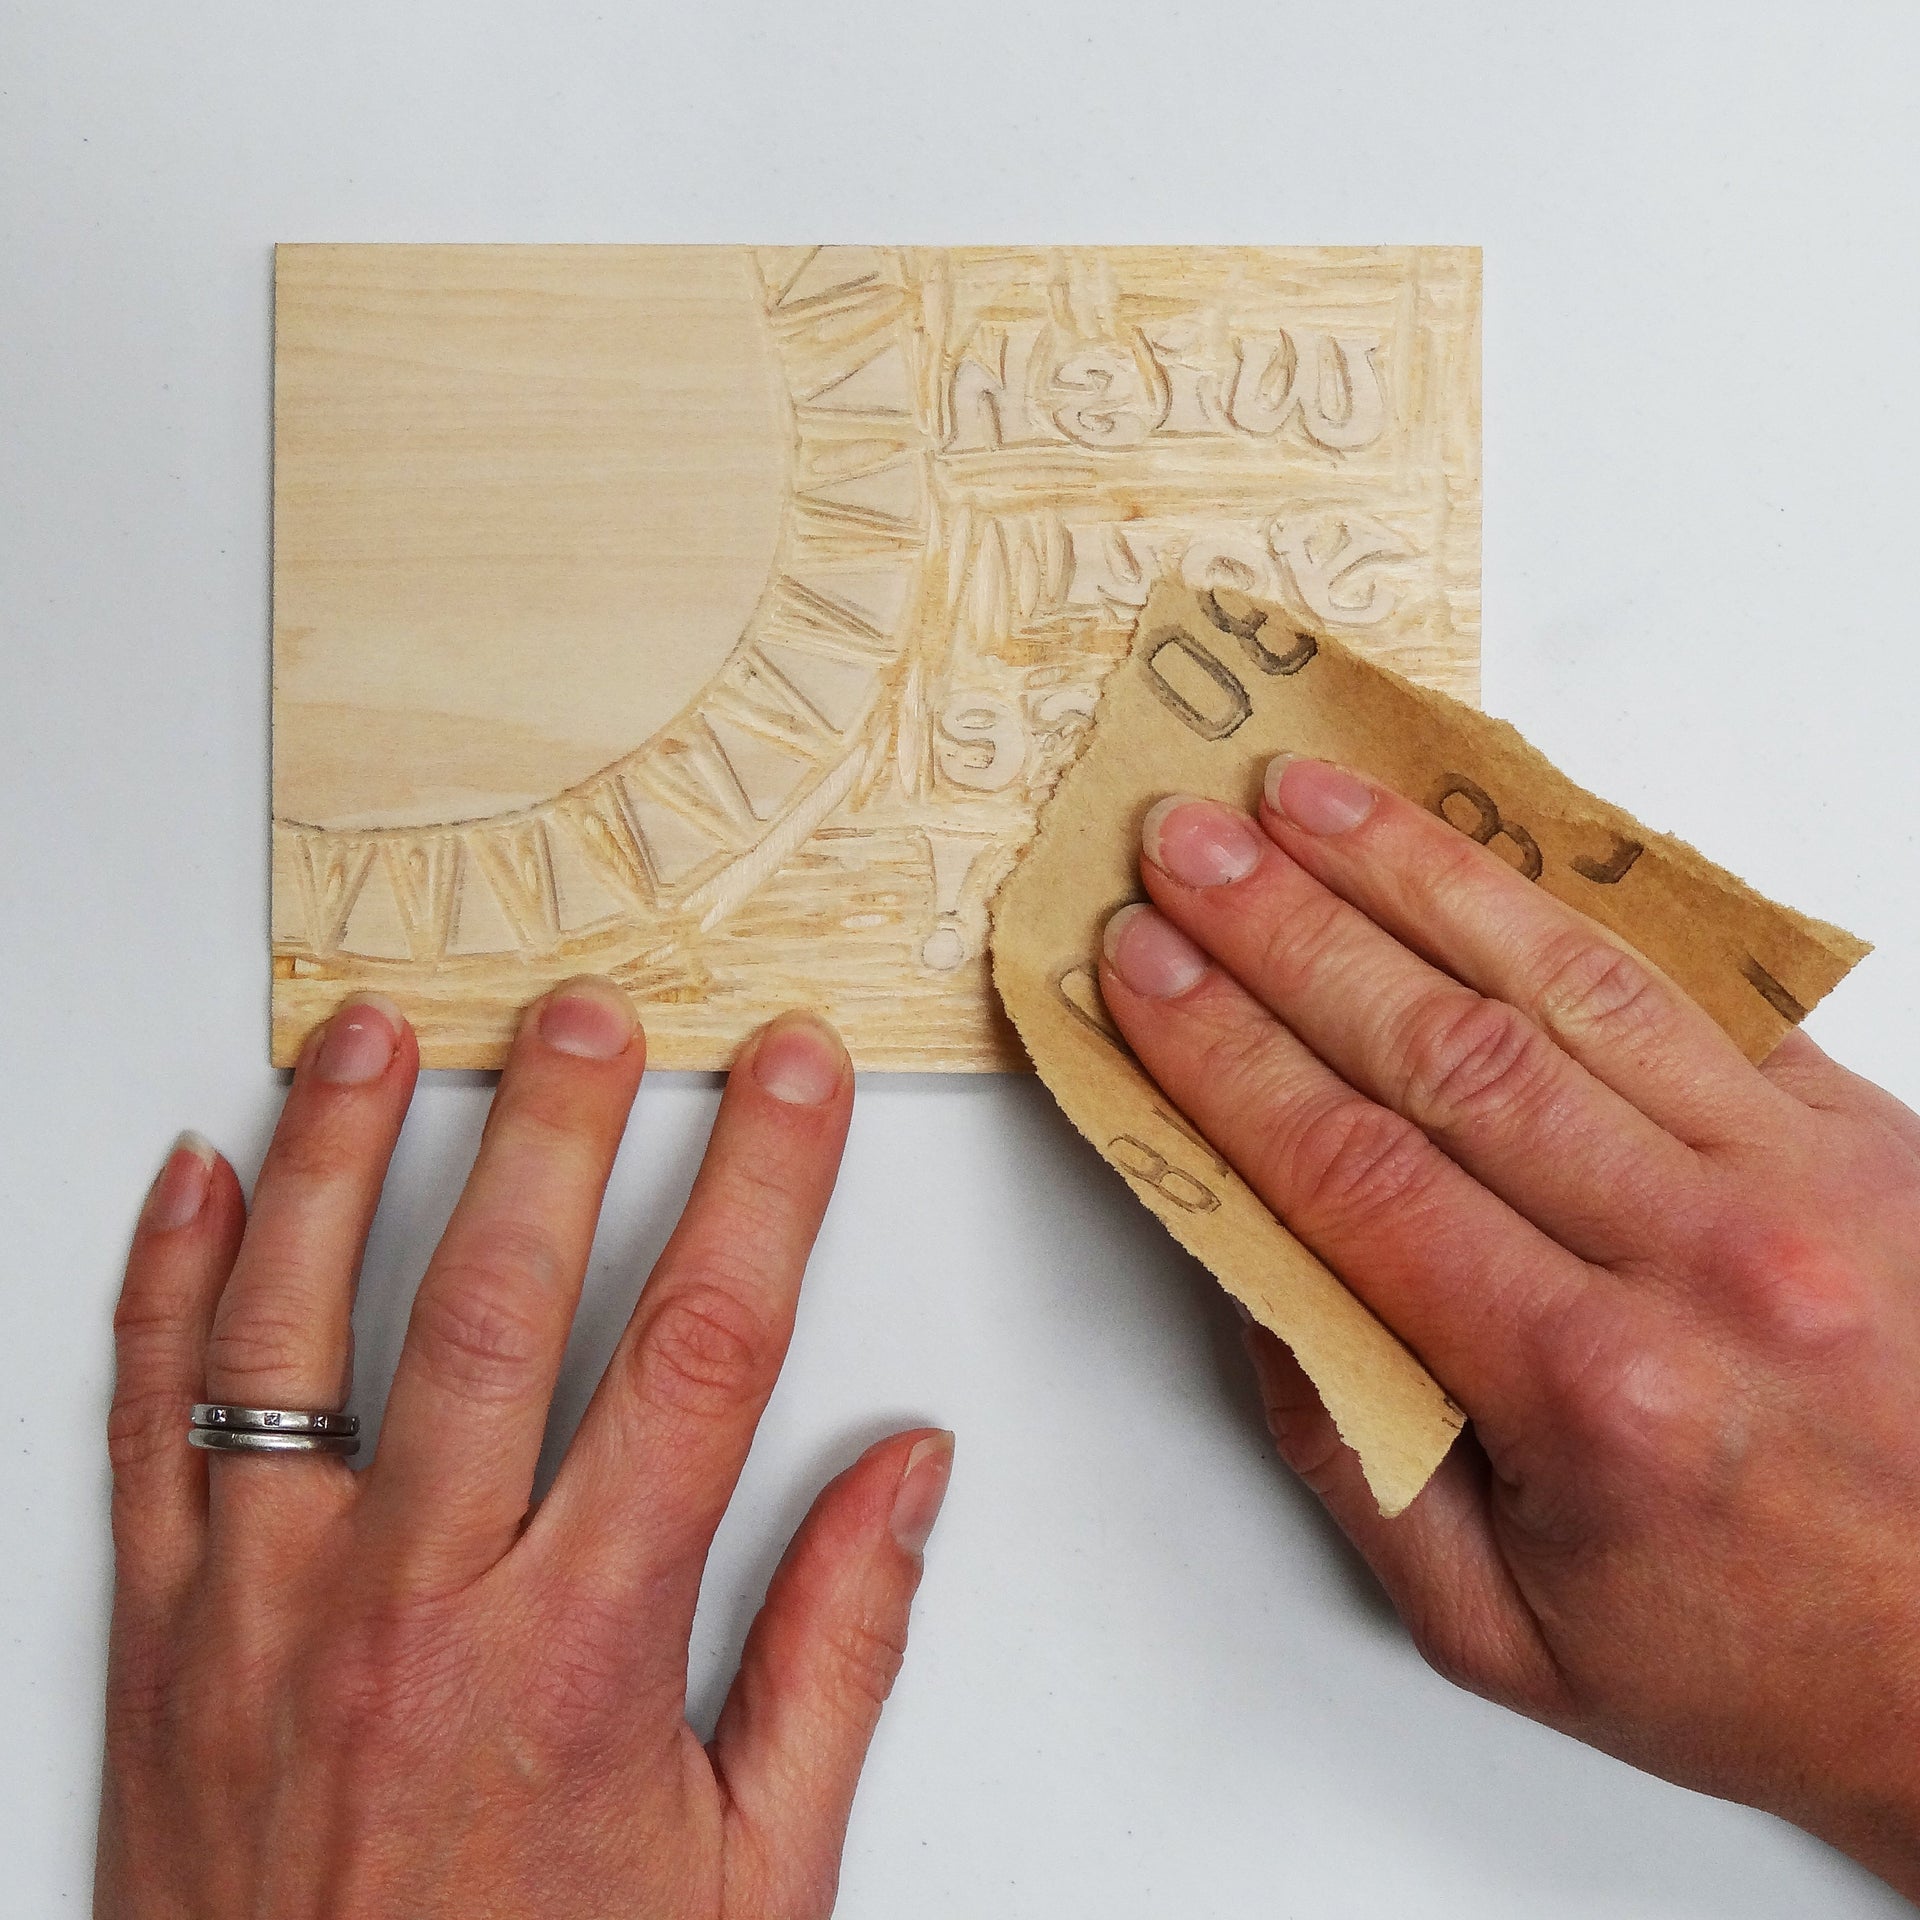
Sand down your Ply to remove any excess bits that will spoil your print.

Brush away any sawdust using a dry brush – a nail brush is perfect for this.

Roll out a thin layer of ink onto a glass slab or an inking tray.
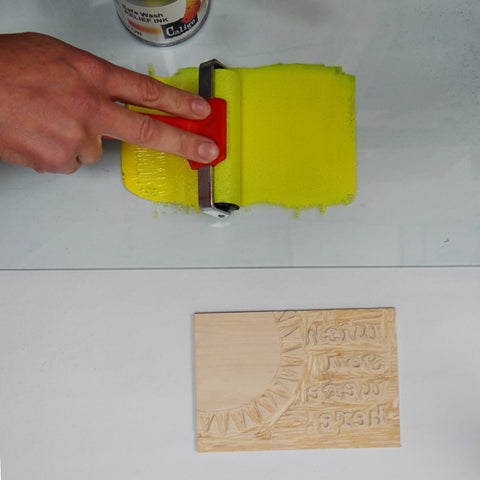
Roll a thin layer of this ink onto your Ply.

Place your postcard on top of the inked Ply and holding the card firm use a Bamboo Baren in a circular motion to transfer the ink from the Ply to the postcard.

You can hold one corner down firmly to check how your ink transfer is progressing and if you need to concentrate on specific areas.

Remove the postcard and leave to dry.

The finished card!
