
Handprinted Christmas Project: Holly’s Stamped Newspaper Gift Bags
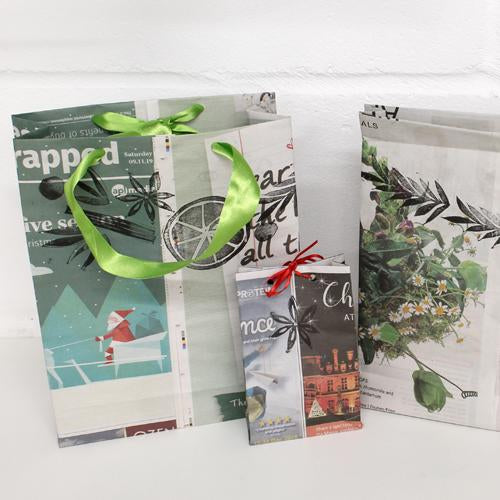
The quest for a more eco-friendly, less wasteful Christmas is a great opportunity to get more creative about the way we wrap our presents. These pretty gift bags use up old newspapers – no non-recyclable wrapping needed. So raid your recycling bin and read through the instructions below.
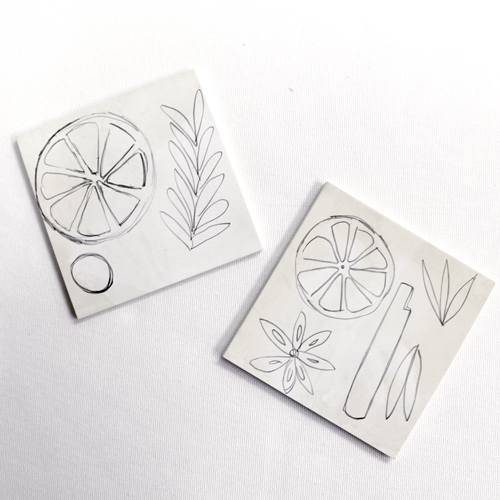
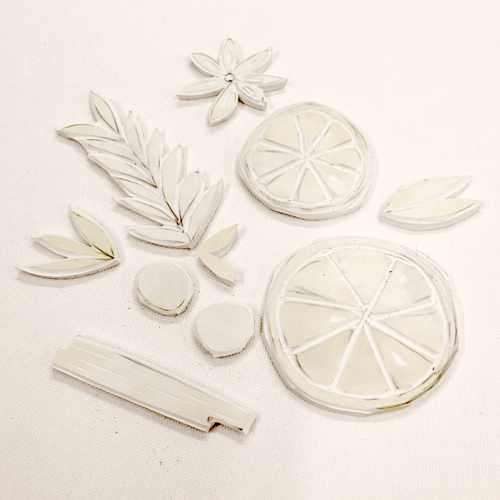
In order to make these bags Christmassy, unique and beautiful, we are decorating them with hand-carved stamps. Sketch a collection of shapes onto a carving material. Holly chose to create a selection of natural Christmas garland motifs out of Mastercut. This is a great project for offcuts of stamping block or lino and they can be used over and over again.
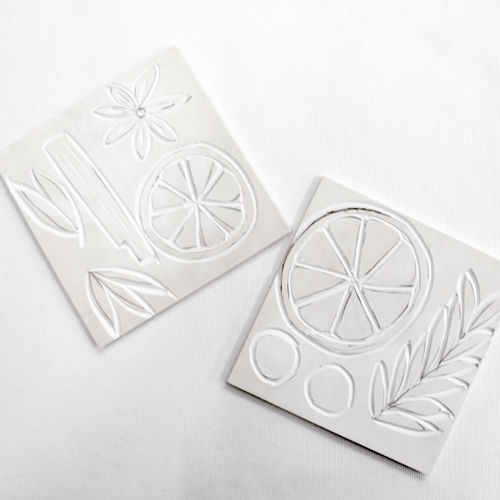
Use a V tool to carve around the edge of each shape and then use the V and small U tool to carve the detail into the blocks.
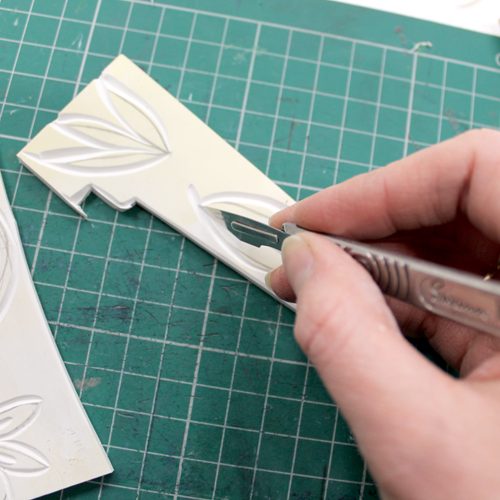
Cut out each stamp using a craft knife. Use the groove around the edge of each shape to guide the knife.
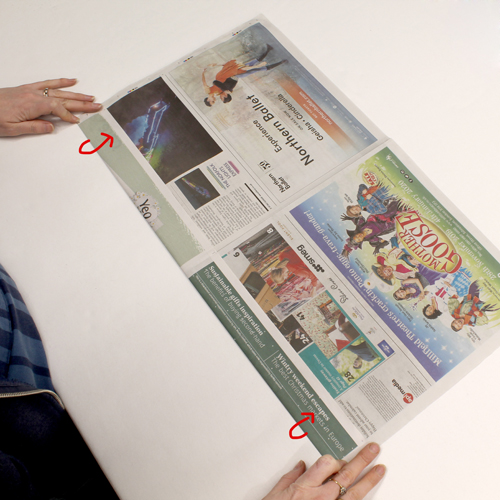
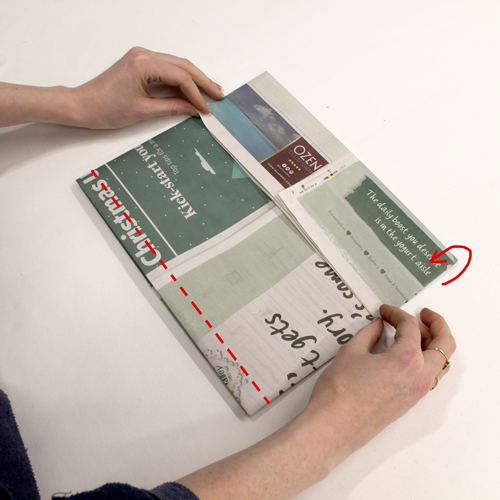
To make the gift bag, lay down a sheet of newspaper. For an extra-strong bag, use two sheets together. If it isn’t already folded, fold the newspaper down the centre. The side facing the table will be the outside of the bag so choose carefully.
Along the long edge, fold in around 2 to 3cm. This will give us the top edge of the bag.
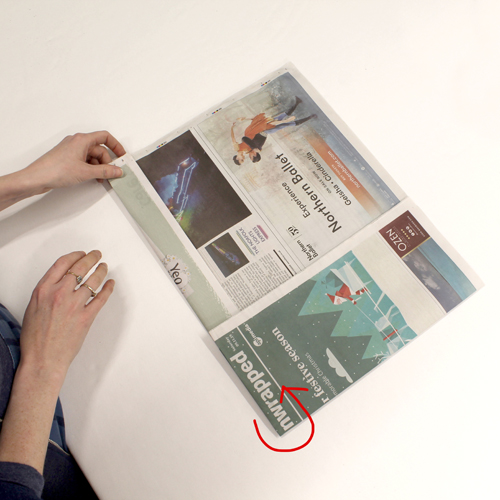
Fold one side into the middle of the newspaper, meeting the edge with the centre crease.
Repeat this on the other side, this time overlapping the centre a little. Use a glue stick to glue the two pieces together along this join.
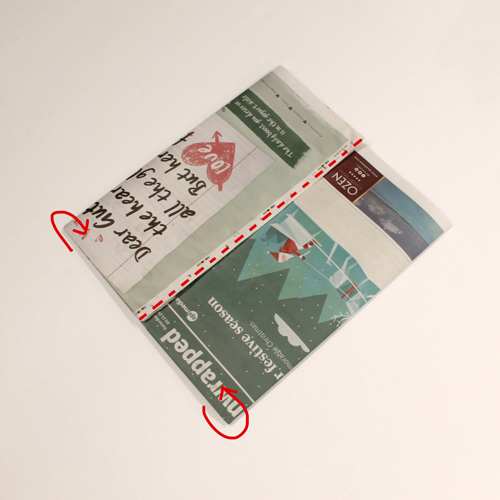
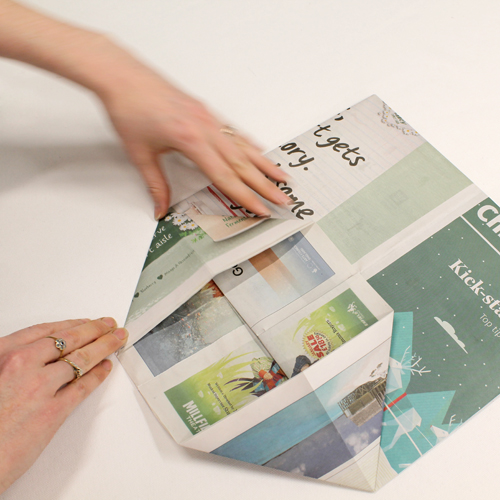
Fold the side furthest away from you down around 1/4 to 1/3. This will be the base of your bag.
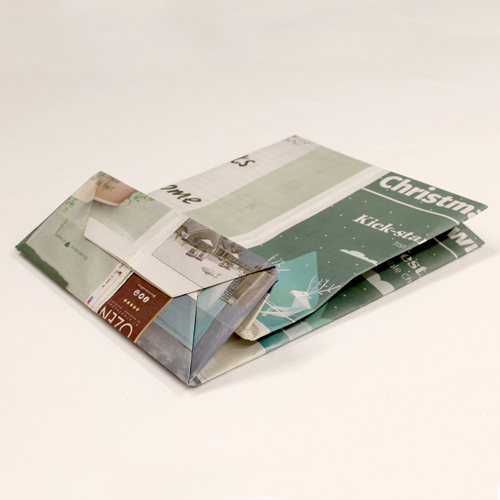
Open out this folded end as shown in the picture below.
Fold the bottom side up, overlapping the centre a little. Glue this down in the two corners either side.
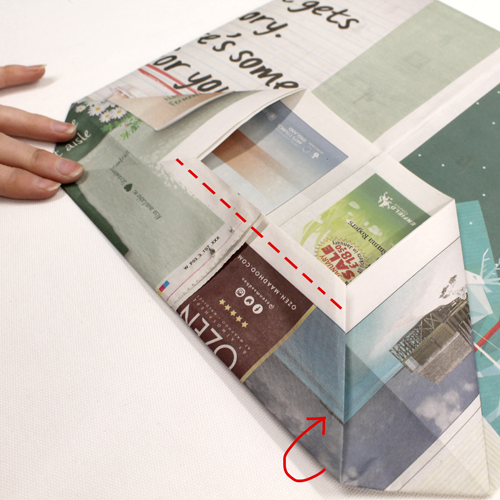
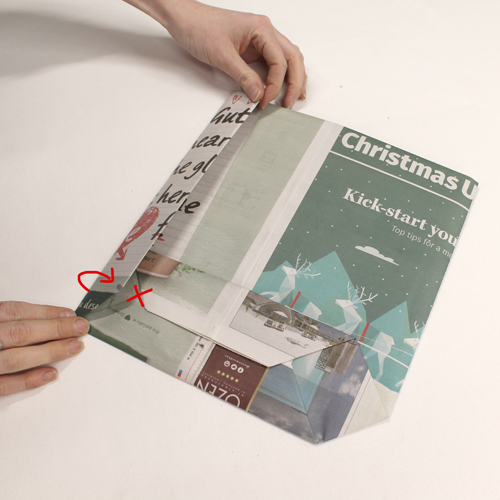
Fold the top of this section down, overlapping slightly. Glue this flap down in the two corners either side and along the dotted line below.
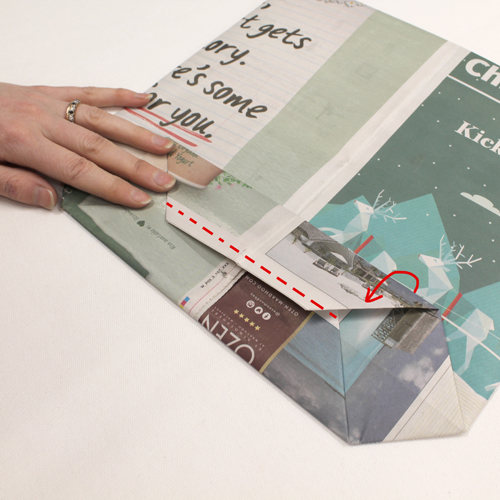
Fold in the side of the bag. The point should roughly meet the point marked with an x in the picutre below. repeat on the other side.
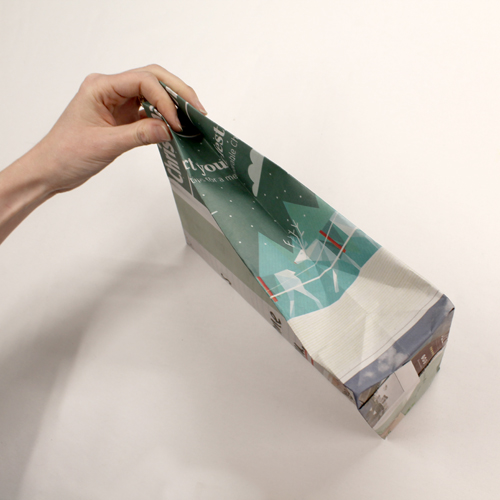
Gently open up the bag, pushing the bottom section out flat. Invert the side creases so they face inwards towards the inside of the bag.
Lay the bag flat once more. We are now ready to decorate!
Use a Versacraft stamp pad to ink up the stamps. It is easier to place the stamp facing upwards and dab the ink pad onto it, especially when the stamps are large.
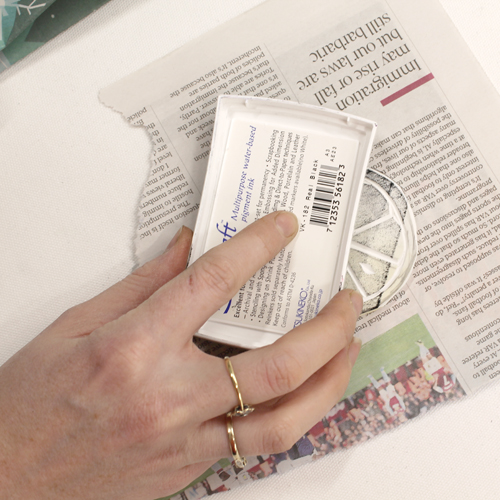
Place the stamp ink side down on the bag and press down firmly. It helps to have a slightly padded surface under the bag to get a strong, even print.
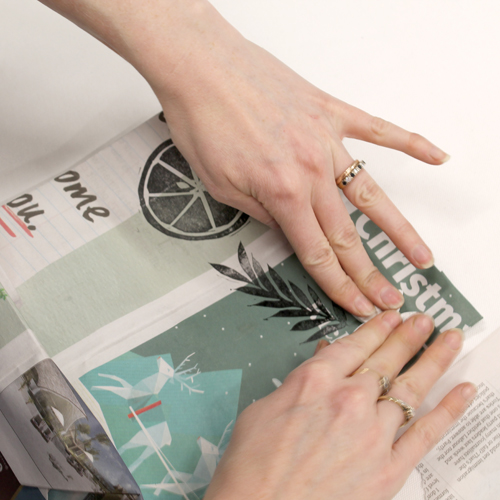
Build up the stamps until you are happy with the way it looks.
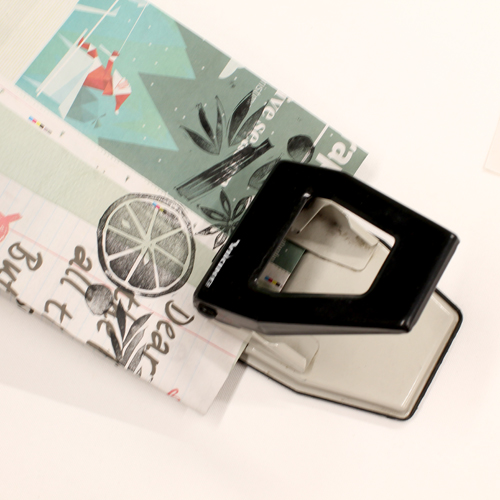
Use a hole punch to punch two holes in the top of the bag. Thread string or ribbon through and tie to create handles.
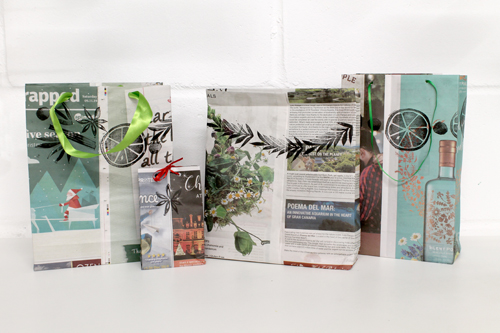
Create different bags with other types of paper – try maps, sheet music or old wrapping paper. Vary the size of the bag with larger or smaller sheets. Why not skip the handle stage altogether and roll down the top instead? Secure the bag closed with a pretty bulldog clip, paperclip or staples.
You can choose to create a stronger base to the bags by inserting a piece of card at the bottom.

For this project you will need:
- Mastercut Stamping Blocks (or offcuts of lino)
- Cutting tools
- Pencil
- Craft knife
- Cutting board
- Versacraft Stamp Pad
- Newspaper
- Glue stick
- Ribbon or string
- Hole punch
Made this project? Tag us on Instagram @handprinteduk and add the hashtag #printmakingforthepeople