
How to Block Print onto Fabric with Speedball Fabric Block Printing Ink
Speedball's Fabric Block Printing Ink creates a bold print onto fabric so you can create your own striking designs! We're using a piece of traditional lino to create our block and then printing it onto a piece of cloth to upholster a stool for the studio.
Draw your image onto a piece of lino. We drew it in pencil first and, when we were happy with the design, went over the outline in permanent marker.


Cut out the areas that you do not wish to print. This is a positive image so we cut away the negative areas.


Cut out the image shape with a pair of scissors. The shape of the image will help line up your prints.


Lay your prewashed fabric out on a padded surface. To help create straight lines of print we stretched regularly spaced threads across the fabric to act as a guide.


Thinly roll out some Fabric Block Printing Ink onto an inking tray until it sounds slightly sticky. Roll this ink onto the image.


Place the image inky side down on your fabric and press with a clean roller or hit the back of the lino with your hand to ensure good contact between the lino and the fabric so that the ink will transfer.


To finish leave the fabric to dry for a week. It can then be washed gently.
We also tried another piece where we printed the occasional red image. To do this we printed all of the black images first leaving spaces where we wanted to print the red images.


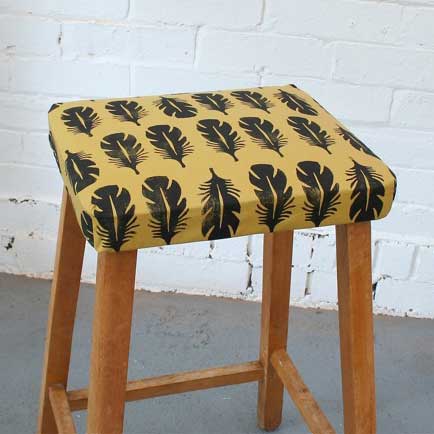
We used the fabric to upholster a stool and we love it!


For this project you will need:
- Lino (we used a 75mm square piece from a pack of ten)
- Speedball Block Printing Ink for Fabrics
- Lino Cutting Tool
- 2 x 100ml Lino Rollers
- Inking tray
- Scissors
- Pre-washed, dried and ironed fabric
- A stool