
How to Make a Tie Dye Top with Colour Magnet
We have been enjoying the sunshine here at Handprinted so we thought we would show you how to make a Summery top out of an old plain T-shirt using Colour Magnet and Procion Dyes!
You will need:
- Light coloured T-Shirt
- Fabric scissors
- Pencil, paper and a fine paint brush
- Screen
- Parcel Tape
- Drawing Fluid
- Screen Filler
- A squeegee
- Colour Magnet
- Procion MX Dye
- Soda Ash
- Rubber gloves and an apron – these dyes stain
- Elastic Bands
- A plastic bag or cling film
- A plastic jug or bowl and measuring spoons
- Metapex or non-bio detergent
You can cut your T-Shirt into any shape and style you want – we chose to make a racer back top! Here’s how we made it:
Cut the sleeves and the collar out (we gave the back a V neck) and cut a strip off the bottom hem all the way around – don’t throw this away! Then shape the bottom into a curve.

Use half of the strip you cut off the bottom to tie the sleeve holes together at the back and use the other half to make two ties at the shoulders. This
will make a racer back shaped top with a slash neck – much better for summer than a boring T-shirt.

Next, you need to decide what image or text you want to go on your top. Colour Magnet is a dye attractant that creates a two toned effect when dyed – what you print in Colour Magnet will appear in a darker shade to the rest of the fabric.
We were on a Summer high so decided on a summery quotation on ours!

Draw your image or text onto a piece of paper and trace it with a pencil on your screen (right side up).

When your drawing is done, elevate your screen above the table (we used pieces of packing foam but anything will do). You don’t want the mesh touching the table top or it will mess up the next part.

Use Speedball Drawing Fluid to paint in the parts that you want to be printed with Colour Magnet (the bits you want to appear darker on the fabric).
Wait for it to dry…

When the Drawing Fluid is completely dry, tape up your screen around all the edges with parcel tape on both sides of the mesh. This will stop anything getting through where you don’t want it and stop you from wasting the Screen Filler by filling the mesh where you don’t need it.
Spoon some Speedball Screen Filler onto the top of your screen (make sure that it’s still elevated or you will have a lot of cleaning up to do). Use the squeegee to pull the Filler down the screen. You don’t want any gaps or they will show up when you print. The Drawing Fluid will resist the Screen Filler and show through.

When this is completely dry (we left ours overnight but a couple of hours should be fine), wash the Drawing Fluid from the screen. It should wash out really
easily with a bit of water pressure but you can use a plastic brush to lightly scrub out any stubborn bits.

Leave your screen to dry (or dry it carefully with a towel) and your screen is ready to print!
Put some newspaper or card in between the layers of your top and make sure it is flat – we untied the knot at the back to get it even flatter. We also taped it down to the table with masking tape so it didn’t shift about too much.
You can print with the Colour Magnet just as you would with screen printing inks. Blob some along the top of your screen (warning: it is extremely gloopy), and use your squeegee to drag it down the screen onto the fabric.
Press hard. The Colour Magnet is really thick and so will take a bit of pressure getting through the screen. You may want someone to hold the screen still for you whilst you print.

When you lift up your screen you should see a faint pale yellow print of your image.
It is very pale but it’s there!

When the Colour Magnet is dry you are ready to dye. Tie up your top in any way you want with elastic bands. We gathered up our printed section and tied a band around it to create a circle. We also added a band around the bottom edge. Remember, the section printed with Colour Magnet needs to get to the dye, so it’s not a good idea to put lots of rubber bands through that section – the dye just won’t reach.

We used the Rapid Dye method with Procion MX dyes in Blackcurrant. Dissolve 1/2 tsp of dye (we are using a strong colour so 1/2 tsp is plenty) into 100mls of warm water. Separately, dissolve 1 tsp of soda ash in 50mls of hot water. The soda ash will fix your dye. Mix these two solutions together and use straight away (the mixture will lose its ability to react with the dye over a period of 1-2 hours).
This method is very simple and quick!

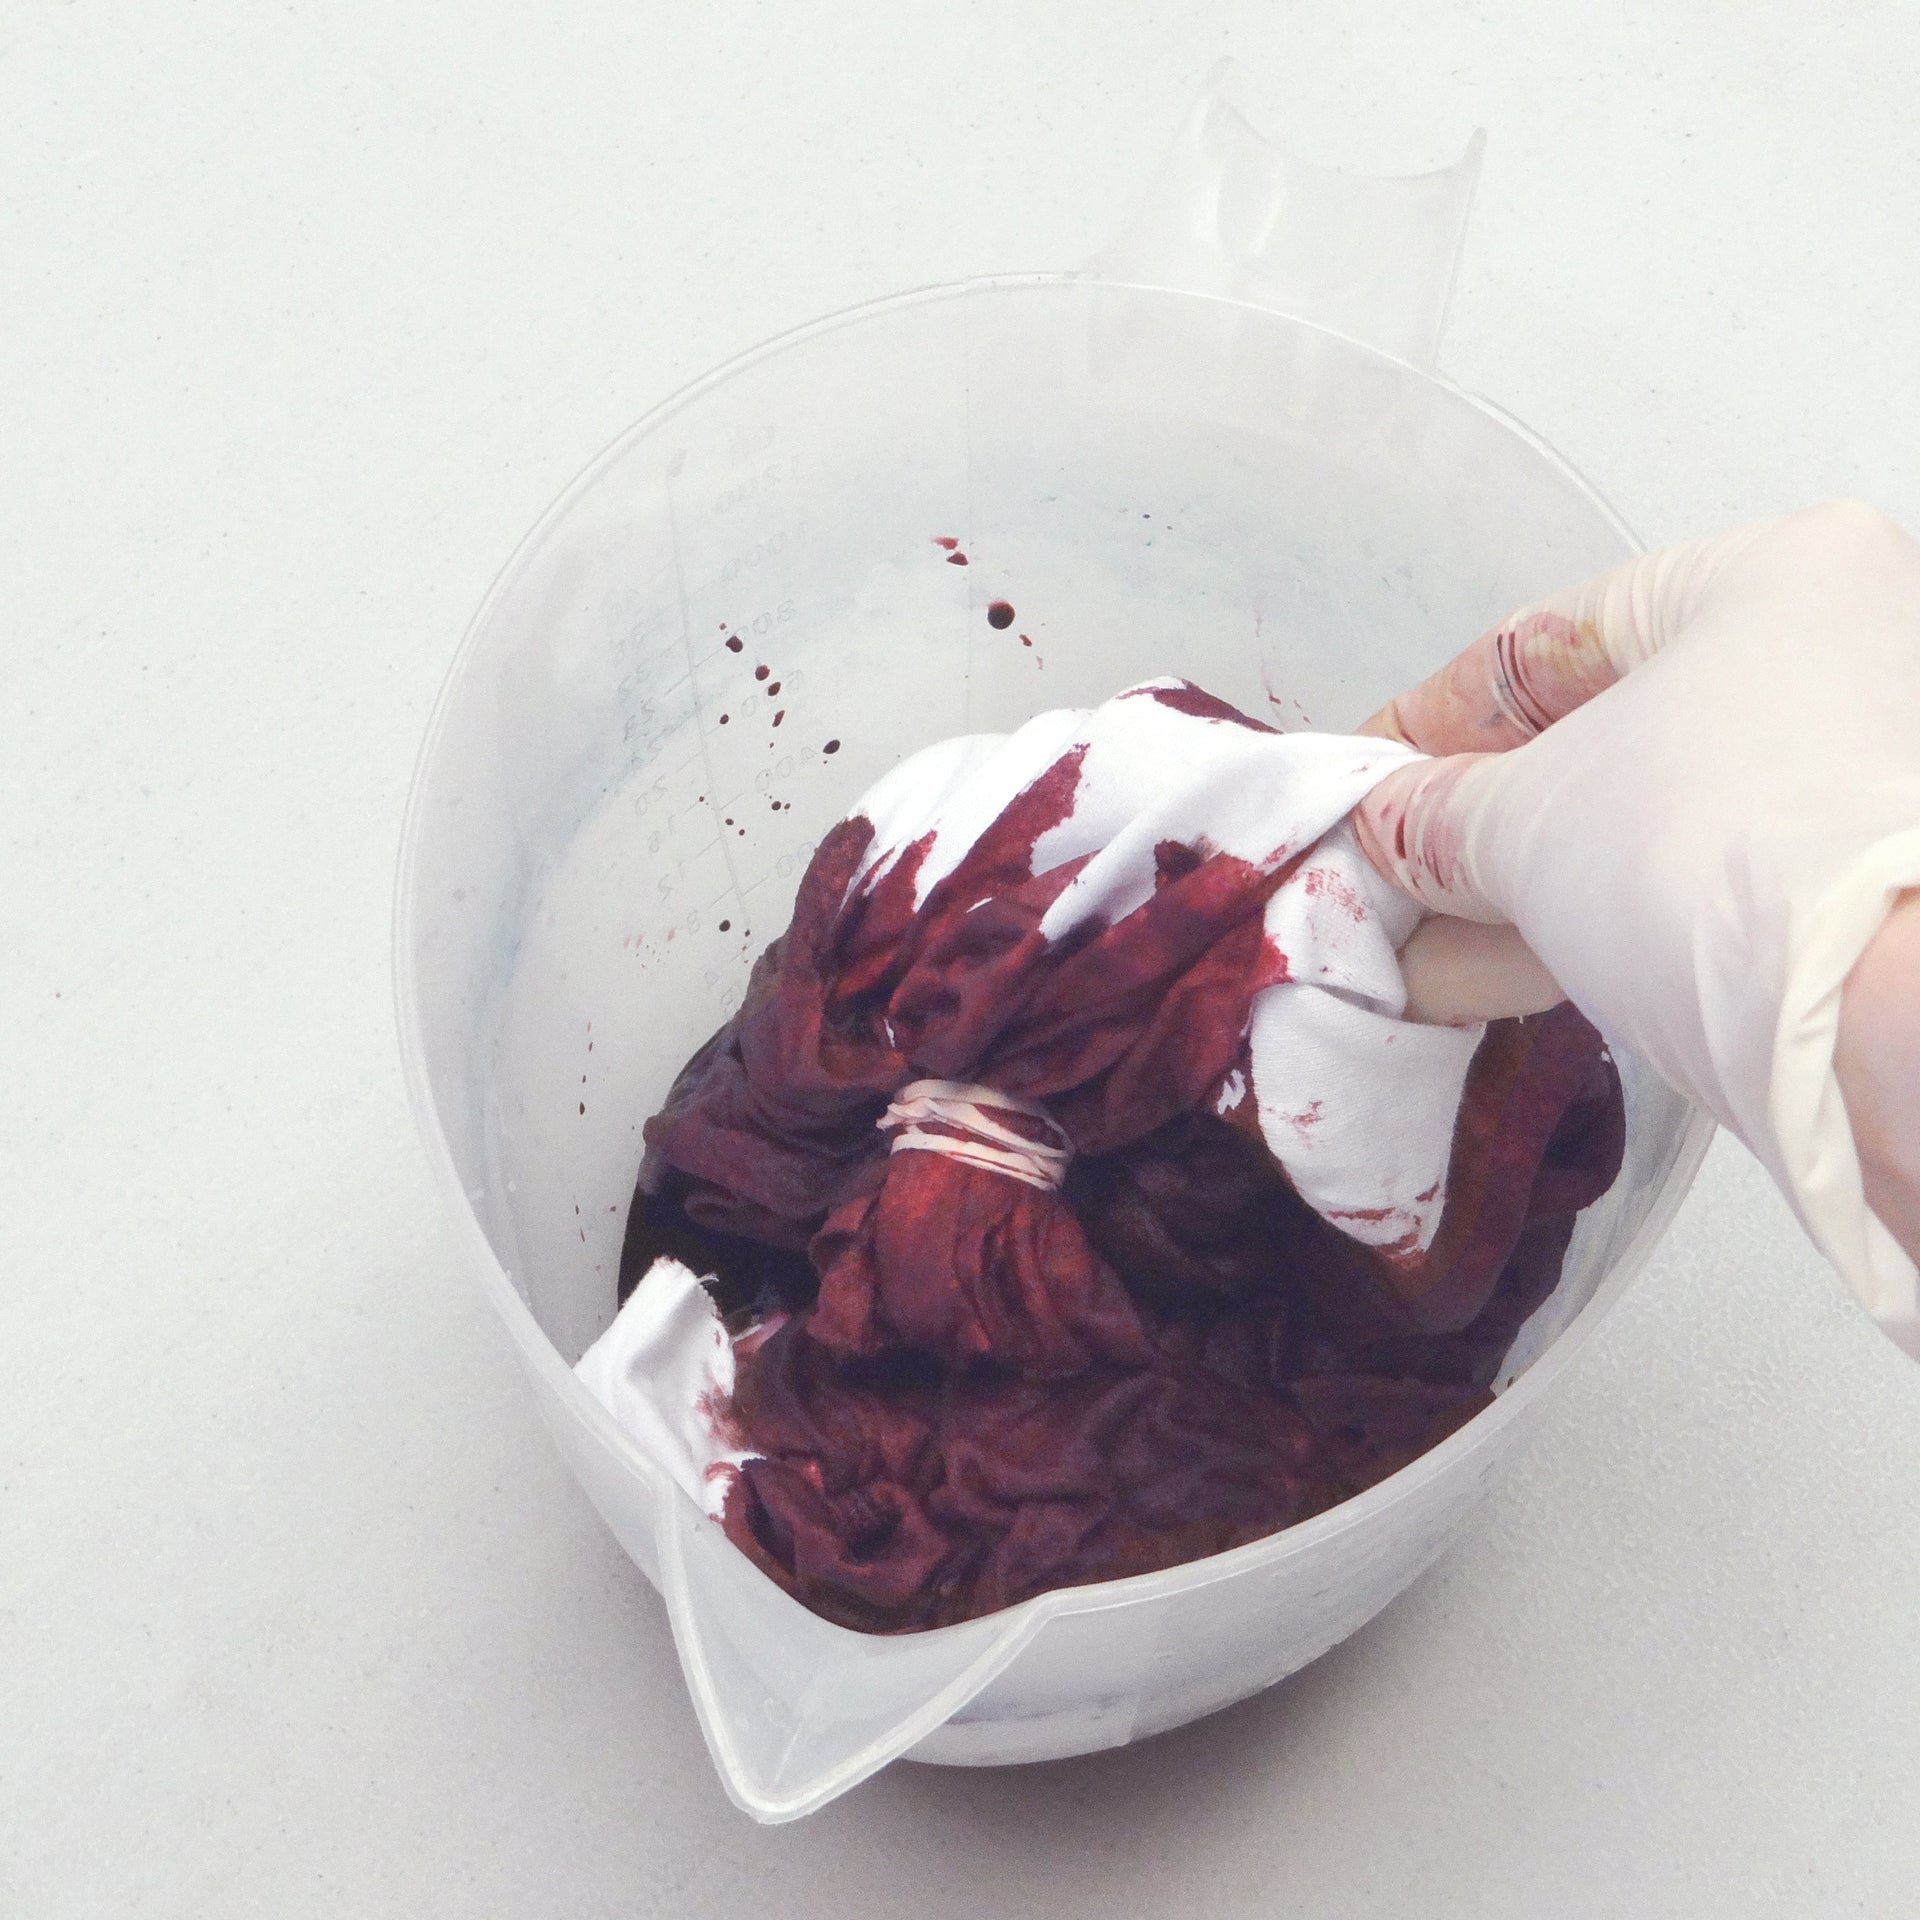
When the dye is mixed, immerse your fabric in the solution and make sure the dye penetrates throughout. This will require a bit of sloshing and turning in the dye. Make sure all of your Colour Magnet printed part is covered or your image will not show! Place the fabric in a plastic bag or wrap in cling film and leave for the chemical reaction to take place.

We left our top for an hour and a half, but it depends on the strength of the dye colour, it may take 2 hours to get the shade you want. You can keep checking until you think it looks right. When the time is up, take our your fabric and rinse it in cold water until the water runs clear to remove any excess dye. Machine or hand wash at 60 degrees with Metapex or non-bio detergent.
Here is our finished top!

