
Kitchen Lithography

Kitchen lithography is a fantastic technique that draws from the principles of traditional lithography but uses items found in your kitchen along with just a few standard printmaking items! You can even use a baren to take the print so you can try this at home without a press.
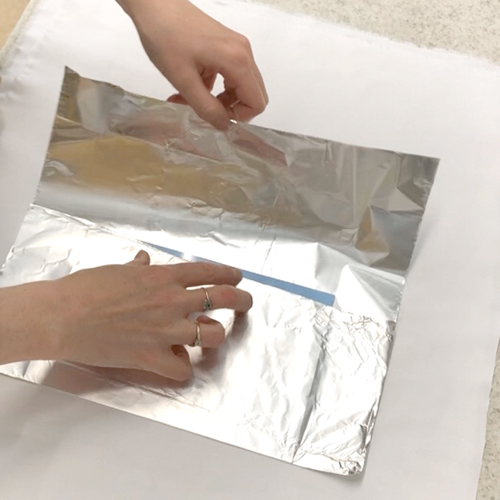
A piece of drypoint plastic works well as the base of your plate. When you’re finished with the print the foil can be removed and the plastic can be used again. Pull out a piece of aluminium foil and lay it shiny side up on a clean cloth. Lay the plastic in the middle of the foil. Fold the foil around the plastic, being careful not to rip it. We are working with the back of the plate towards us. Do not touch the foil on the front side of the plate.
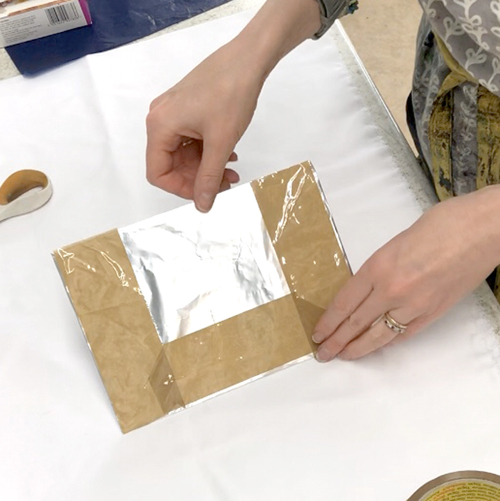
Tape the foil to the plate. make sure any openings are covered as these can collect water later if not sealed properly.
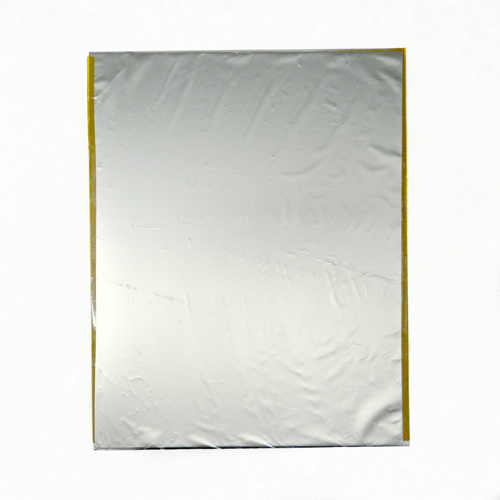
Turn the plate over and use a clean cloth to smooth out the front surface.
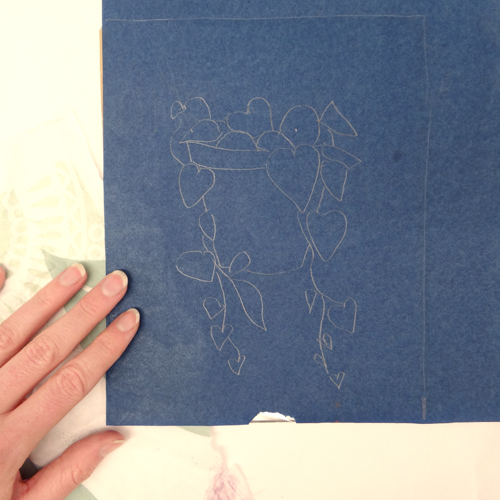
Lay a piece of carbon paper over the plate. Carefully draw your design on the back of the carbon paper. The greasy marks made by the carbon will become your print. You can also make marks with other greasy substances such as lithography crayons and fingerprints.
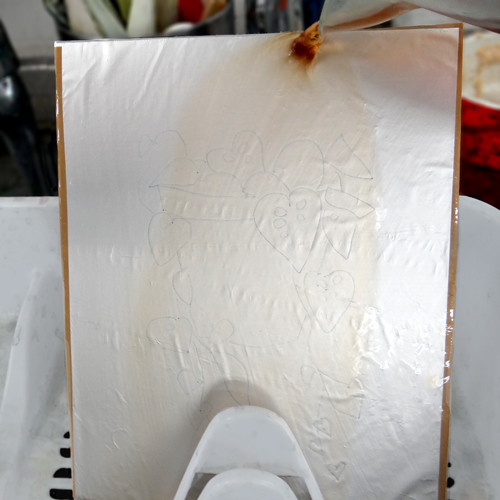
Still without touching the front of your plate, take it to the sink and pour coke over the front of the plate. Do this in a couple of directions, making sure the whole of the drawing has been covered. We used about 300ml for this plate. The coke can be collected up and poured over another plate.
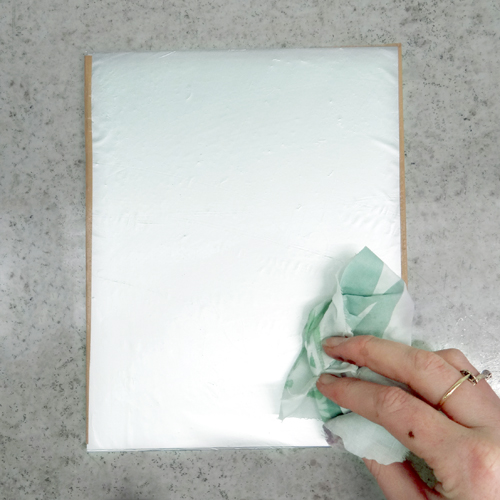
Rinse the plate with water and then bring it back to your work surface. Use vegetable oil on a clean rag to wipe the plate until the drawing disappears.
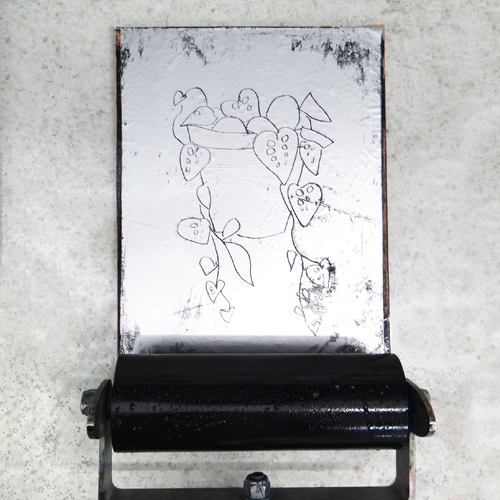
Roll out some ink onto a slab. The ink needs to be oil-based or rubber-based. We used Cranfield Traditional Etching Ink.
Wipe the plate with a damp sponge and then roll the ink over the drawing. Alternate between the damp sponge and the inky roller. Don’t get the plate too wet or it will seize the ink.
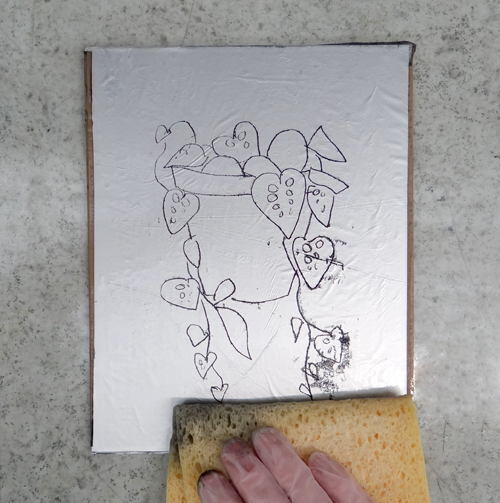
Use the damp sponge to wipe off any unwanted areas of ink.
Print the drawing onto dampened paper using an etching press or by placing the paper on top of the plate and hand burnishing with a baren. Use a piece of greaseproof paper between the baren and the paper to stop it pilling and to allow for smoother movement.
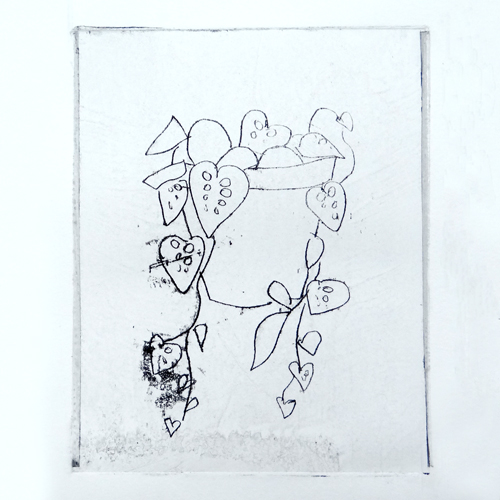
Print from the plate again by wiping with a damp sponge and re-inking. The ink can be cleaned up with Zest-it.
To make your own kitchen lithograph you will need:
- Aluminium foil
- Drypoint Plastic sheet
- Parcel Tape
- Carbon Paper
- Pencil
- Clean cloths
- Vegetable oil
- Coke (any cola should work – we used coke from Tesco)
- Clean sponge
- Roller
- Inking Plate
- Oil-based etching Ink or rubber-based ink
- Paper to print on – we used Snowdon
- Tray in which to dampen the paper
- Blotting paper
- Etching Press OR baren and greaseproof paper
- Zest-it