
Multi Block Printing on Fabric with Easy Carve
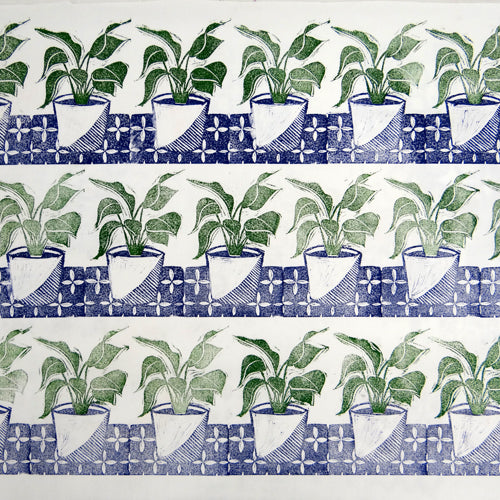
This project uses just one block of Softcut to create a two colour block print on fabric. This is an adaptable technique that will have you printing yardage in no time!
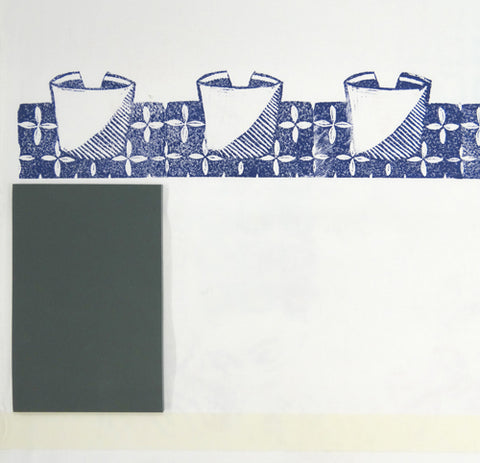
(The block shown in this blog is an old colour, the softcut is now beige)

Start by drawing your design out onto a piece of Softcut. Try using a pencil to map out your image and then a permanent pen to finalise your lines.
Use a V tool to go round all the edges of your shapes and to carve out the finer detail.


Use a shallow U tool to clear larger areas and the background. Don’t worry about carving out the whole background as we are going to remove most of it in a few steps time…

Use a scalpel to divide the block into pieces that will be printed different colours. In this case we want a separate plant and pot. The Softcut cuts easily without having to apply too much pressure.

Cut out the bits of your background that you don’t need. The shaped block will also help you to see where you are printing on your fabric.


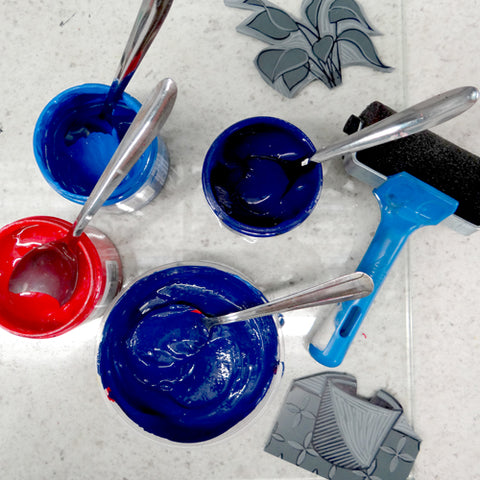
Mix your favourite colours from Speedball Screen Printing Inks for Fabric. Note we are using screen printing inks for block printing – they produce a soft handle and washable colour on the fabric.
Roll out your colour using a Sponge Roller or Fabric Roller. A solid roller will slide around in the ink and you will not get even coverage.
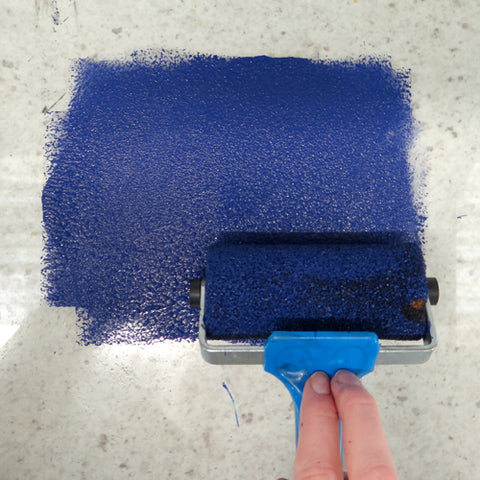
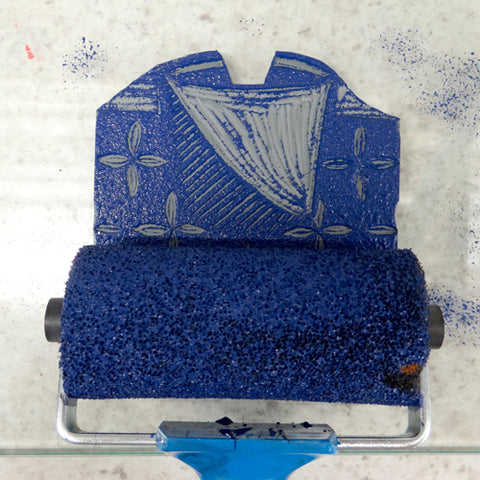
Roll your ink onto your first block.
Press your block face down onto your fabric and press down hard all over it. We used a masking tape line as a guide to keep our prints straight. We always recommend that you use a slightly padded surface when printing onto fabric to ensure even prints. A piece of board covered tightly with a blanket and topped with fabric works well.

Re-ink your block and repeat the process alongside your last print.

Use another masking tape guide to mark the next row, using a piece of Easy Carve to make sure your whole block will fit. Be sure to remove your previous piece of tape first.
Print rows of your first block. We printed them in brick fashion to add a little more interest.

Mix a second colour and ink up your second block.

You should be able to see where the new block fits into the first block’s print (this is the part that I managed to cover up with my hand here…)

Fill in the gaps along the whole fabric to finish your print. When your prints are dry, iron the fabric on a hot setting to fix your ink. Your fabric will then be washable.
To print your own fabric you will need:
- Softcut
- Pencil and permanent pen
- Lino Cutting Tools
- Scalpel
- Speedball Screen Printing Inks for Fabric
- Sponge Roller or Textile Roller
- Inking Tray or glass slab
- Fabric to print on
- Slightly padded surface
- Iron