
Pigment & Binder - Mixing colours for printing fabric
Using Pigment Colours and Binder, you can mix your own bespoke colours for screen printing and block printing. Experimenting with different ratio amounts of binder to pigment can create some lovely subtle pale shades and some strong bold colours too.
Keeping a note of your recipe every step of the way is helpful for mixing future colours, and for mixing the same colour repeatedly and accurately. It also makes things easier and quicker in the long run if you are selling your work and need consistency.
Tips before you start:
- Prep a piece of fabric for testing your colours.
- Prep bits of tape with the amount of binder and pigment written on them, ready for each colour test.
- If you are using a screen, prepare some paper stencils or mask off small areas of your screen with tape for testing your mixed colours.
- If you are block printing, choose a small block to test each colour.
- You can also use a sketch book to keep a record of your experiments and results. You can do this by cutting and stapling your printed samples into a book, with the recipe written beside it. This helps when you need to look back and mix colours again and again.

The inks that are mixed using our Fabric Screen Printing Binder will be translucent, perfect for printing onto pale and natural backgrounds, and layering colours over each other. You can use this colour mixing method with our Opaque Fabric Screen Printing Binder for printing onto coloured cloth, but colours may vary.
We have tested Magenta, Turquoise, and Lemon Yellow in different amounts of pigment to 100g of binder: 1 drop, 5 drops, 10 drops and 20 drops for each colour. This will show you the range of shades that can be achieved with just one colour.
First, measure out 100g of Fabric Screen Printing Binder on your scales.

Next, give your unopened pigment a shake. Be carful when opening it as it will stain! A small drop goes a long way.
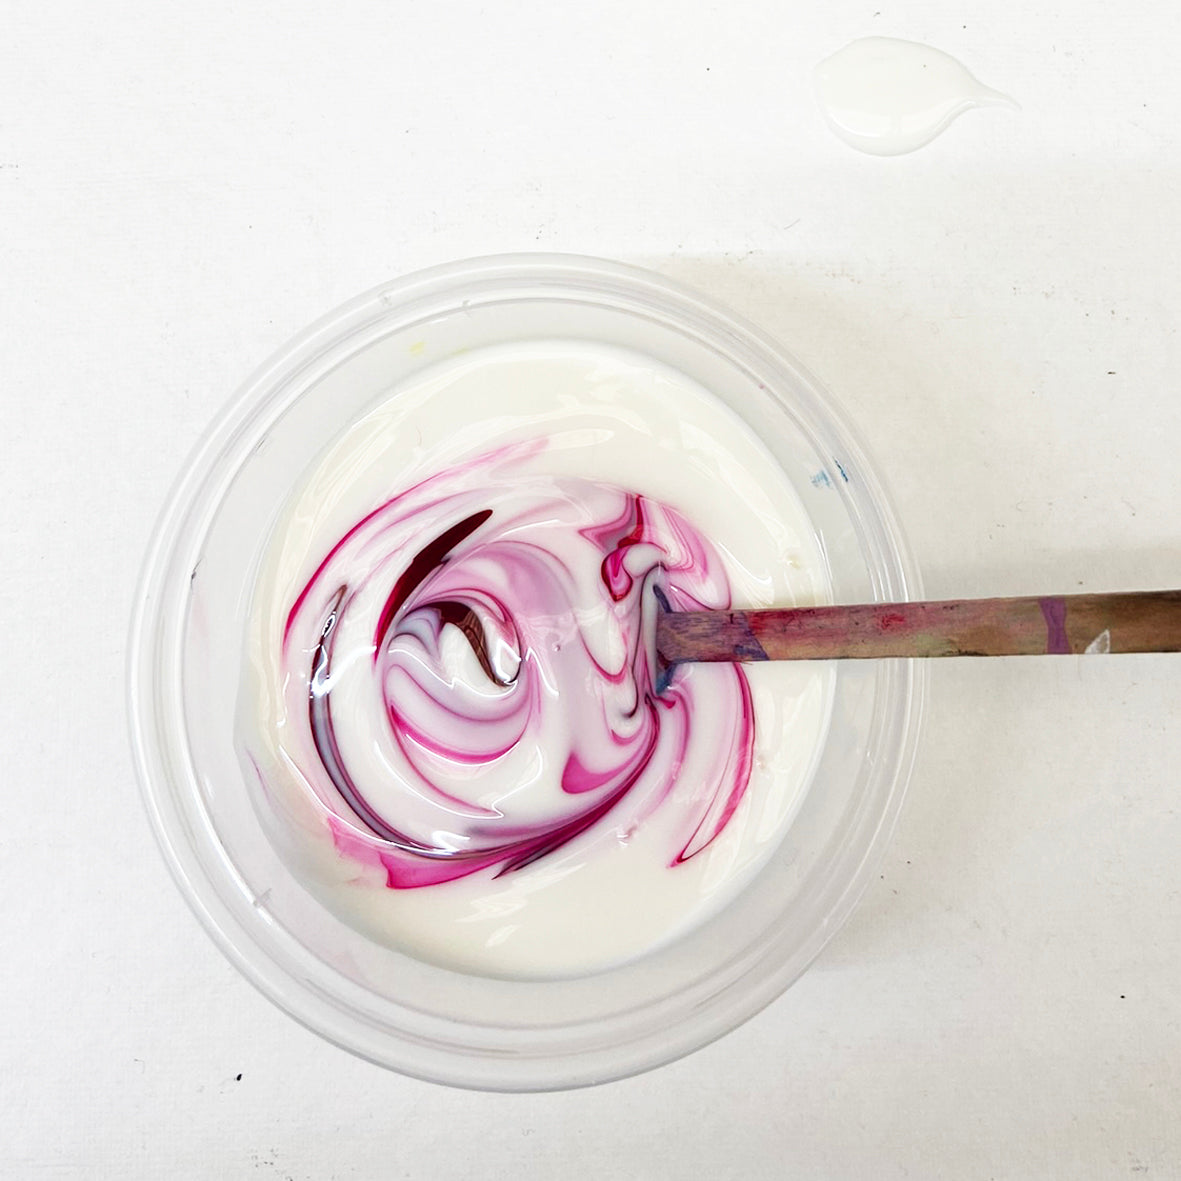
Using your Pipet, extract a small amount of pigment. Start by adding just one drop of pigment to your binder.


Next, add more pigment to your binder, drop by drop. We have added an additional 4 drops to make it a total of 5.

We then did a test print with this stronger mixture, as we did before with the one drop mixture.

Increase the pigment to 10 drops by adding 5 extra drops, thoroughly mix and then test print onto fabric.

Increase the mixture further to 20 drops by adding 10 extra drops. Mix and test.

Here are the results of the four tests, using Magenta pigment and 100g of binder.
1. = 1 Drop, 2. = 5 Drops, 3. = 10 Drops, 4. = 20 Drops

This is a really good way to see how each drop effects the strength of the final colour. It is also good to observe how the colours in the pot look very different to when printed, making it essential to test your colours and keep notes.

Here are the tests for Turquoise and Lemon Yellow.
1 = 1 Drop, 2 = 5 Drops, 3 = 10 Drops, 4 = 20 Drops


Next we have mixed different amounts of each colour to make some examples of secondary colours that can be achieved using these process colours.

Different amounts of each process colour to make secondary colours: orange, green and purple.
Green: 1/4 Turquoise (20g) + 3/4 Lemon Yellow (60g)
Orange: 1/3 Magenta (20g) + 2/3 Lemon Yellow (40g)
Purple: 1/3 Turquoise (20g) + 2/3 Magenta (40g)


Here are the results of these tests. You can use different amounts of each colour to make infinite shades.

Once your print has dried fully, remember to iron it to heat set the colours.

Examples of colours Maud has mixed at home:
Maud at Handprinted mixes colours at home for her block printing onto fabric. She likes to make her colours dirtier by adding a touch or black or brown. Here are some examples of her messy colour recipe book. She normally starts with 200g or 250g of binder, and scales up the recipe if she is printing something large!


What you will need for this project:
- Fabric Screen Printing Binder
- Pigment Colours
- Pipets
- Weighing Scales
- Pots for mixing your inks in
- Spoons for mixing
- A screen or block for testing your colours