At Home Screen Exposure with Bridget
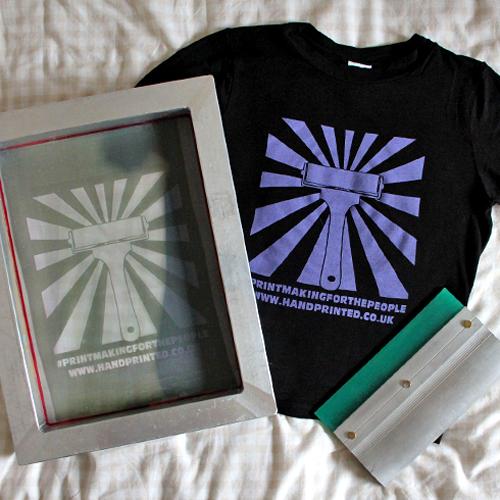
Like many others over the past year, I have been working on a lot of my printmaking projects at home. However, being limited on space doesn’t stop me from trying new things. In this blog post, I will be sharing how I exposed a screen at home in my tiny bedroom! You can adapt this method to expose your own screens at home too.
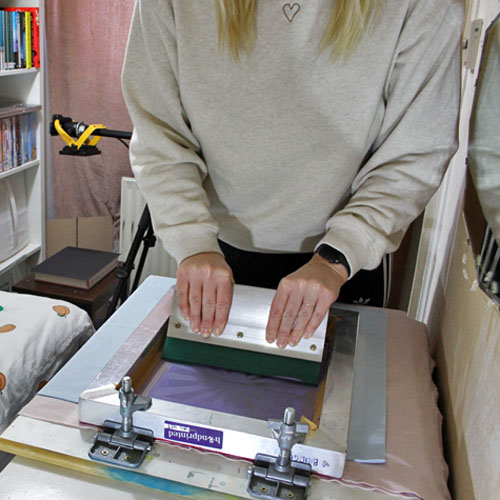
For this project, I used an A4 43T screen. It is important to de-grease your screen before you start. I used washing up liquid and a brush to do this. Alternatively, you could use Speedball Speed Clean or Screen Cleaner.
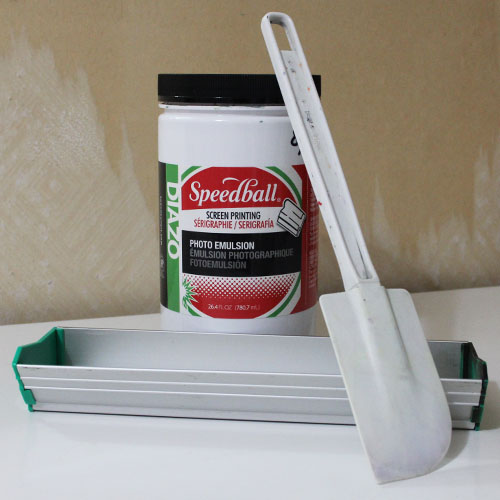
To coat my screen, I used a 225mm Coating Trough and Speedball Diazo Photo Emulsion. A coating trough helps to ensure the emulsion is applied evenly. Uneven emulsion can cause exposure problems. To mix the Photo Emulsion I filled the sensitiser half full with cold water and mixed well, using the handle of a spoon to ensure that I reached all the sensitiser from the corners. Once I had dissolved all the sensitiser, I poured the contents into the Photo Emulsion and stirred well. It’s best to do this a little while before you use the emulsion, to help any air bubbles to disappear.
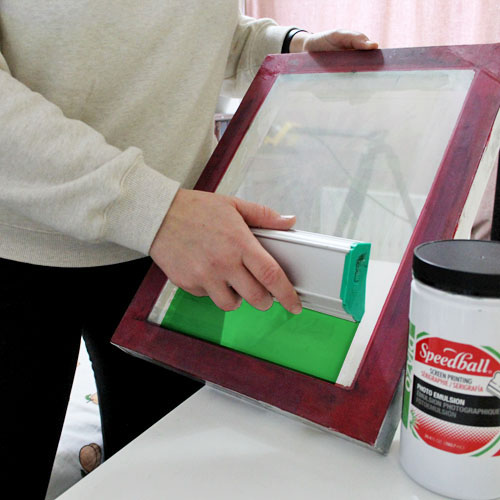
I then poured some photo emulsion into the scoop coater and allowed it to settle. Pressing the edge of the scoop coater firmly against the upright screen, I tilted it until the flat edge of the scoop coater was touching the screen. I then dragged the scoop coater smoothly up the screen to ensure an even coating. When I reached the top, I tilted the scoop coater back, so the emulsion fell back into the scoop coater. I used the flat edge of the scoop coater to remove any excess. (You can watch our video here to see the technique) The leftover emulsion can be put back in the pot. Store the emulsion in the fridge for up to 6 months.
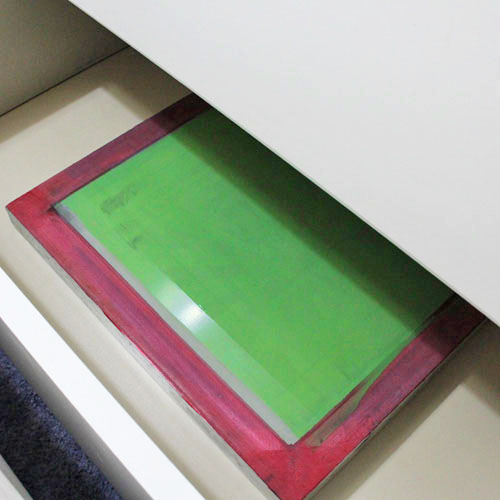
Once my screen was coated, I placed it in an empty drawer to dry. The screen needs to dry in complete darkness, so a drawer or sealed box works well. I laid the screen horizontally, resting the frame on some coins to allow the air to circulate. I used a small heater to keep the room warm to decrease drying time.
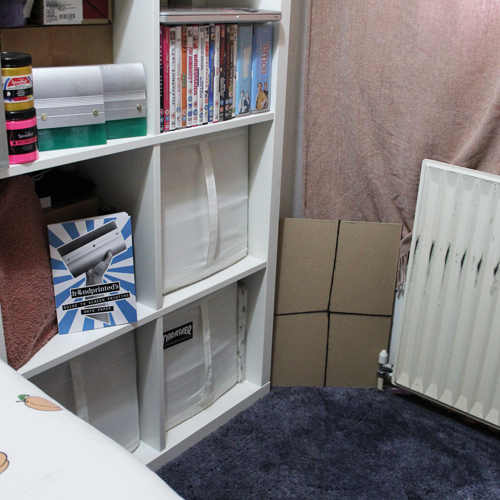
Once the emulsion was dry, I was ready to expose it. Before removing the screen from the drying drawer, I set up my ‘exposure unit’.
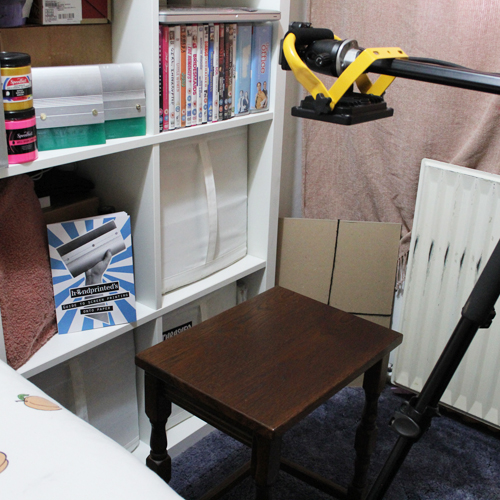
I used a tripod to hold my lamp directly over the table. The tripods adjustable legs made it easier to alter the height. This meant I was able to easily get my desired distance between the lamp and where my screen would sit.
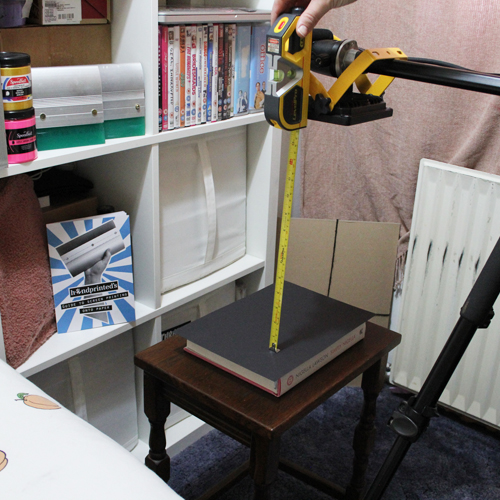
The distance between the lamp and the surface of the glass, once fully assembled, was 14 inches. The distance will vary depending on the lamp that you use. Here I am using a 20W (1500 Lumens) work lamp.
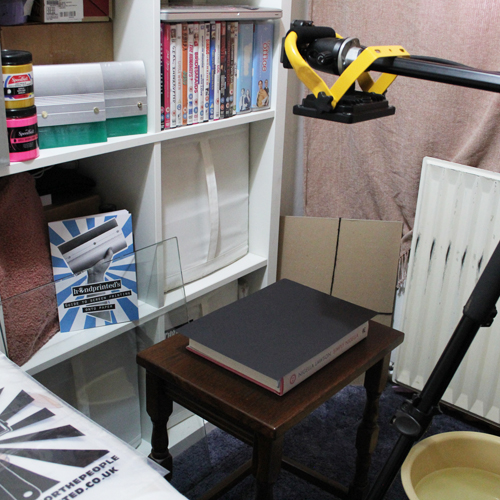
I placed a cookbook in the centre of a small table and then covered it with a sheet of black paper. The cookbook was slightly deeper than the frame allowing the black paper to sit flat against the inside mesh. The frame was slightly raised away from the tabletop. I had my sheet of glass to the side and my film positive ready to go. The key is to work quickly once you have taken your screen out of the darkness. Make sure you have a bucket of cold water and a soft sponge to hand as well.
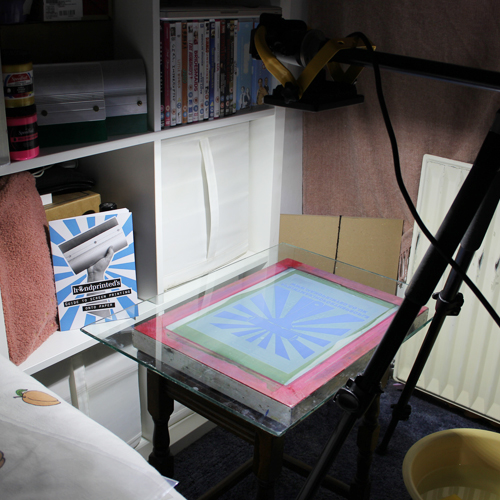
When I was ready, I removed my screen from the drawer and placed it down onto the black paper. I positioned my positive (reversed) on top of the screen and then placed my sheet of glass.
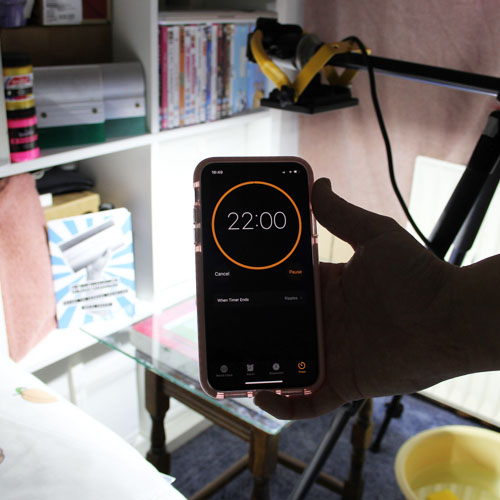
I turned the lamp on and exposed it for 22 minutes. The timings may vary depending on the lamp that you are using. I found that 22 minutes was the perfect time with my 20W lamp at a 14-inch distance.
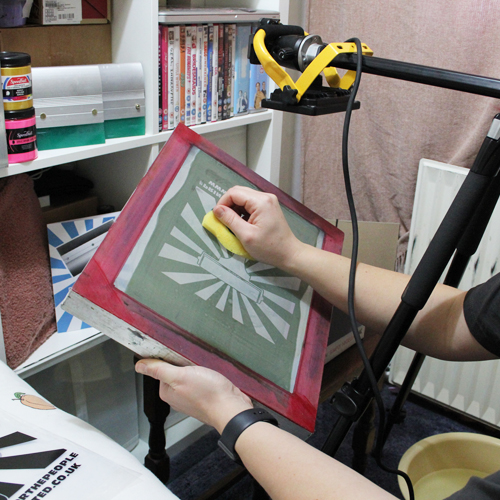
When the time was up, I turned off the lamp and removed the sheet of glass and film positive. As I was working away from running water, I had my bucket of water and a soft sponge to hand so that I was able to wet my screen when the exposure time was finished. Wetting the screen pauses the exposure process giving you time to get to the shower or a garden hose.
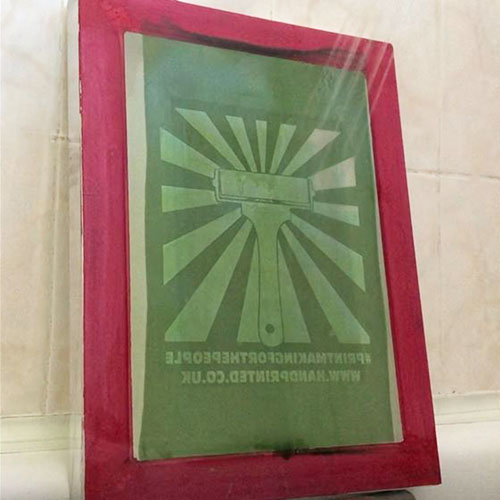
I then used the shower hose to rinse the screen properly, revealing my design. By lifting the screen to the light, I could see that all the unexposed emulsion had been removed. I then left the screen to air dry.
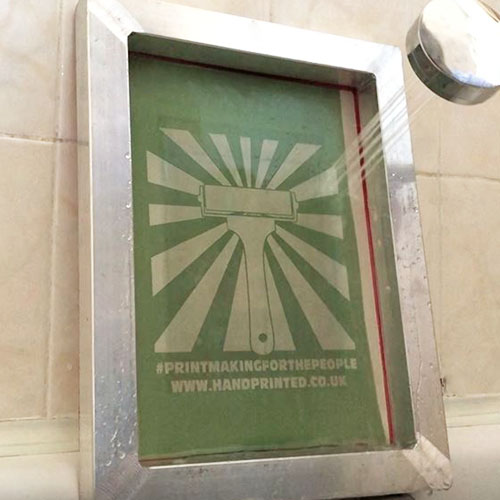
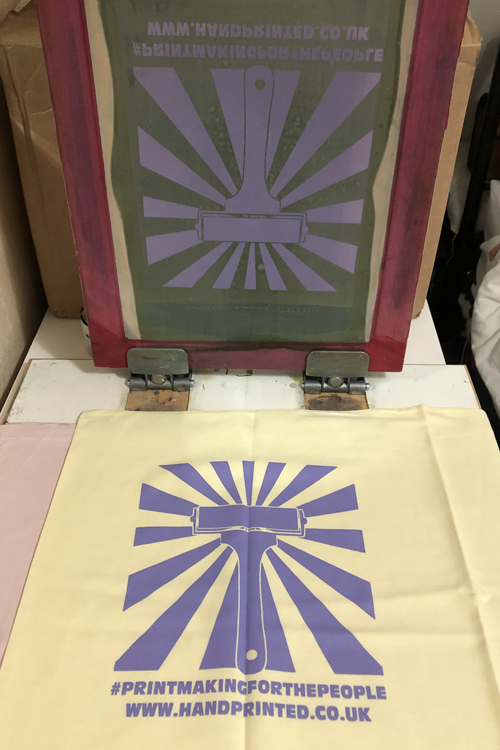
Once my screen was completely dry, I tested it, and this was the result!
To expose your own screen at home you will need:
- Aluminium Screen
- Washing up liquid, Speed Clean or Screen Cleaner
- Coating Trough
- Photo Emulsion and Sensitiser
- Dark space in which screen can dry (drawer, cupboard or box)
- Light (we used a 20W (1500 Lumens) work lamp)
- Tripod (or some way of suspending the light above the screen)
- Raised surface to put under the screen (such as a cookbook)
- Sheet of black paper
- Piece of glass or perspex
- Screen film with artwork drawn or printed onto it, or paper stencil to expose
- Bucket of cold water and a sponge
- Garden or shower hose
