
Designing and Printing an Envelope Stamp
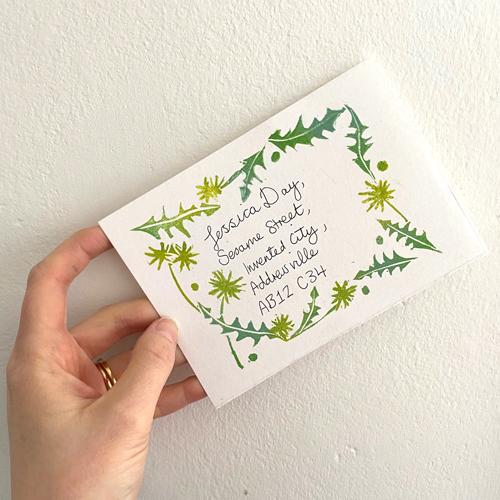
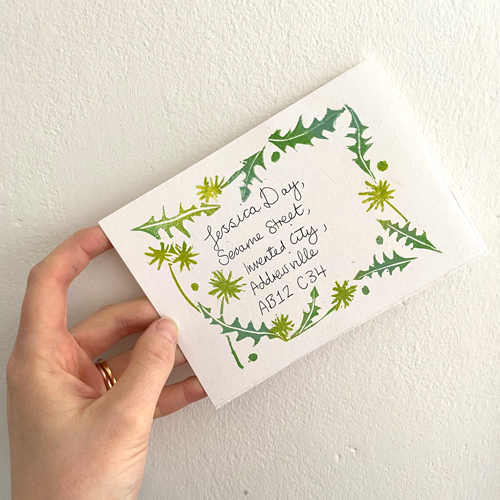
The ways in which we communicate with one another have changed recently and a lot of us are thinking about alternative ways to connect with friends and family. In this project, we show you how to design and print a stamp for the front of your envelopes to add something special to your snail mail to someone important to you. Use your stamp to frame the address on your envelope or parcel or around a little friendly note. You could even print and write a note, take a picture and send to a friend in a cute picture message!
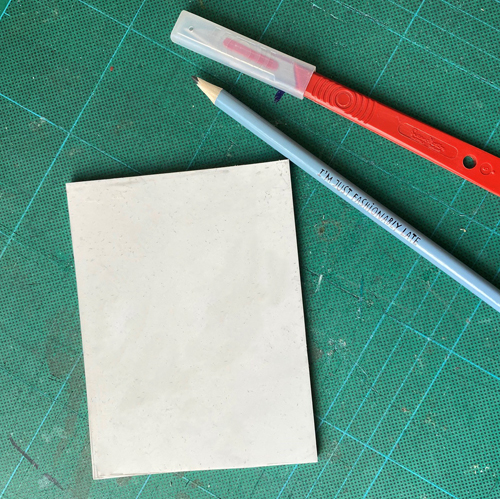
Start with a rectangular piece of Mastercut, Lino, Vinyl, Softcut and other stamping blocks will also work. Carefully use a scalpel to cut a rectangle slightly smaller than your envelope.
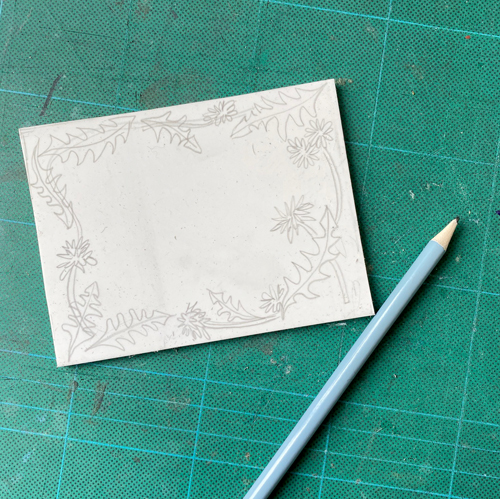
Draw a design onto the Mastercut with a pencil. Draw the design around the edges, leaving a blank space in the centre for the address or message.
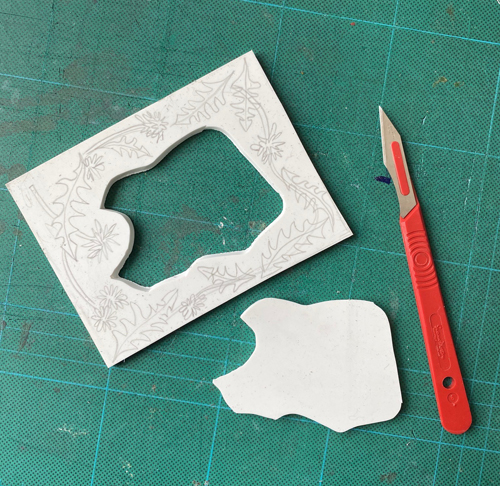
Use a scalpel to remove the blank centre of the stamp. This can be used for more stamps later.
Carve your design. Use a V tool or small U to carve the detail and remove the larger areas with a large U tool. Trim off any excess with a scalpel. We used a set of Japanese Cutting Tools and a 12/1 Pfeil Tool for the tiny detail.
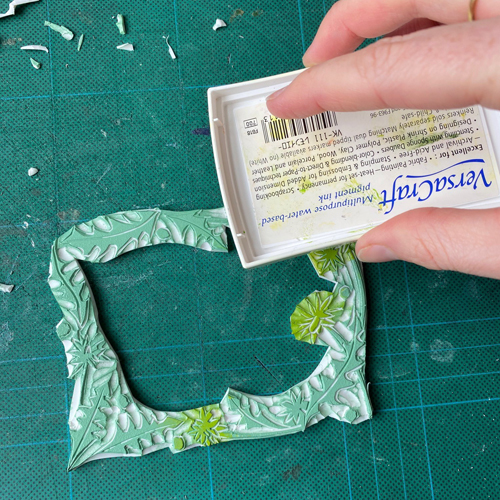
Ink up the stamp using Versacraft Ink Pads. Lay the stamp face up on a flat surface and dab the ink pad all over it.
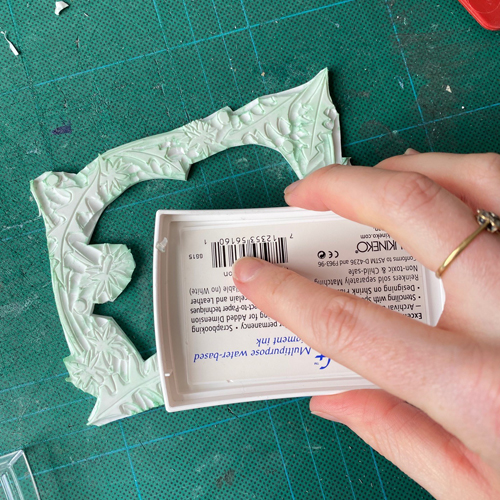
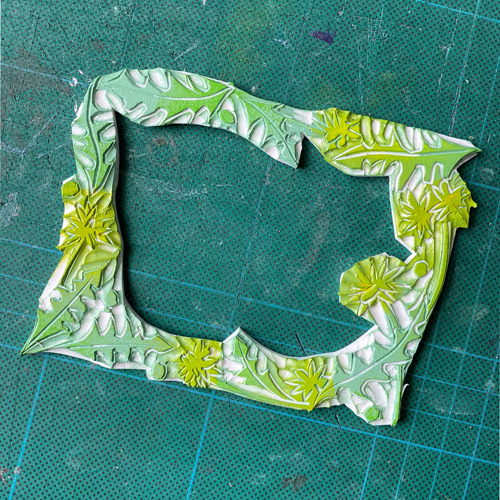
Use different coloured ink pads to blend colours and add pops of colour to specific areas.
Place the inked up stamp face down onto your paper, envelope or note card and press firmly down all over to print.
For this project you will need:
– Mastercut or other stamp carving material
– Cutting Tools (such as Japanese Tools or Pfeil)
– Cutting board
– Pencil
– Scalpel
– Versacraft Ink Pads (or small pads)
– Envelope or paper on which to print