
Exposing a Screen using Speedball’s UV Light
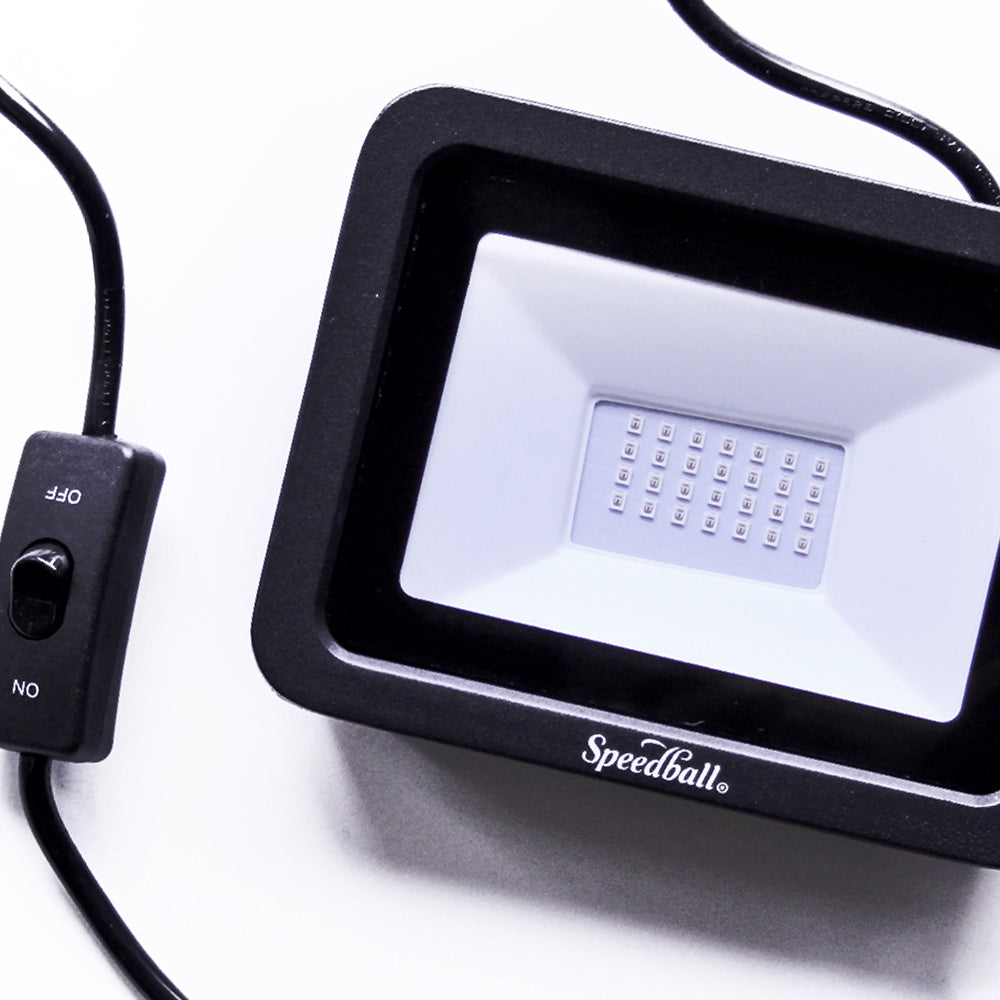
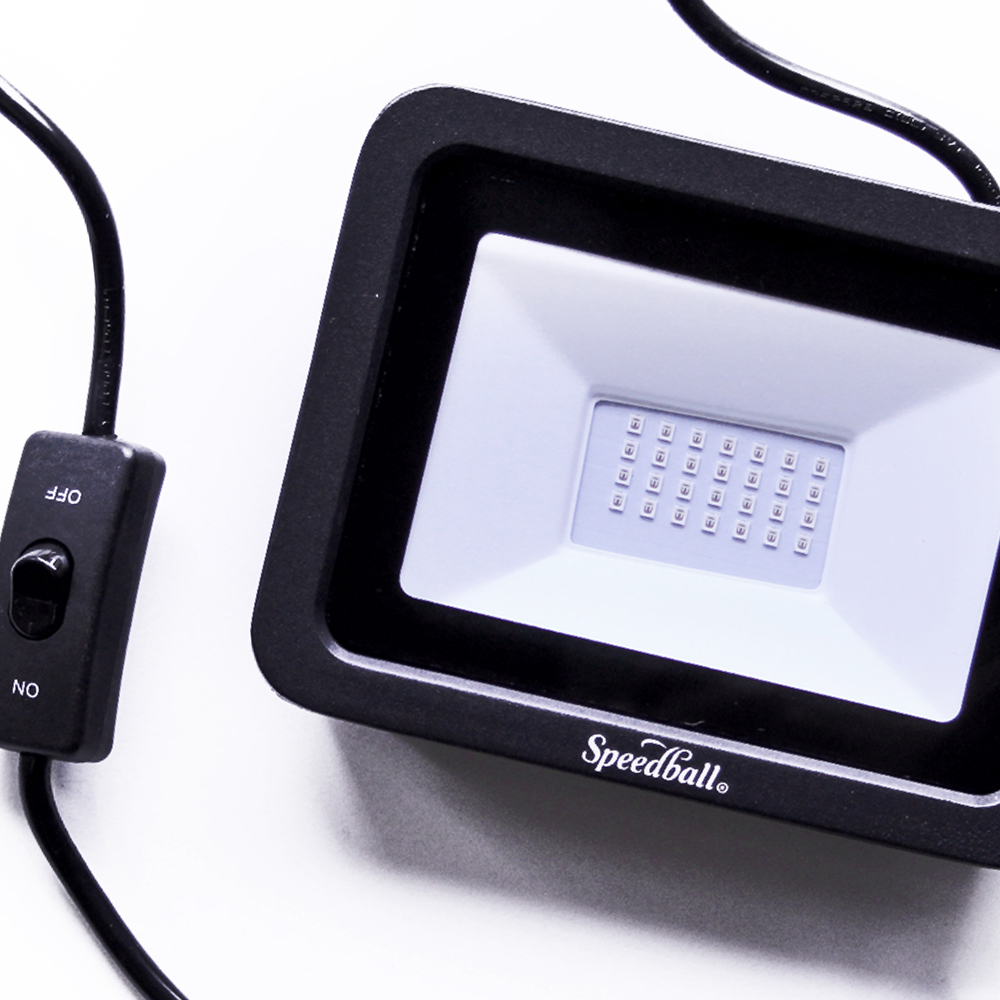
Speedball’s new UV Light makes it so simple to expose screens at home. It has a fold-out bracket that can be mounted or hand held. Its small size makes it ideal for a home studio setting.
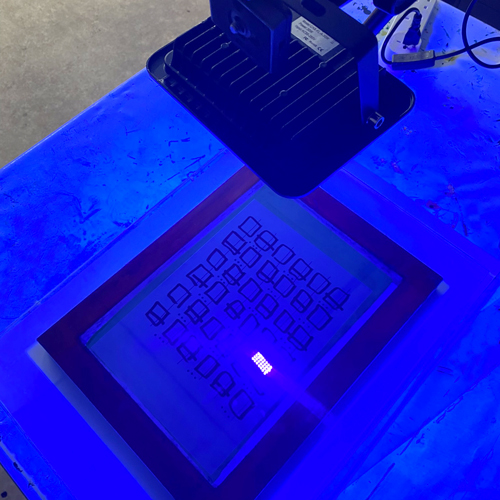
For our project, we hung the light from a tripod, but you could hang it from the back of a chair, off a table or simply hold it during the exposure time.
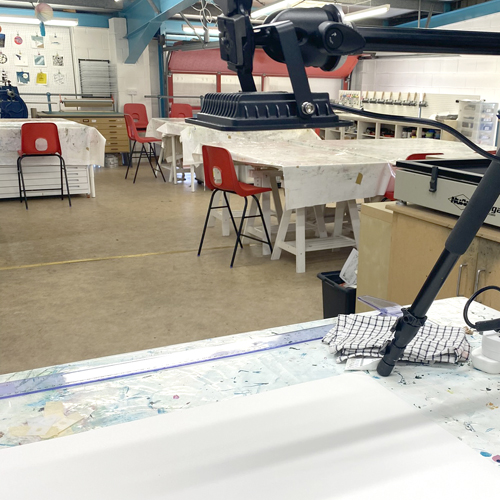
To expose an A4 screen, we suspended the light 16 inches away from the screen for 8 minutes. This was perfect for our setup, but will vary slightly depending on your method and materials used, so you are likely to need to experiment with a few times and distances when you begin.
We used an A4 43T screen coated with a single layer of Speedball Photo Emulsion and Sensitiser. Our artwork was Inkjet Screen Film drawn with Zig Opaque Pens and Jacquard Film Markers.
Place your coated, dried screen on a flat surface, frame side down. For more help on coating your screen, see this blog post. The mesh should be raised above the table. Place the artwork on top of the mesh. The drawn (or inkjet printed) side of the artwork should be down against the mesh. Once it’s placed, the design should me a mirror image when you look at it from above. Place a sheet of glass or perspex on top, to hold the film in place.
We chose to do this process in subdued lighting which gives us a little more time to set up. If the screen is exposed to too much light before you’re ready, your image may not expose properly. Remember to dry your photo emulsion in complete darkness and only bring the coated screen out when you’re ready to expose.
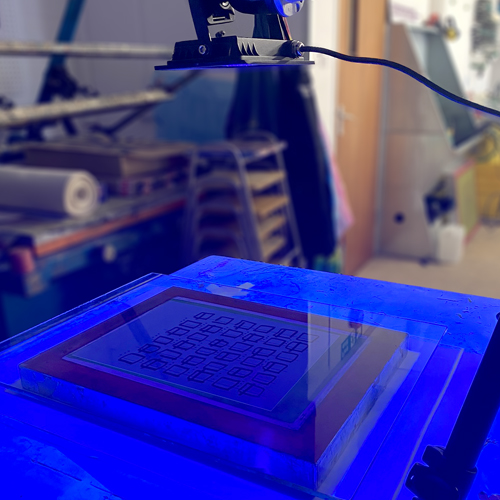
When you’re all set up, turn on the Speedball UV Light and set a timer for your chosen exposure time.
Whilst the screen is exposing, set up your washout station. Ideally, this should be near where you are exposing the screen so you don’t have to carry the screen far before washing it out. If it is far, pop the exposed screen in a black bag for the journey.
We like to use a jet wash to wash out our exposed screens. If you don’t have access to one, a garden or shower hose should be fine – it may just take a little longer.
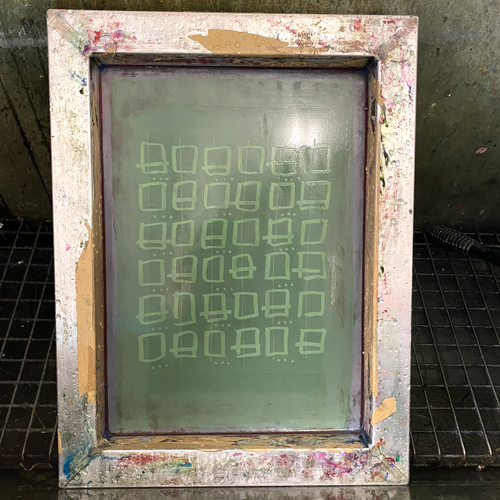
Immediately after your exposure time has elapsed, turn off the UV light and take your screen to your washout station. Get the screen wet straight away, with cold water. Your design should show on the screen at this point, like in the image below.
Use the hose to rinse the screen until the design is completely transparent. Hold it up to the light to check. You may have to wash out in a few attempts, leaving the emulsion to soak for 30 seconds or so between washing. If you’re using a jet wash, be careful not too go too close to the mesh as it can damage the emulsion.
If the design isn’t washing out or the emulsion is coming off in the wrong places, your screen is likely to be over or under exposed. See this blog post for more help on troubleshooting.
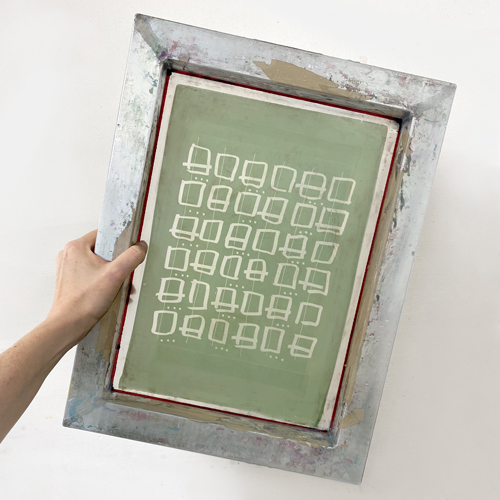
Let the screen dry and then you’re ready to print!
For this project you will need:
- A screen (we used an A4 43T aluminium screen)
- Speedball Photo Emulsion and Sensitiser or a Photo Emulsion Kit
- Inkjet Screen Film
- Zig Opaque Pens, Jacquard Film Markers or an Inkjet Printer
- Something from which to suspend or mount the UV light, or simply hold it
- A ruler to check the distance between the light and the screen
- A clean sheet of glass or perspex, slightly larger than your screen, to hold down the screen film
- Speedball UV light
- Washout station – a jet wash or hose with cold water