
Gelli Plates
We’ve been having a lot of interest in Gelli Plates recently so thought it was about time we posted a few of our own Gelli Plate experiments for you to have a look at. If you haven’t already heard of Gelli Plates, they’re reusable, durable printing plates that allow you to mono-print without a press. Intrigued? Read on…
These plates feel and work like gelatin plates but there is no gelatin or any animal products in the plates. Hooray! With good care, they will last years and can be kept at room temperature.
There are loads of ways to use Gelli Plates to make prints. Here is one way we used our 8″x10″ plate to make a print.
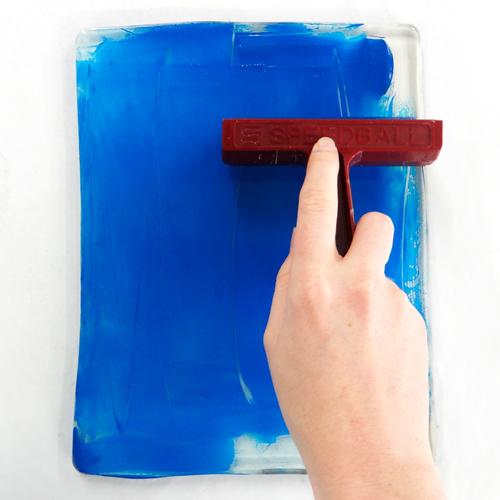
Peel off the plastic layer from the Gelli Plate and lay it flat on a wipe-able surface. Squeeze a little acrylic paint onto the plate. We used System 3 acrylic paint which worked very well as it didn’t dry out quickly. Use a roller to spread out the paint evenly all over the plate. You really don’t need to use much paint here – a thin layer is better
than a thick one.


At this stage you can draw into, press into or paint into the paint. You can use anything to do this as long as it won’t scratch or damage the surface. Scrapers, stampers or the ends of paint brushes work very well for this. Place your paper on top of the plate and press all over with the flat of your hand.


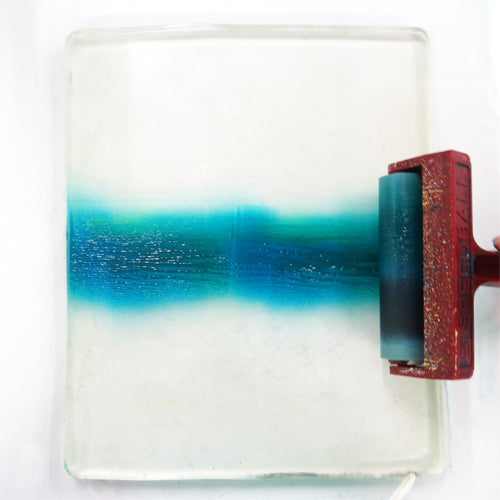
Peel the paper off to reveal the first layer of your print.


If there is paint left on the plate you can use a sheet of scrap paper to pull it off in the same way as you take a print. For our next layer we rolled out pink.

We then used a piece of bubble wrap that we had inked up with red acrylic paint. We used this bubble wrap to stamp onto the plate on top of the pink…


…and then placed this little paper bear on top to act as a mask.

When the print was taken, the mask left this little bear in the brown from our last layer.


We felt he needed a little detail so rolled out a darker brown and used the bear mask and the negative cut out of the bear to print some darker lines.

We tried to get our bear down in the same place but ended up with a slightly mis-registered print. We’re still quite fond of him though.

We tried lots of other techniques with our Gelli Plate too, such as drawing into the paint with the end of a paintbrush, graduating the paint in stripes on the plate, and overlaying lots of different textures on top of one another. Working with Gelli Plates is really addictive!
Here are some photos from more of our experiments:


We even printed some Christmas present tags using our Gelli plate textured with bubble wrap!


We used a 8″x10″ Gelli Plate, but they’re also available in 6″x6″, 5″x7″, 8″x10″! You can find them all here.
You will also need:
- A roller
- Various tools such as these scrapers and these stampers to create textures
- Scraps of materials such as bubble wrap, sequin off-cuts and lace
- Paper stencils and masks cut out with scissors or a craft knife
- Acrylic paint
- Papers to print on
There are lots of books out there on Gelli Plate Printing – This one has to be one of our favourites: Gelli Plate Printing: Mixed-Media Monoprinting Without a Press by Joan Bess.
This book is the ultimate guide. Joan Bess is one of the founders of Gelli Arts who designed the Gelli Plate. The book contains lots of step by step projects, on how to use your Gelli Plate in numerous ways plus a great section focusing on Artists working with Gelli Plates. Loads of pictures – really inspiring.
