
Screen Printing with Permaset Puff Paste
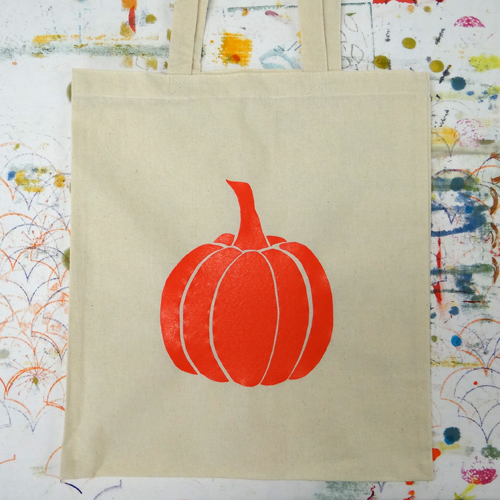
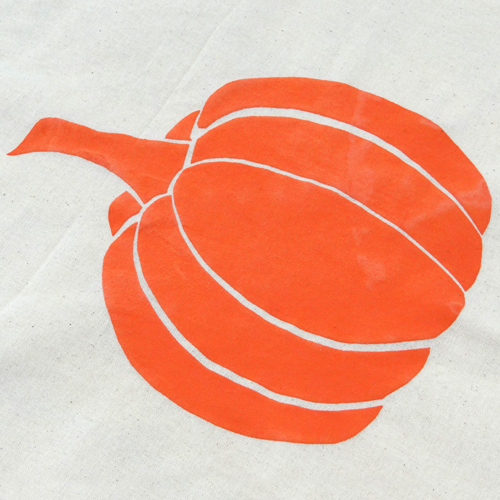
Puff Paste is a great way to add a little something extra to your fabric prints! It adds depth and texture and is so much fun to use. In this project, we have exposed a screen and used it to print with Puff Paste onto a tote bag:
Half-fill the coating trough with photo emulsion. We are using Speedball Photo Emulsion that has been mixed with Sensitiser. We used a 315mm coating trough and coated the A4 screen landscape. An 225mm coating trough can also be used to coat it portrait.
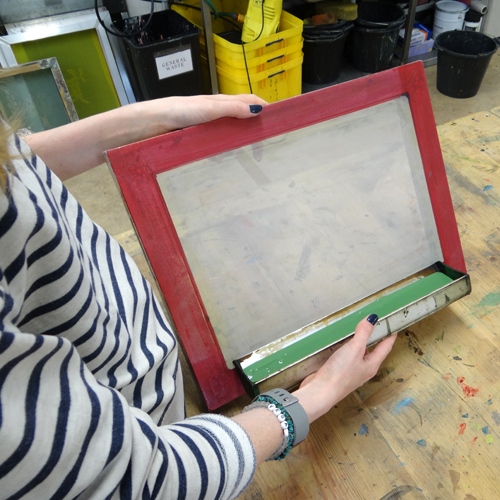
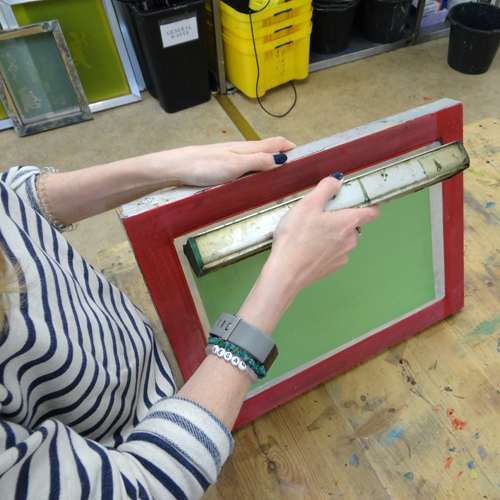
Hold the coating trough in your dominant hand and the screen in the other. The screen should be fairly upright and leant back a little. Put the edge of the coating trough along the bottom edge of the screen, about 1cm from the glued edge. Gently tip the coating trough so the emulsion touches the mesh all the way along.
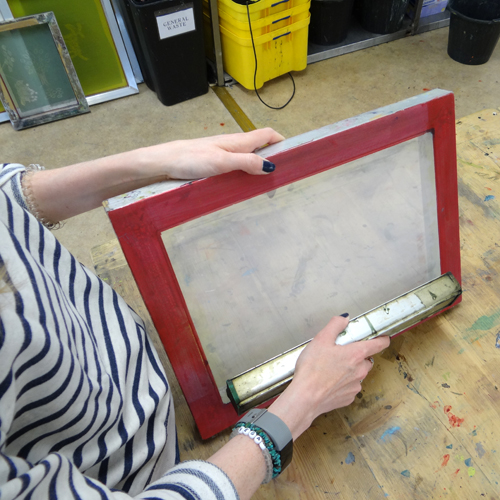
When the emulsion is touching the mesh all the way along, immediately tip the coating trough up so the flat edges of the green ends are flat to the mesh. Drag the coating trough up the mesh.
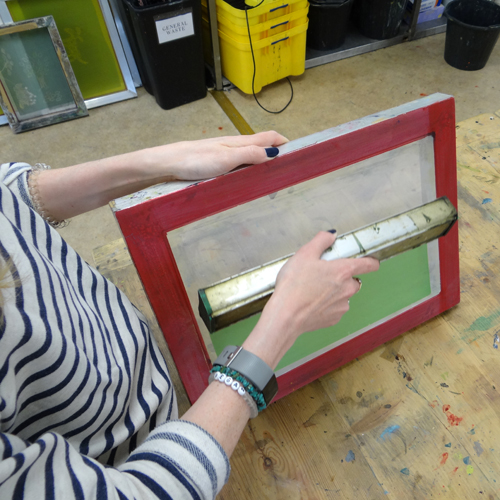
When you have reached the top, tilt the screen and coating trough backwards so the rest of the emulsion sinks back into the trough. Carefully separate the trough from the screen. To remove excess emulsion or any thick areas at the edges, use the trough to scrape up from the bottom, without tipping at all this time.
Dry the screen in the dark, resting the frame on some blocks to allow the air to flow.
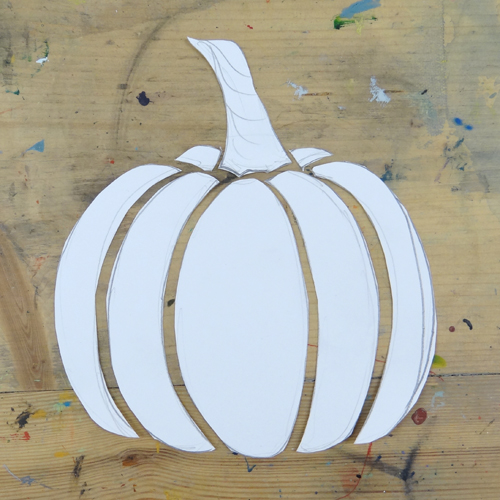
Whilst the screen is drying, prepare the artwork. We are using paper masks to expose a design onto our screen. You could use Inkjet Screen Film and Screen Markers or Zig Pens instead.
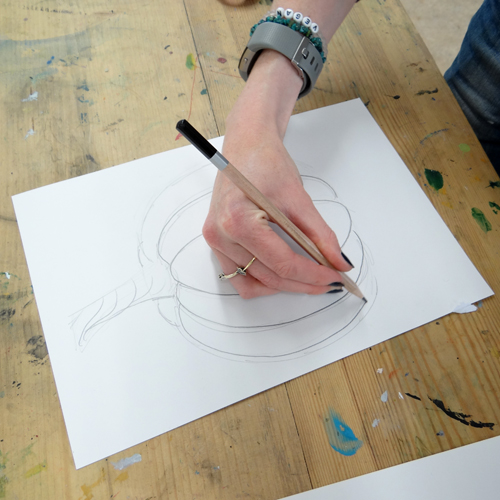
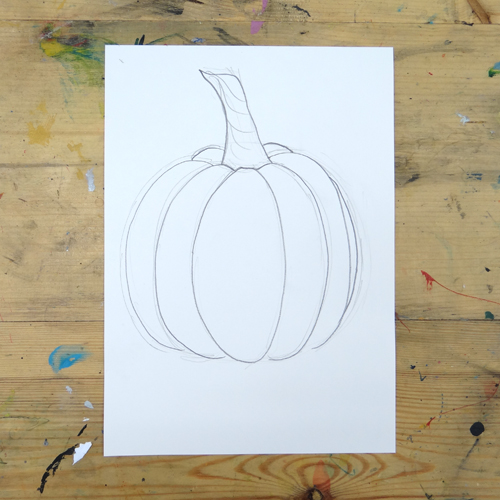
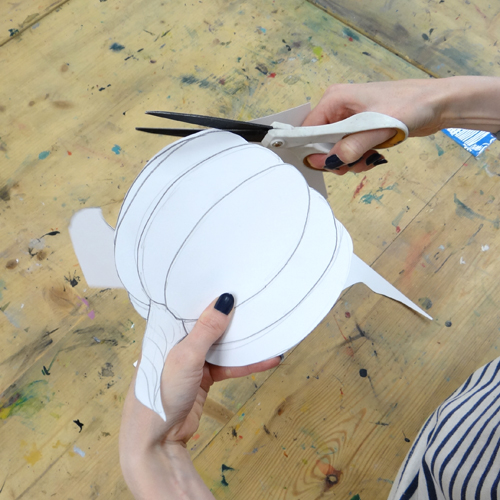
Cut up the design to create the masks. The areas of paper are going to be the parts of the screen that will print.
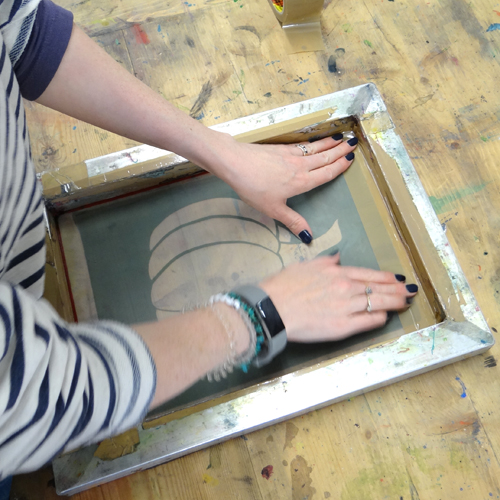
When the screen is dry, arrange the paper design on the glass of the exposure unit and lay the screen on top.
If using a work light exposure set-up, lay the screen down on a flat surface upside down and lay the papers on top (remembering to reverse the design). Place a sheet of glass on top and expose with a light from above.
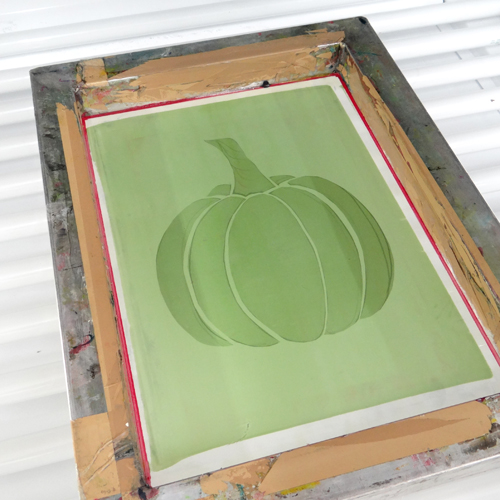
When the screen is exposed, wet both sides to stop the exposure. The design should appear green and the surrounding area should be blue.
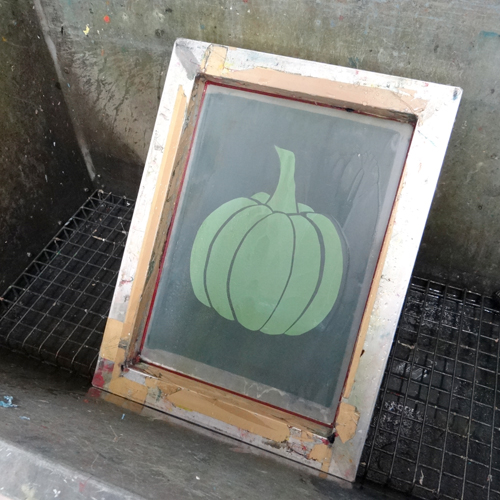
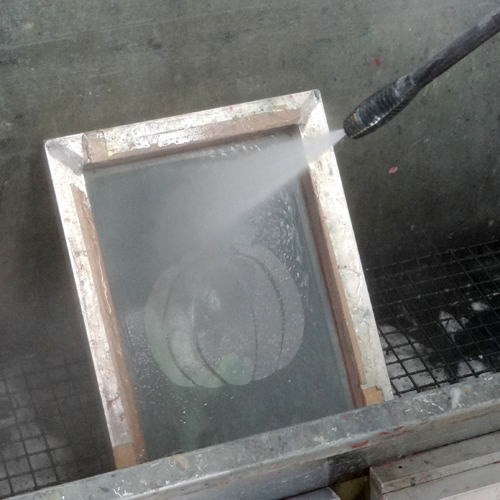
Wash the green emulsion from the screen to reveal open areas of mesh.
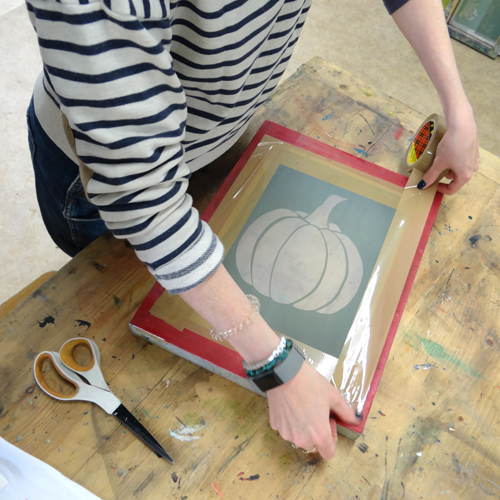
When the screen is dry, use parcel tape to block the edges between the emulsion and the frame.
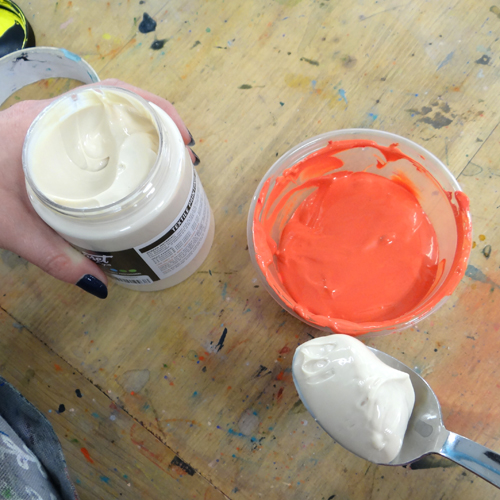
Prepare the ink. We began with a 1:2 mix of Permaset Puff Paste and Permaset Aqua Textile Ink. The more Puff Paste in the mix, the more it will puff up but the paler the colour will be.
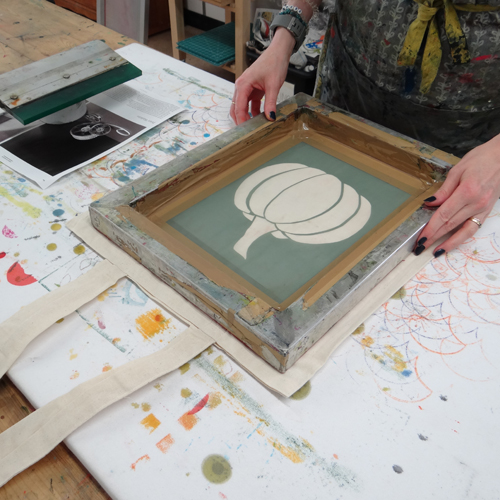
Arrange the screen on top of your fabric. We are printing onto a Tote Bag. It helps to print on top of a padded surface.
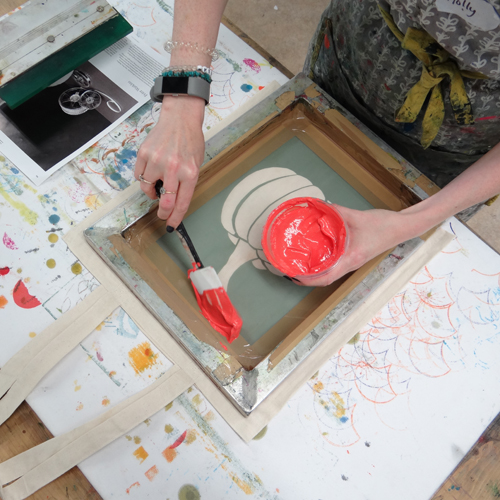
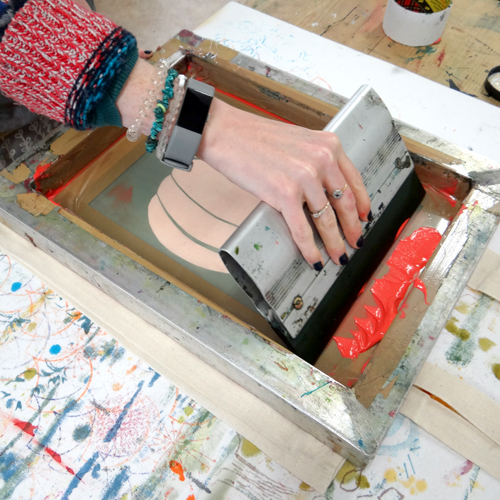
Lay a generous line of ink along one edge of your screen.
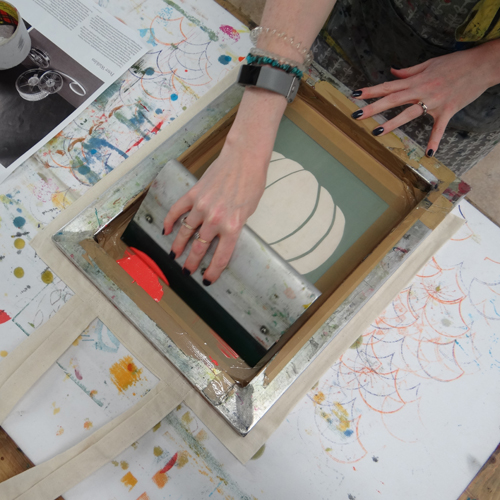
Using a squeegee at a 45-degree angle, drag the ink along the screen gently. We want to lay down a thick layer of ink so we have a generous amount to puff. Use your other hand to hold the screen still.
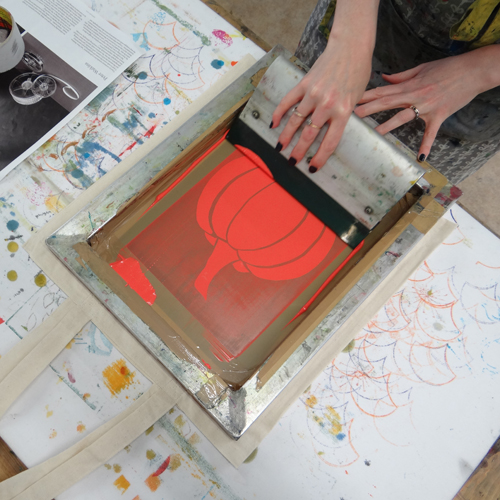
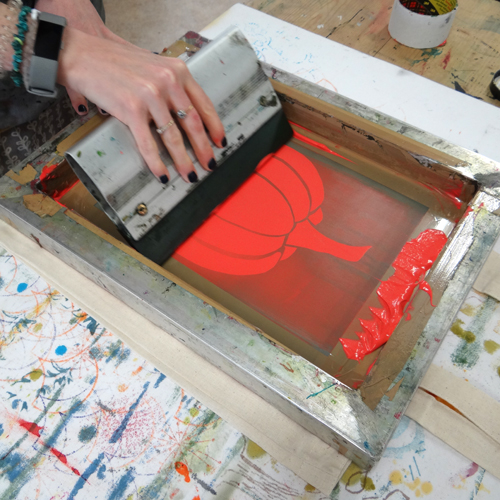
Pressing harder this time, pull the 45-degree angled squeegee down the screen.
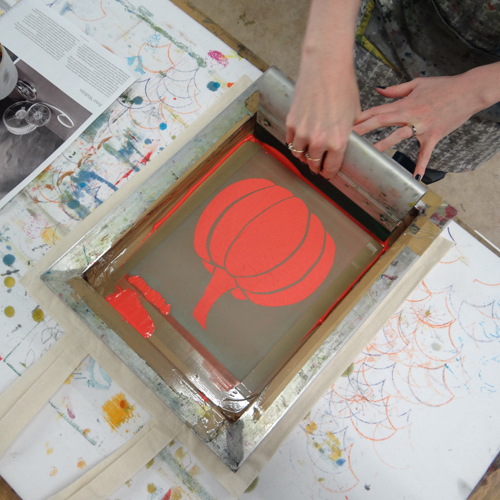
Repeat this printing process two or three times to lay down a thick layer of ink.
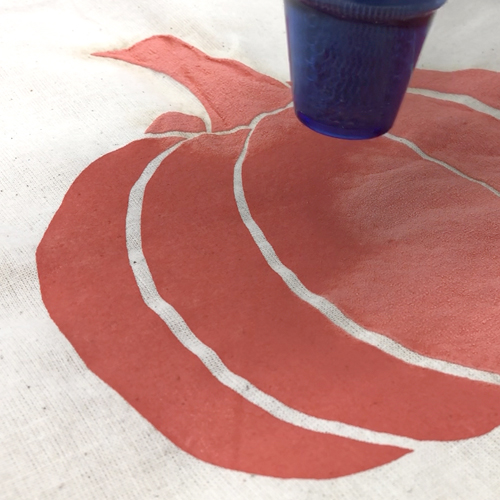
Leave the ink to dry for 15 minutes. We need the water in the ink to evaporate.
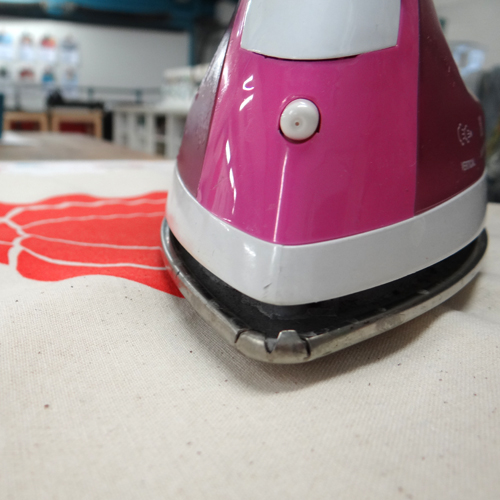
The Puff Paste needs to be heat activated. This can be done with a heat gun or an iron. If using an iron, hover a very hot iron over the surface of the print without touching. The heat should cause the ink to puff up! Try to spread the heat evenly over the whole print.
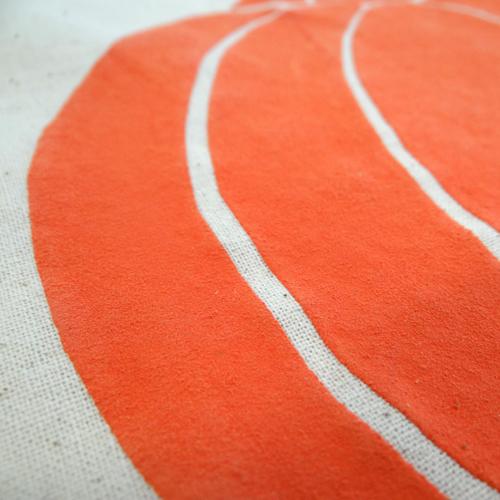
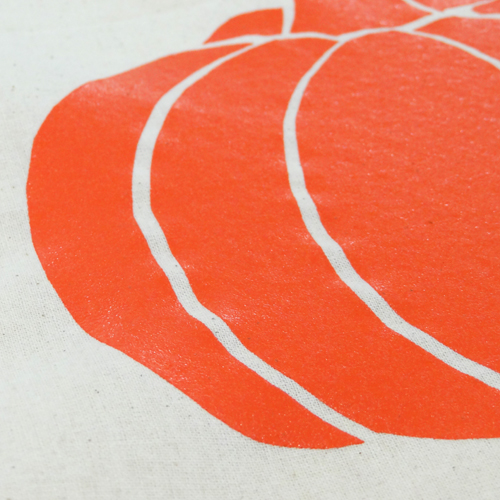
The puffed-up ink gives a great raised texture!
For our next print, we used a mixture of equal parts Puff Paste and Permaset Aqua Textile Ink.
After 15 minutes, we used a heat gun to activate the puff paste. If using a heat gun, slowly move the gun over the top of the print, moving on as it puffs up. The print will get slightly paler as it puffs up. Be careful not to scorch the fabric at the edges of the print like we did – oops!
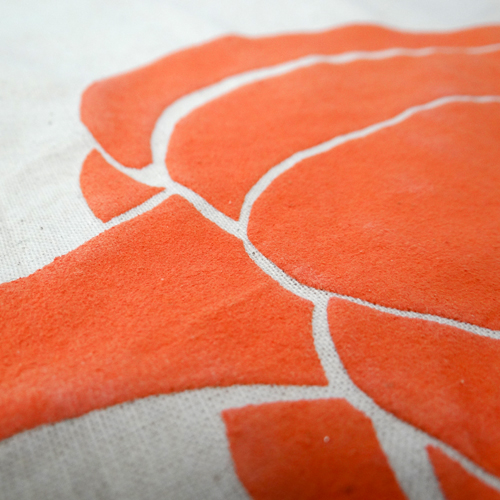
This combination of a more concentrated Puff Paste and a heat gun has given us a puffier texture that is more bobbly. The colour is also a little paler.
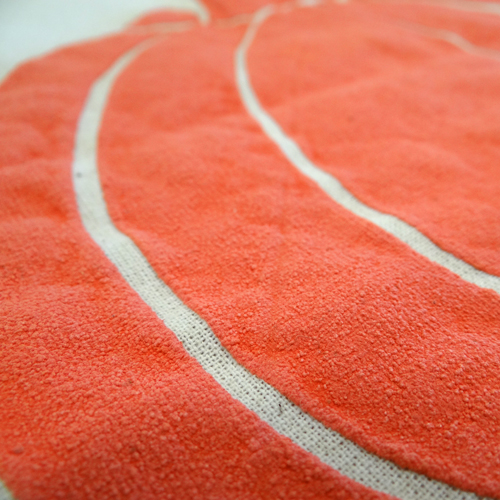
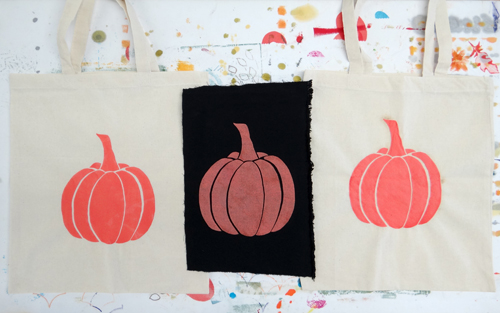
Above is the more concentrated Puff Paste with a heat gun, below is the lower concentration Puff Paste activated with an iron. The print below has a more even texture.

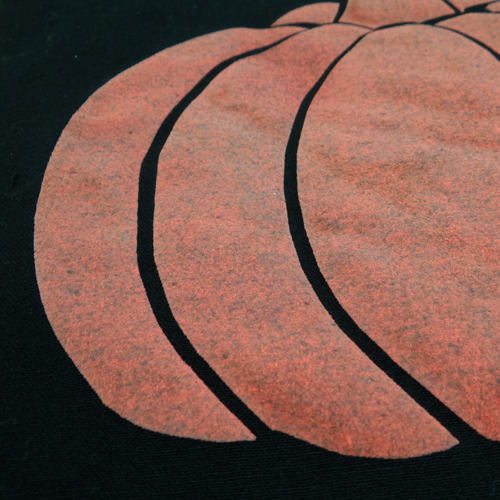
We also tried printing this 50/50 Puff Paste mix onto black fabric! The print shows up well but would be even stronger if we used Permaset Supercover Ink in the mix instead.
For this project you will need:
– Screen (we used an A4 43T)
– Coating Trough
– Speedball Photo Emulsion and Sensitiser
– Dark place to dry screen
– Exposure unit or work light and piece of glass
– Washout booth or bath (or outside space)
– Jet wash or hose
– Parcel Tape
– Scissors
– Paper for masks
– Squeegee
– Permaset Puff Paste
– Permaset Aqua Textile Ink
– Spatula
– Fabric or Tote Bag to print onto
– Padded surface
– Iron or heat gun