
Blog - Tutorials
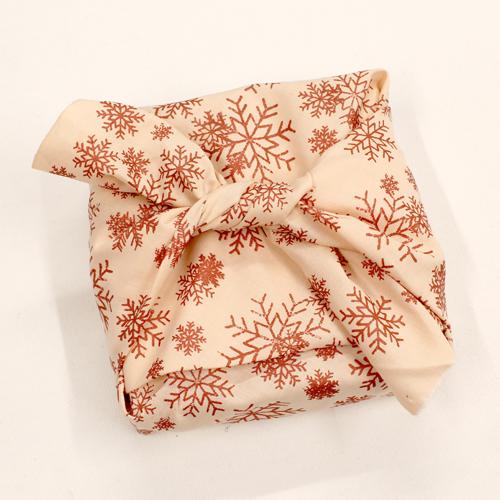 Every year we buy so much gift wrap that is only enjoyed for seconds before being thrown away. Bridget’s furoshiki fabric wrapping can be used over and over again and makes a great addition to a gift! Furoshiki is a beautiful Japanese way of wrapping parcels for gifts and travel. Use scraps of fabric leftover … Continue reading "Handprinted Christmas Project: Bridget’s Furoshiki Fabric Wrapping"
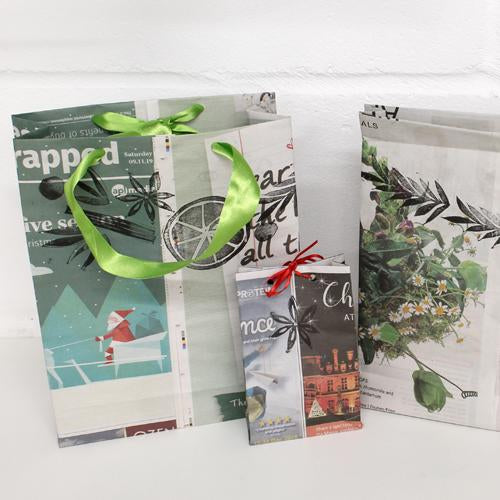 The quest for a more eco-friendly, less wasteful Christmas is a great opportunity to get more creative about the way we wrap our presents. These pretty gift bags use up old newspapers – no non-recyclable wrapping needed. So raid your recycling bin and read through the instructions below. In order to make these bags Christmassy, … Continue reading "Handprinted Christmas Project: Holly’s Stamped Newspaper Gift Bags"
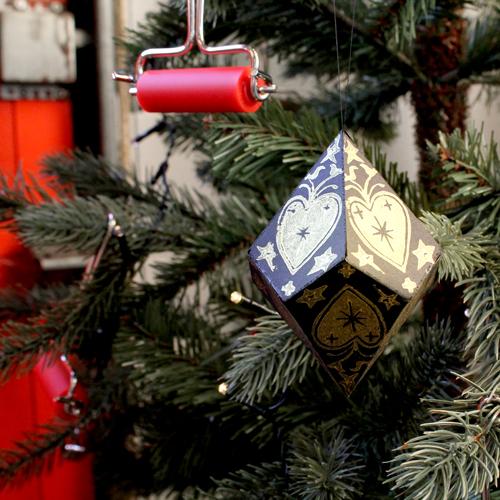 This gorgeous DIY bauble will look amazing hanging from any tree! Use ink and paper to match your favourite Christmassy colours. Jez has opted for gold ink on black paper. Here’s how to make it: Print out our bauble template onto A4 paper – it can be downloaded here. We use using black paper for … Continue reading "Handprinted Christmas Project: Jez’s Printed Bauble"
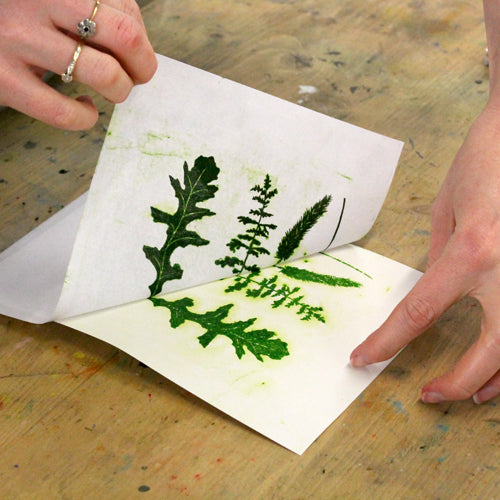 Gum Arabic Transfer (also called paper lithography) is a marvellously fast technique in which photographic images can be added to sketchbooks, paper or mixed media pieces. This is one of the techniques used by Sue Brown in her fantastic work. We were lucky enough to have Sue teach in our studio and hope to have her back soon! … Continue reading "Gum Arabic Transfer"
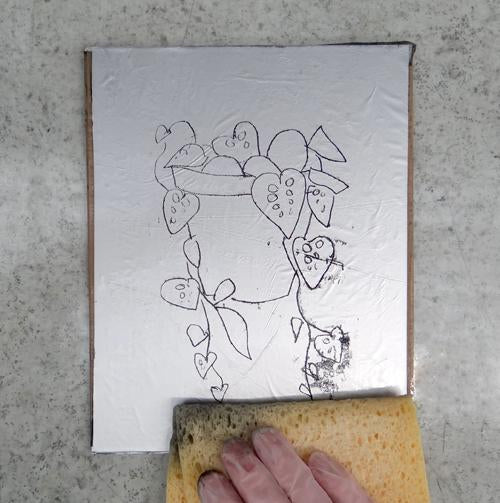 Kitchen lithography is a fantastic technique that draws from the principles of traditional lithography but uses items found in your kitchen along with just a few standard printmaking items! You can even use a baren to take the print so you can try this at home without a press. A piece of drypoint plastic works …
 This is a fantastically quick way of printing a repeat pattern onto fabric. The block is so speedy to make, using a plastic inking plate and stick-back foam. We are using Permaset Aqua Metallic Textile Screen Printing Ink which works beautifully with a Textile Roller to print onto dark fabric. See the entire process in … Continue reading "Printing an Easy Repeat Pattern on Fabric with Permaset Metallic Ink"
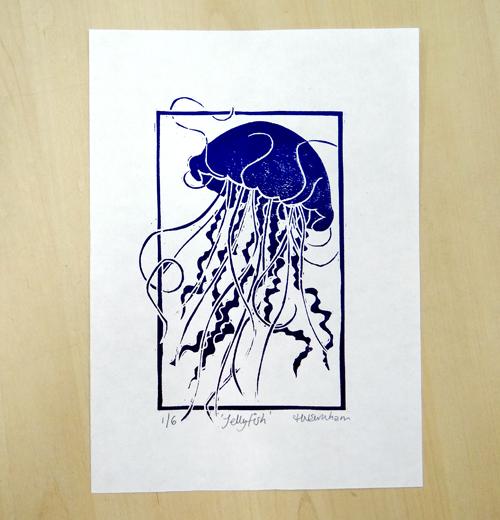
One of the great things about printmaking is that one design can be used to create a whole edition of prints. That being said, editioning is something that some printmakers can find frustrating if you just want to get on with the next design! Knowing how to edition, sign and number your prints can be …
 Reduction linocut is one of the printmaking methods favoured by Picasso. To make a reduction linocut we use only a single piece of lino. Layers of colour are printed on top of one another, each from the same block which is carved between each colour. A reduction linocut can be easier to register than a … Continue reading "Making a Reduction Linocut"
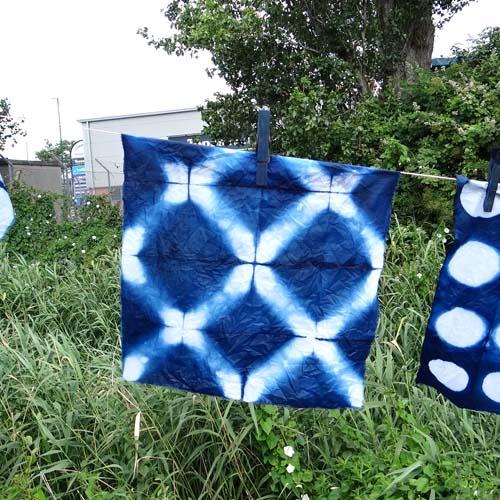 Indigo has been used to dye fabric in many cultures for centuries. Traditional Shibori folding techniques combined with indigo dye can create beautiful fabrics with intricate patterns with both subtle and bold shades of blue. Begin by preparing your dye vat. We are using an Indigo Dye Kit that includes all the ingredients for a …
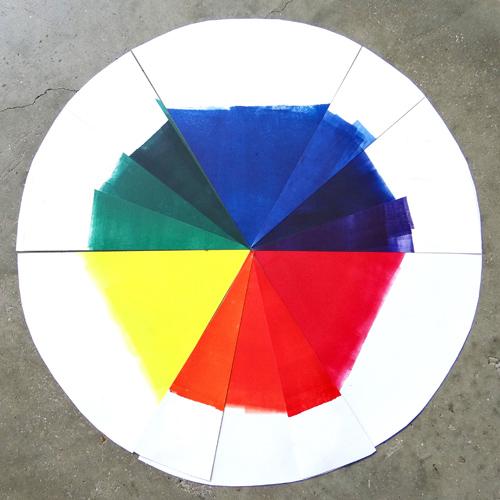 Colour mixing can become a very complicated topic. When printing, it is tempting to use colours straight from the tube as mixing the perfect shade can be a little daunting and result in a large quantity of unwanted murky brown ink. We wanted to create a few colour mixing guides to help printmakers build up … Continue reading "Introduction to Colour Mixing: Caligo Process Colour Wheel"
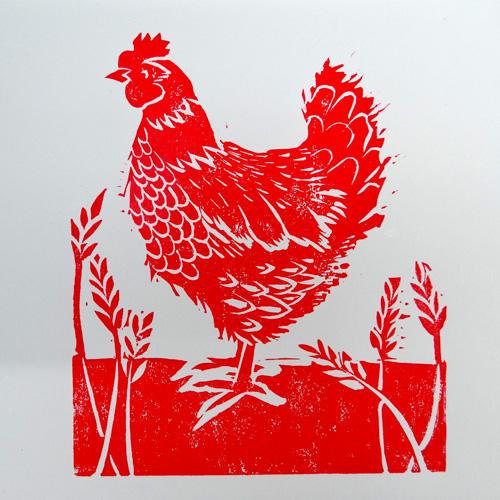 Relief printing is a technique in which the raised surface of a block or plate is inked up and printed when in contact with paper (or fabric etc.) A linocut is a relief printing method using carved lino. Any areas that are left uncarved will be inked up with a roller and printed. This project … Continue reading "How to Carve and Print a Simple Linocut for Beginners"
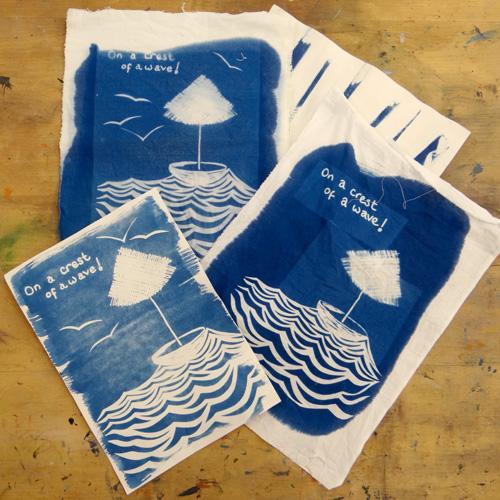 Cyanotype is an early photographic process that uses two solutions (Potassium Ferricyanide and Ferric Ammonium Citrate) to create an image or ‘blueprint’. It was introduced by John Herschel in 1842 as a way to copy notes but was brought to the photographic world by Anna Atkins the following decade through her photograms of algae, seaweed, …
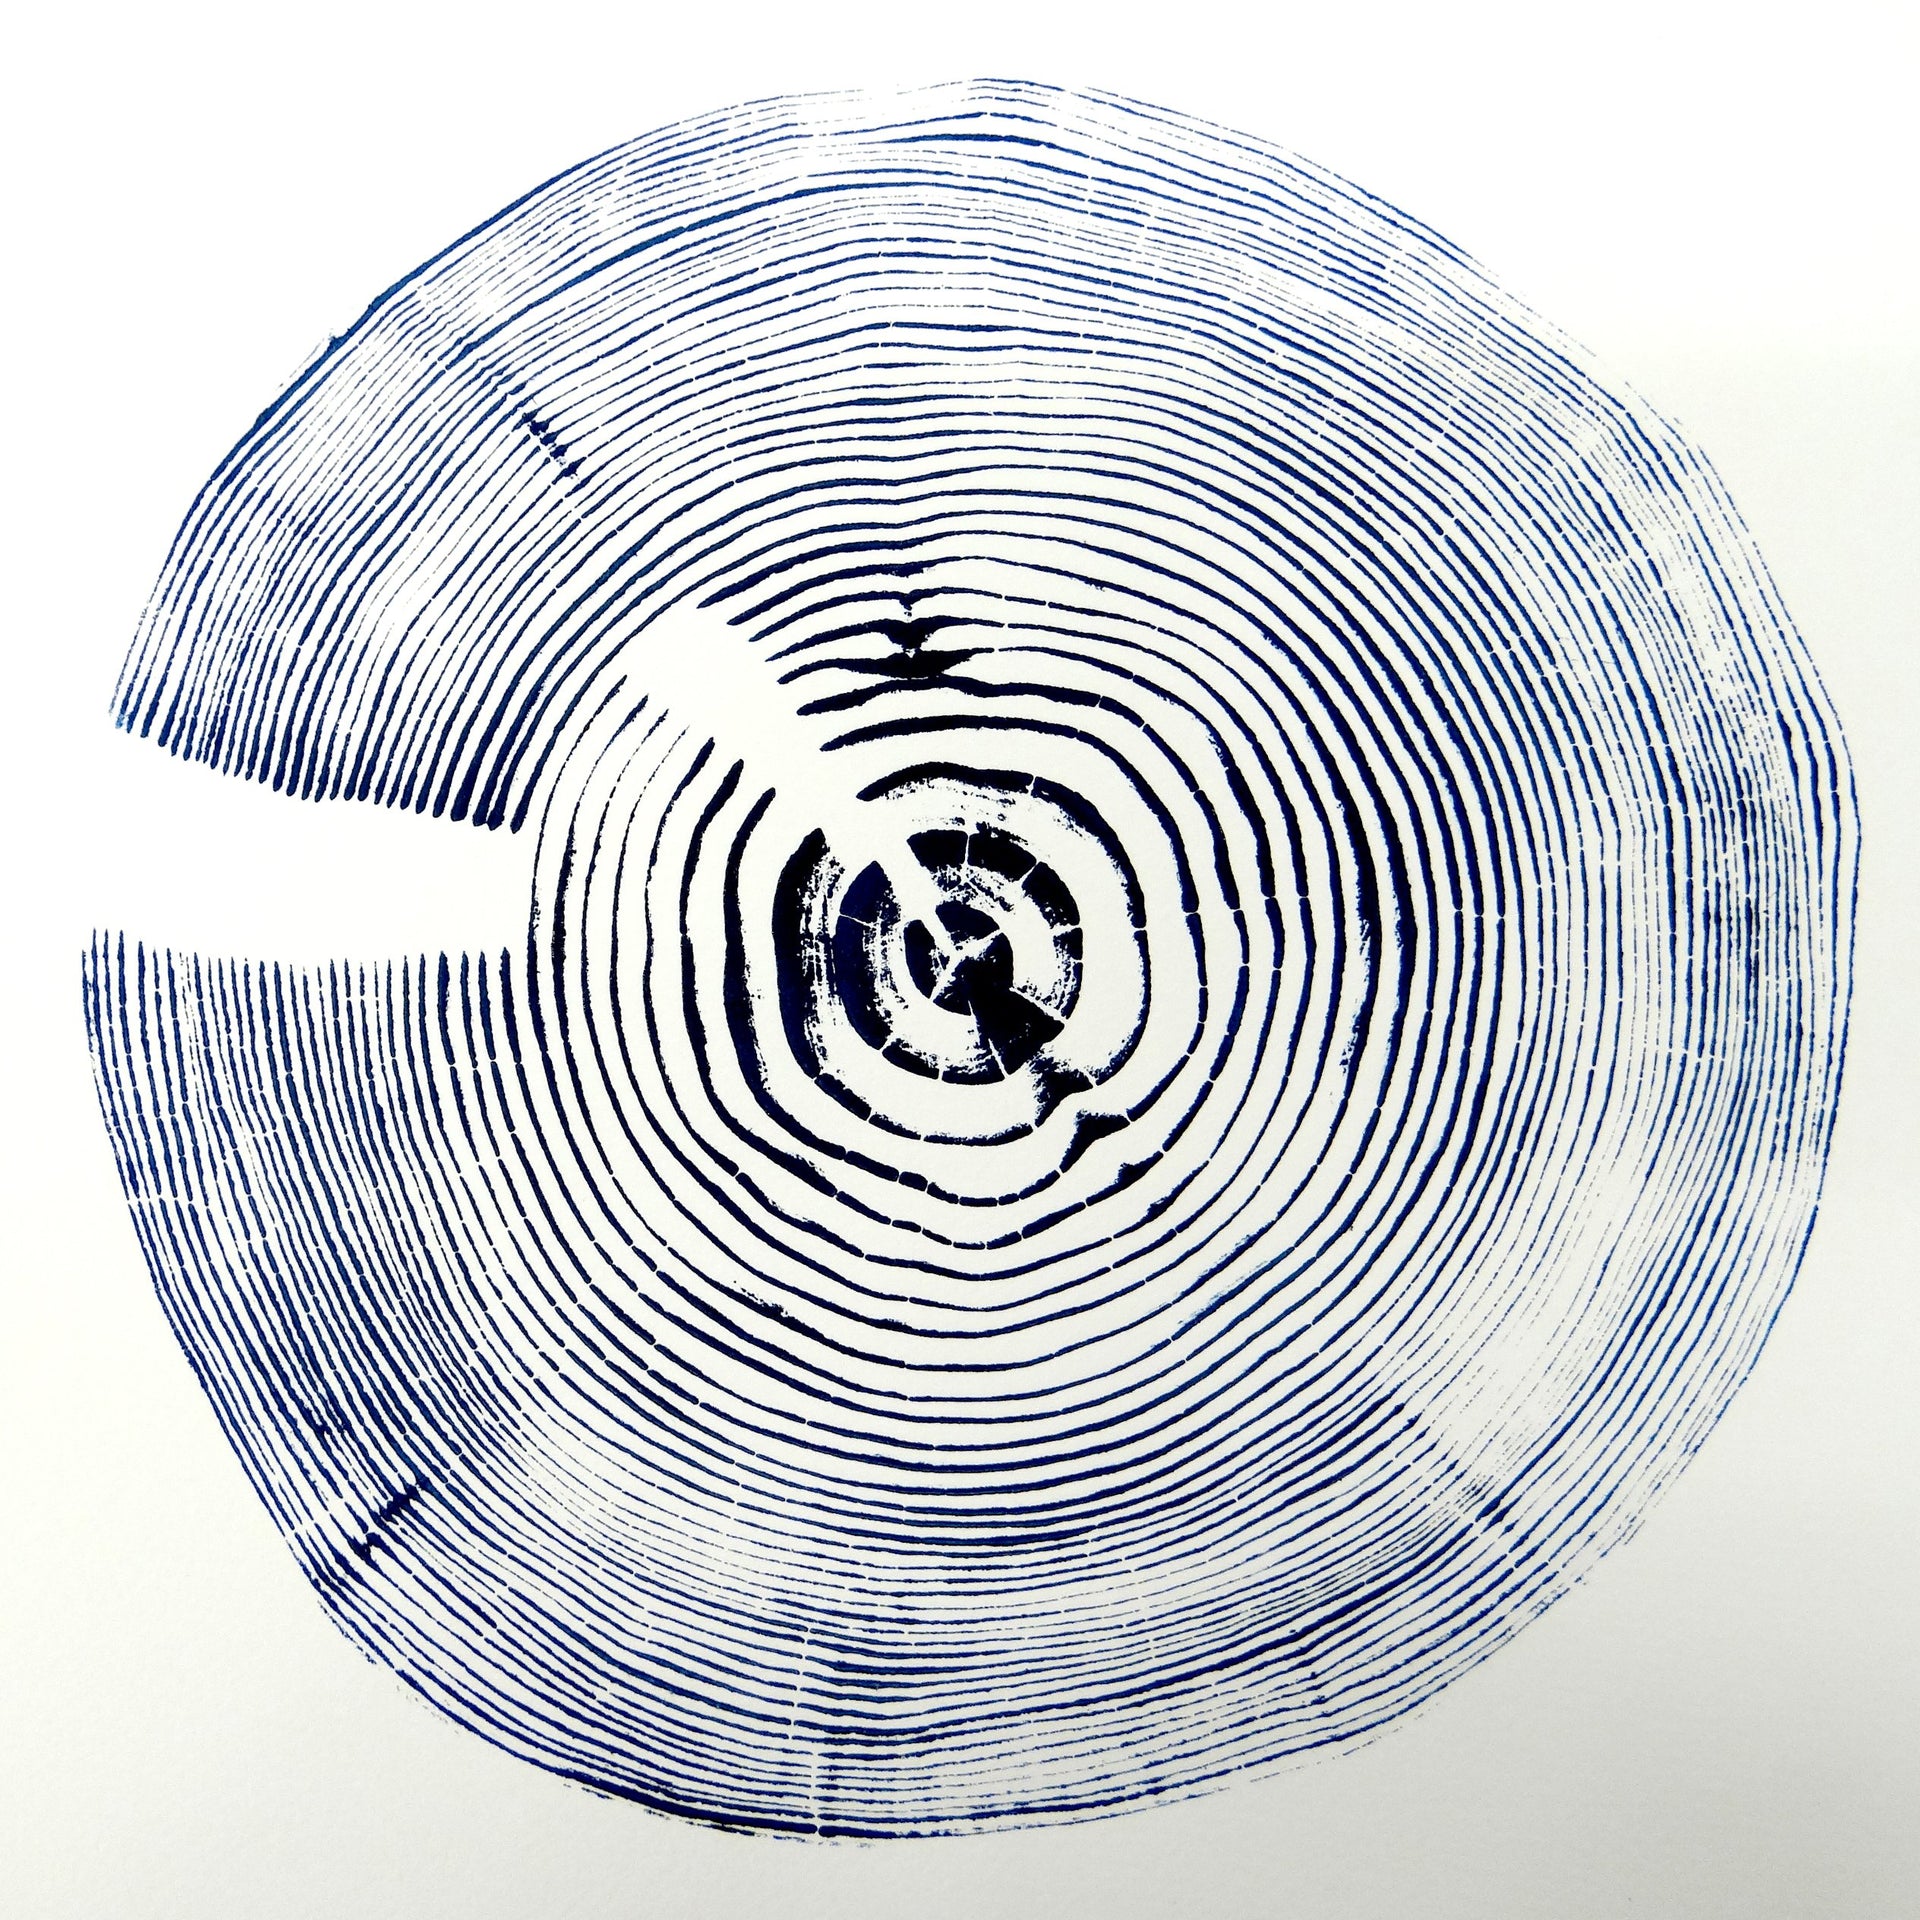 It can be interesting to include natural textures in our relief prints. Wood grain is a beautiful organic pattern and can be printed especially well if we emphasise the natural grain in the wood. We can do this with a blow torch. Scorch the surface of the wood to bring out the wood grain. (Please be careful … Continue reading "Relief Printing from Wood Grain"
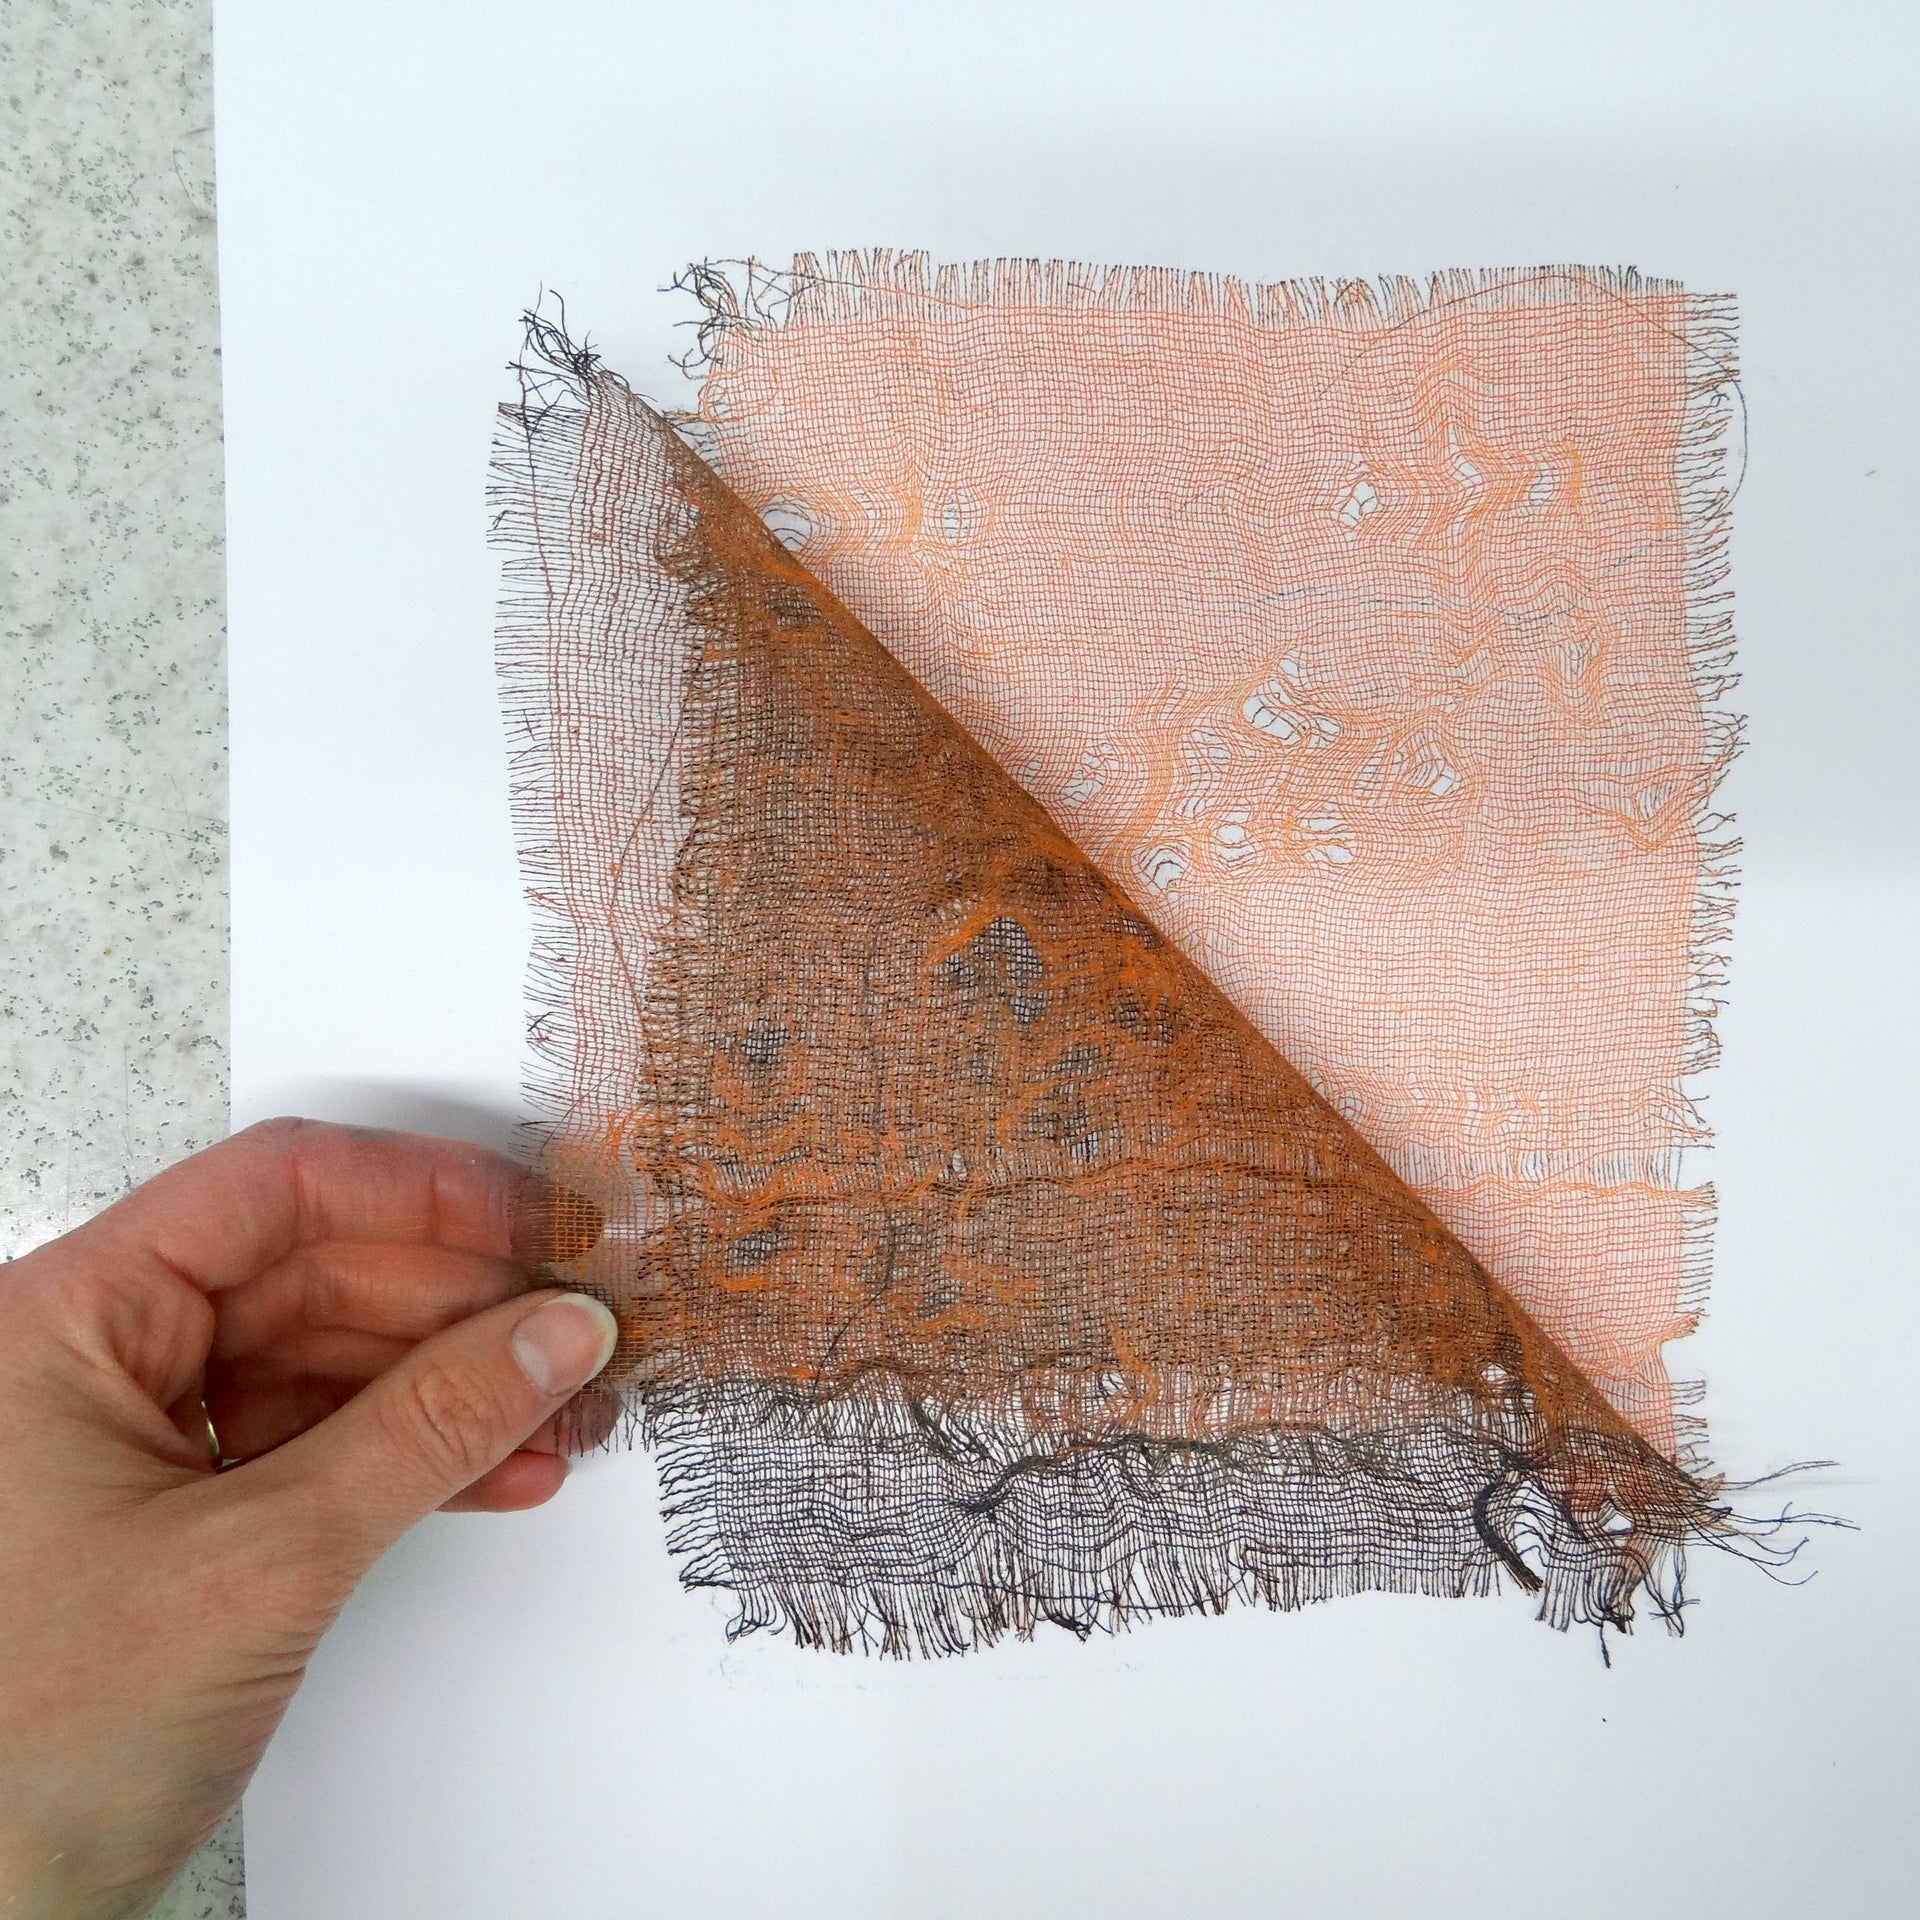 Monoprinting is a lovely technique that allows printmakers to be spontaneous, painterly and experimental. This simple monoprint project produces beautiful delicate prints using a piece of scrim and an etching press. Begin with a piece of perpex, a plastic inking plate or a sheet of drypoint plastic. use masking tape to tape off a rectangle on your perspex. … Continue reading "Monoprinting with Scrim"
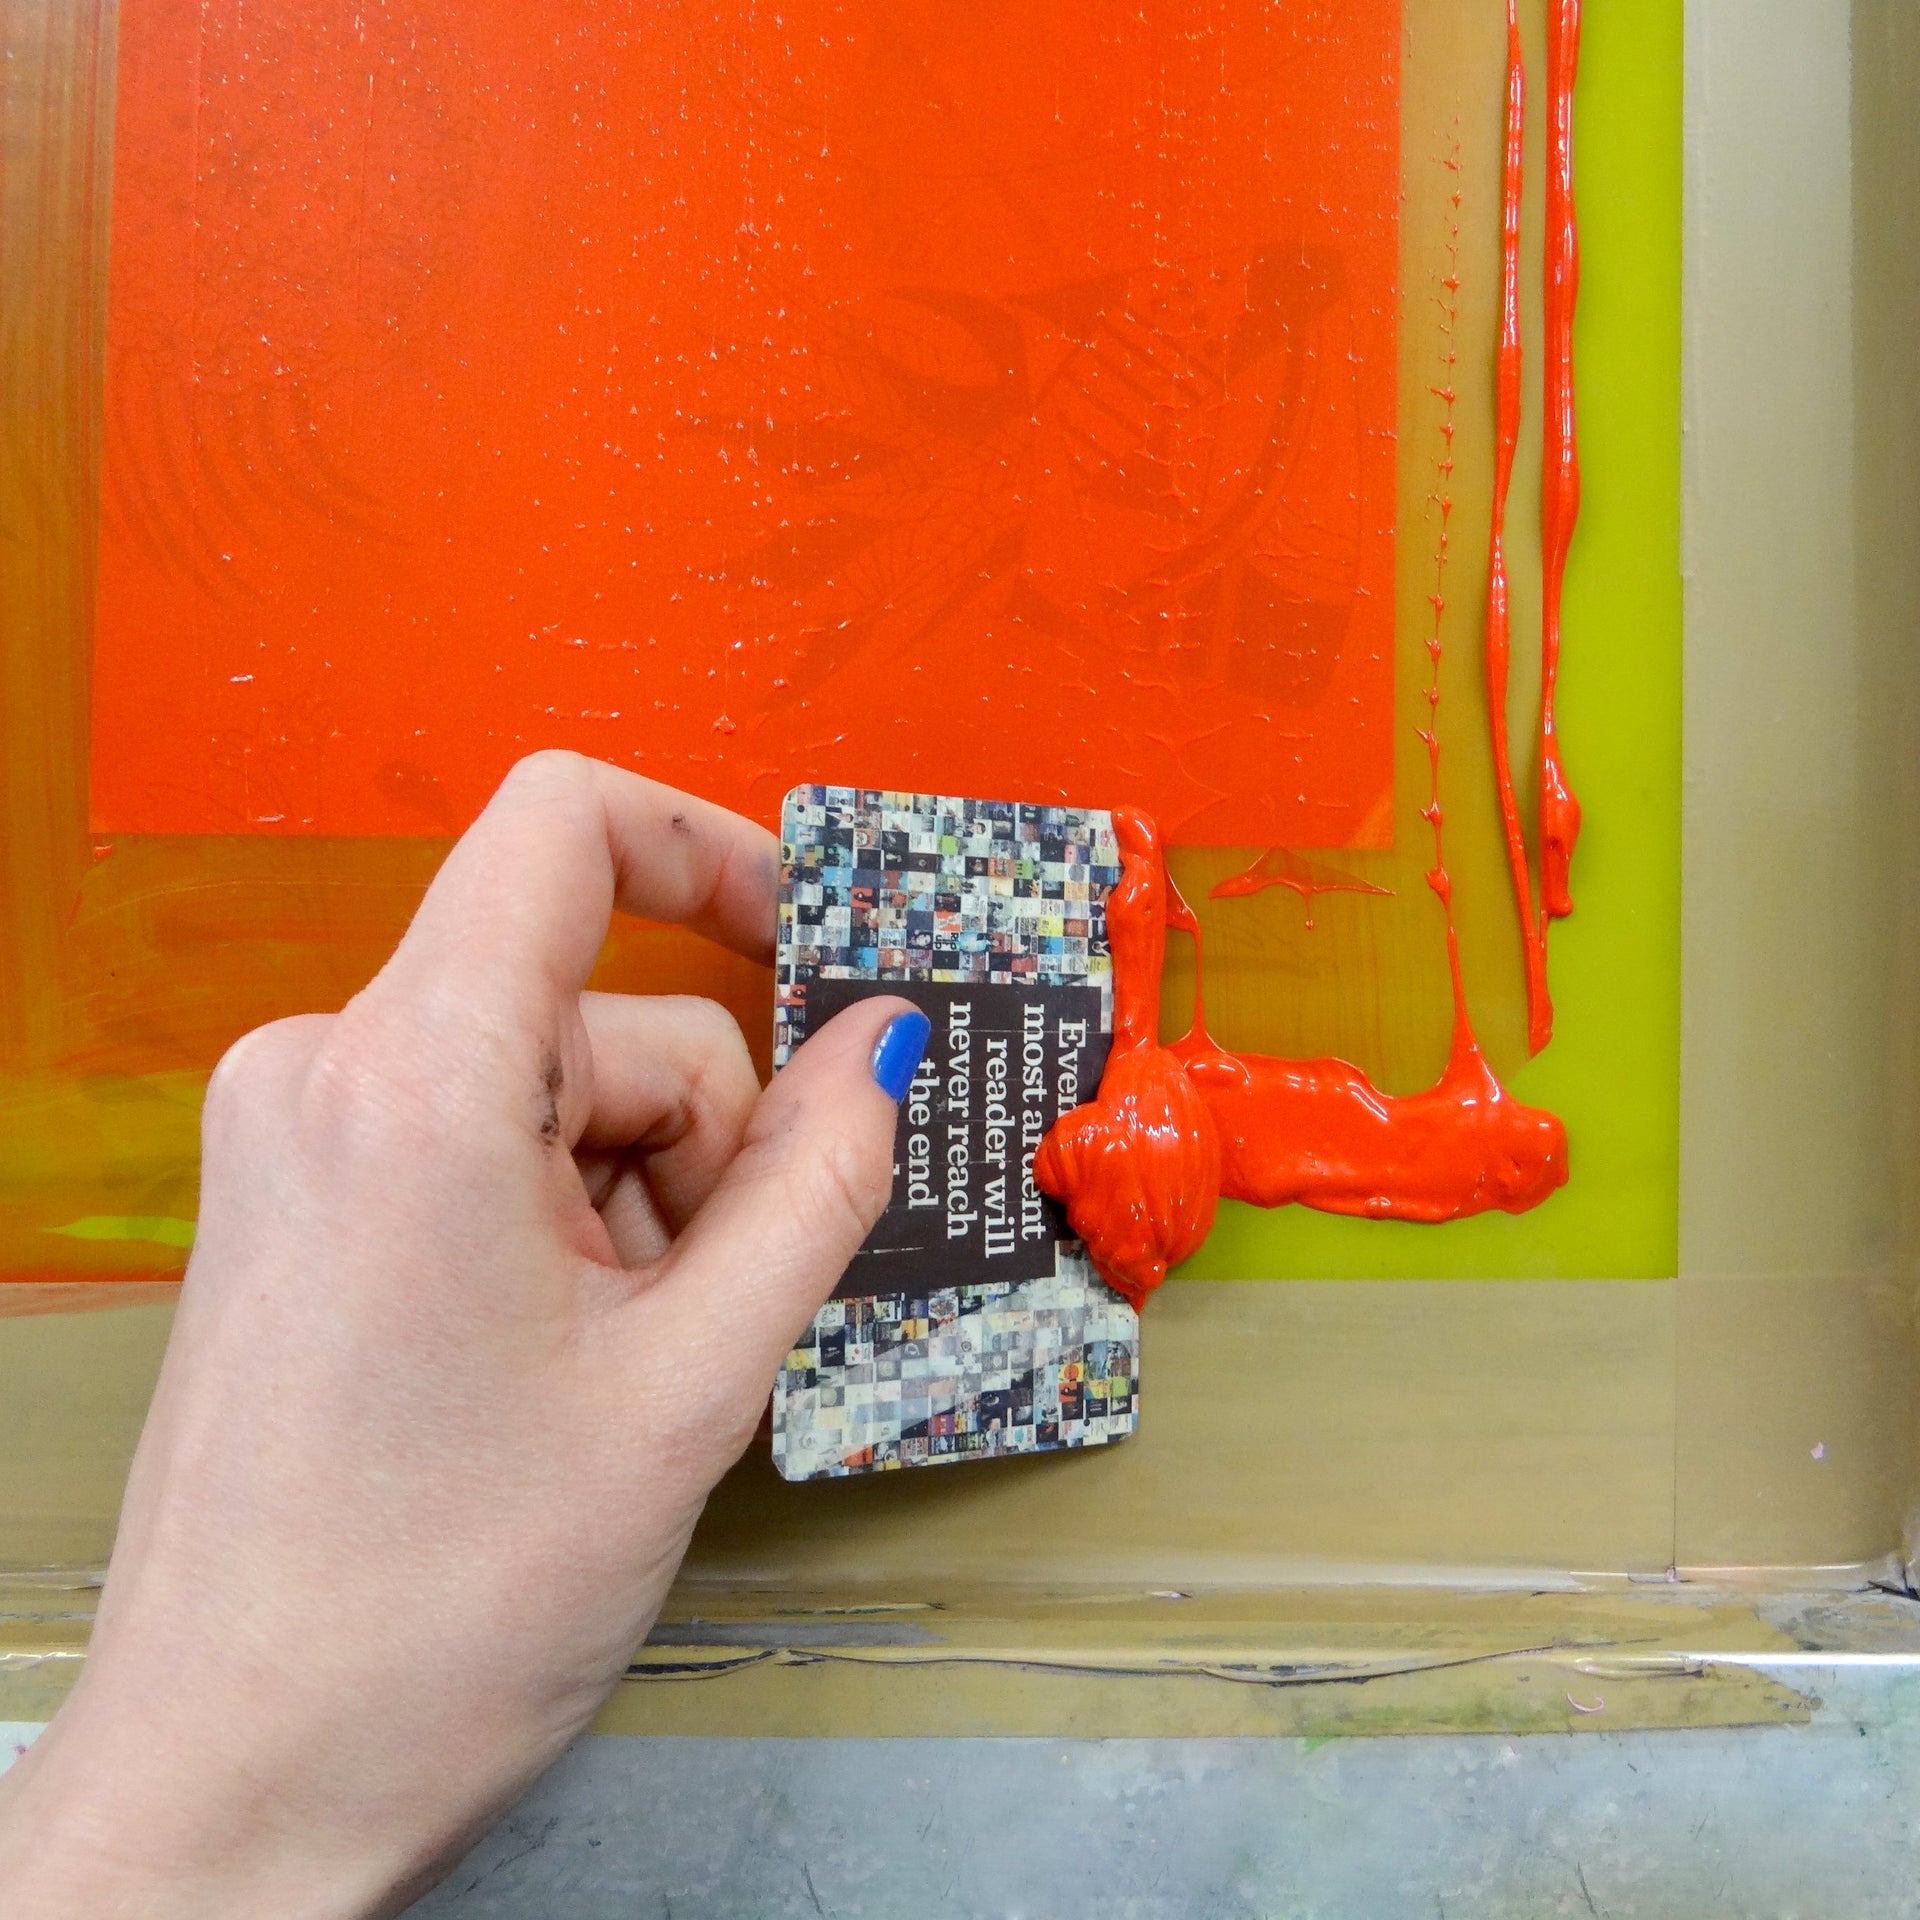 There are many objects that can be gathered from around the house to add to your printmaking kit! Here are some of our favourite alternative uses for easily found objects that we use in the studio every day! Use clips on your hinged screen for an easy squeegee rest: Securing two large clips to your …
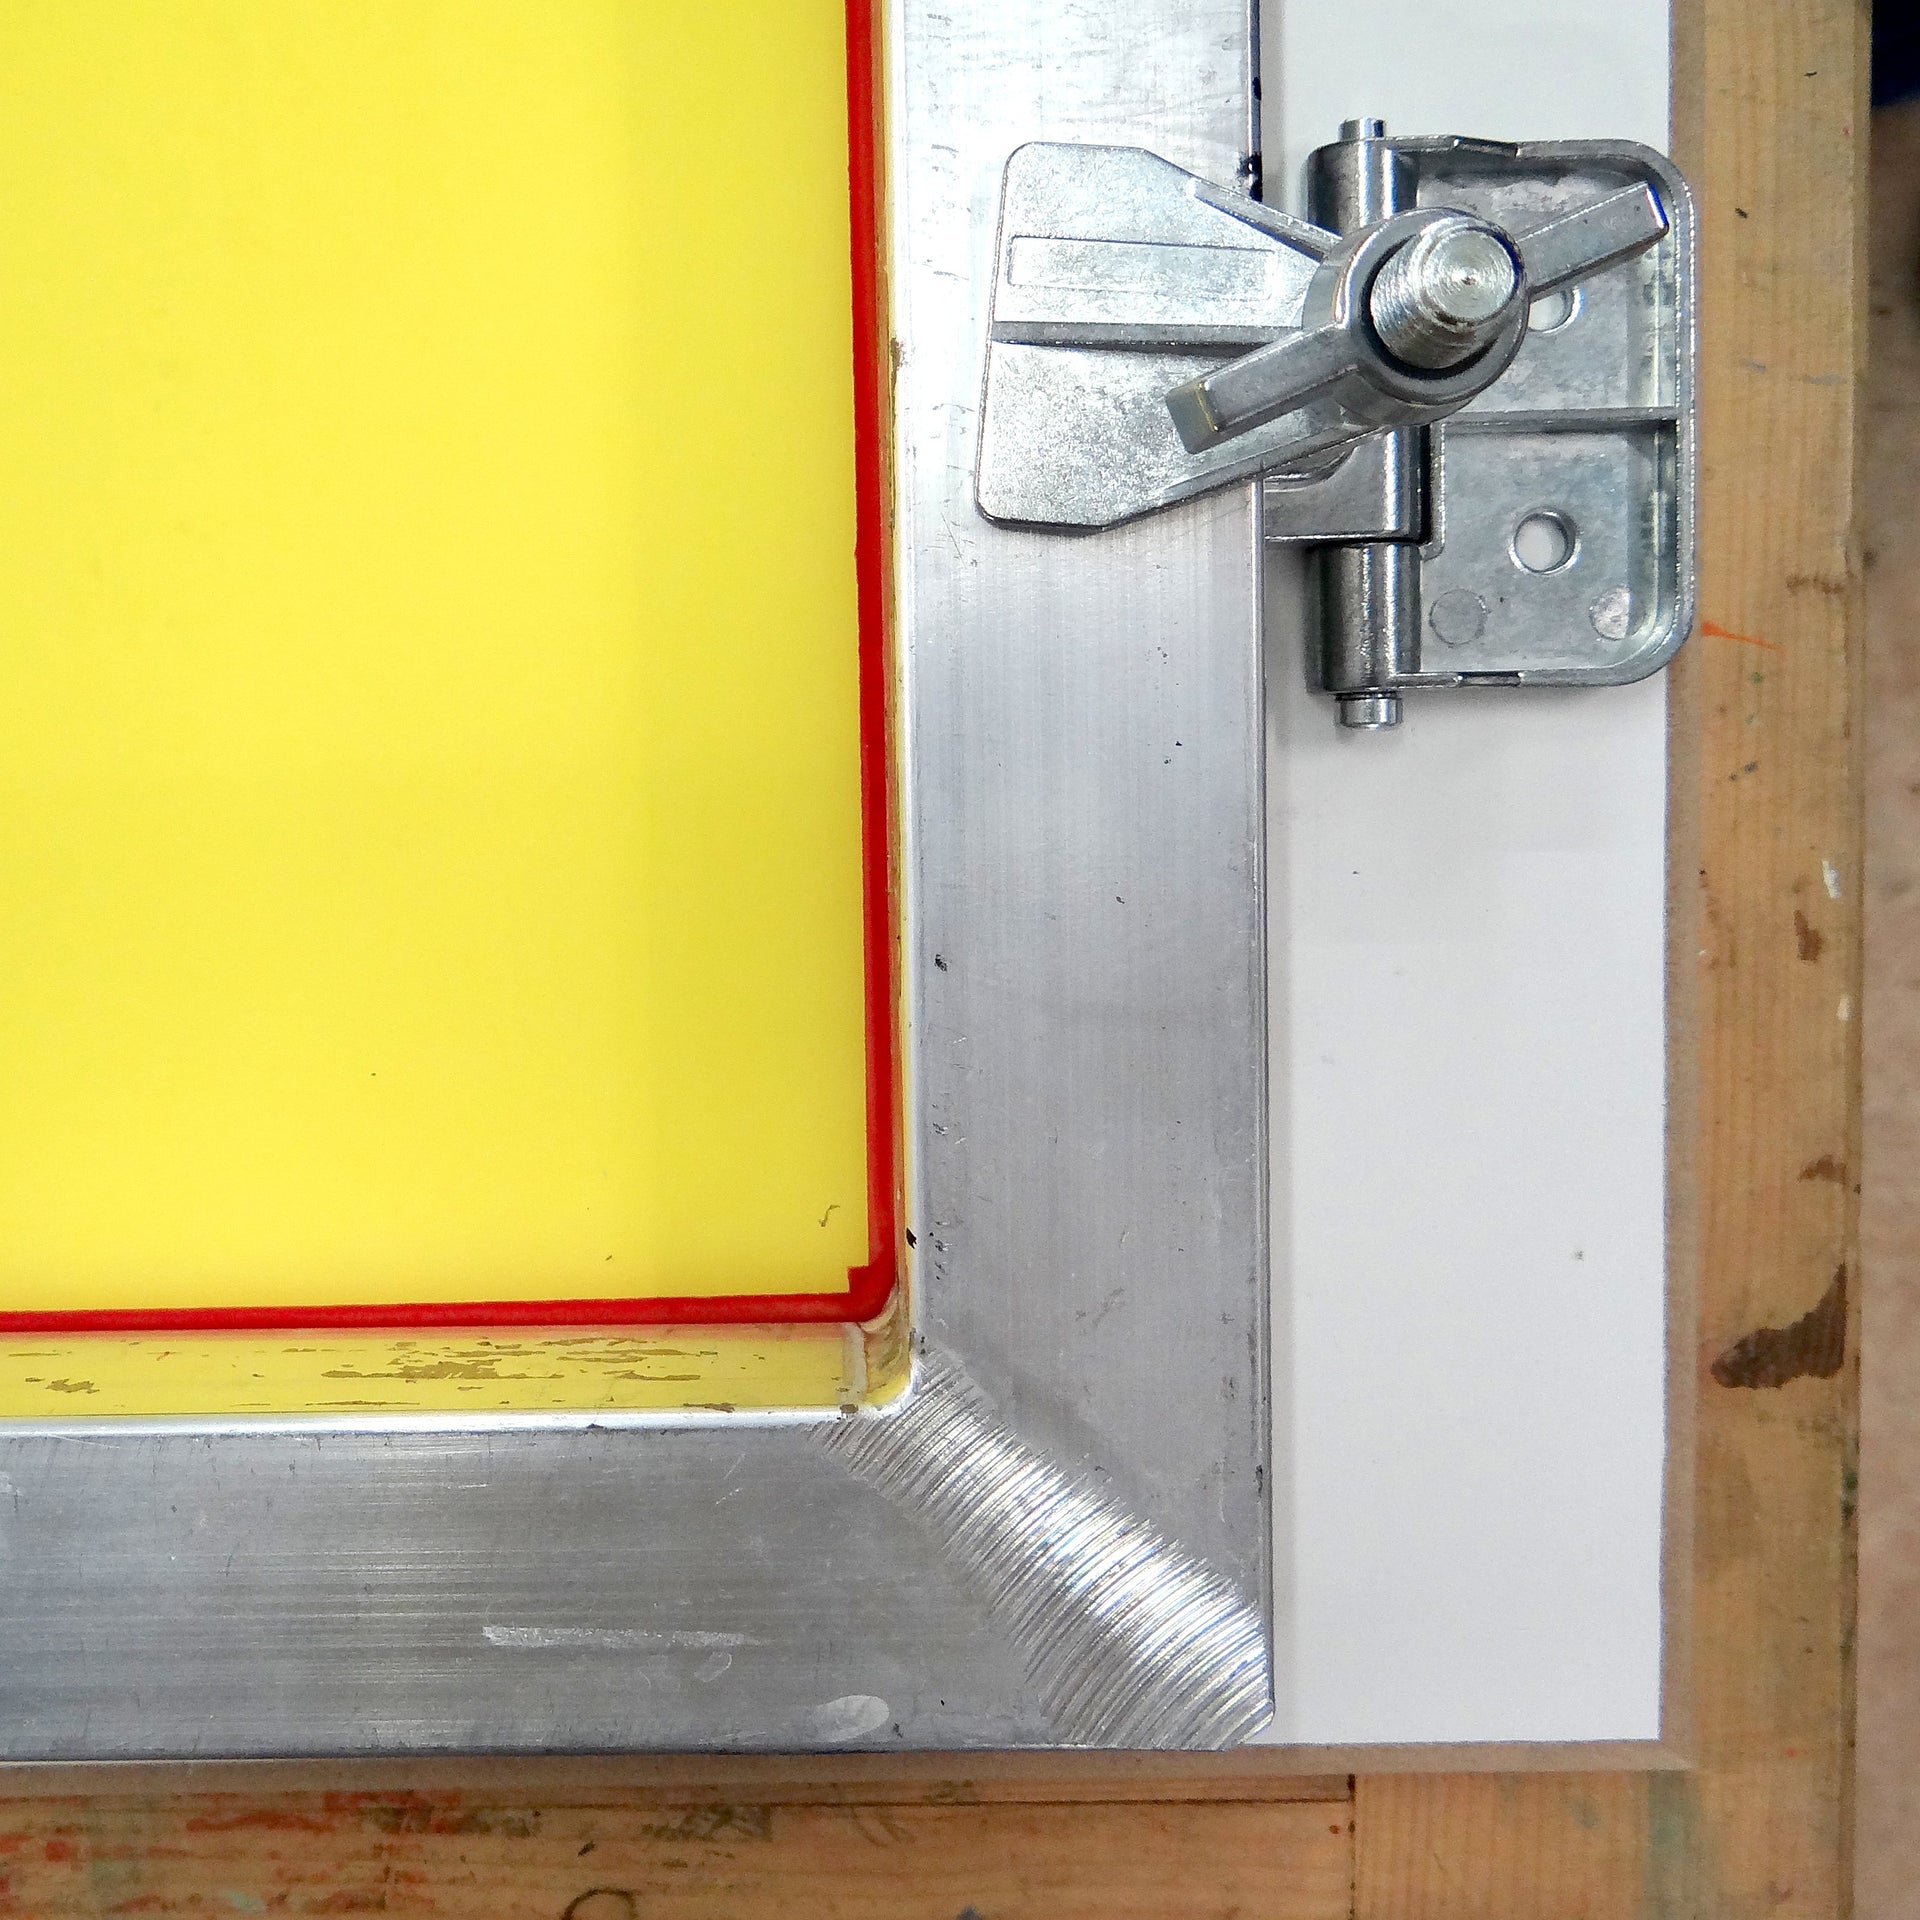 Using a hinged board to screen print onto paper is a game changer. It allows you to register layered prints and print in identical editions. Here’s how we made our latest batch of A2 hinged boards in the studio: You will need a board at least the same width and slightly longer than your screen...
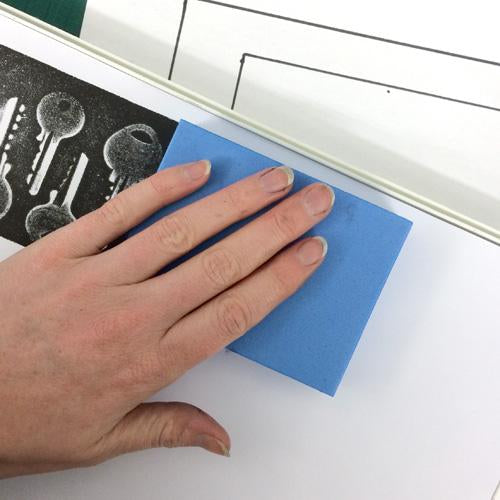 If you haven’t tried printing with magic Heat Stamps yet, this is your new project. It’s really quick to create a unique block that can be reused again and again to create different textures and patterns. All you need is a heat gun and a variety of objects and surfaces to create your stamps. Arrange a …
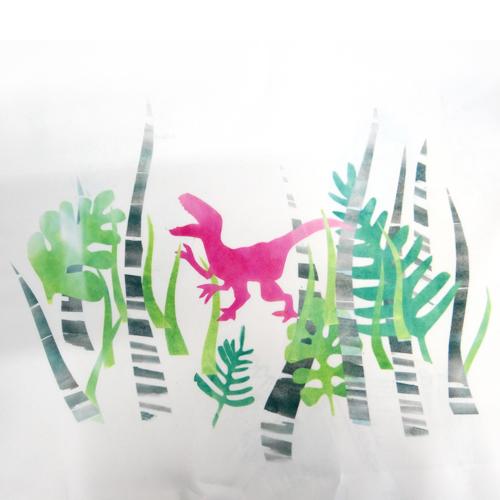 Transfer printing is a quick and playful printmaking method. The dyes require no fixative – only heat! They can be mixed up and left in a covered pot to use another day – they should keep indefinitely. Pour 100ml of warm water into a pot. Sprinkle 1tsp transfer dye onto the water. Use colours straight …
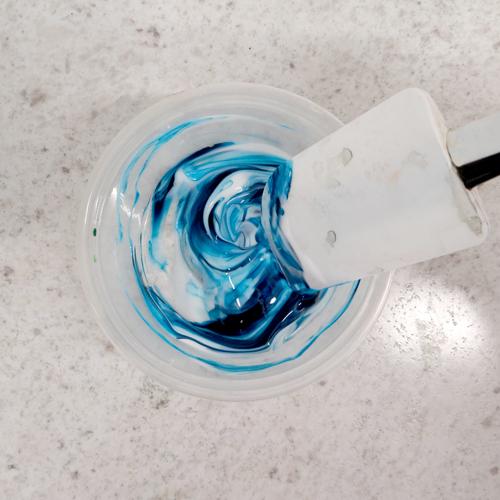 Making your own inks for screen printing onto fabric is an economical way to get a wide range of colours exactly to your specifications. The mixed inks will leave the fabric soft and washable. Here’s how to mix them: Start with Fabric Screen Printing Binder. This is a colourless screen printing medium and will form the … Continue reading "How to Mix Pigment and Binder to Screen Print onto Fabric"
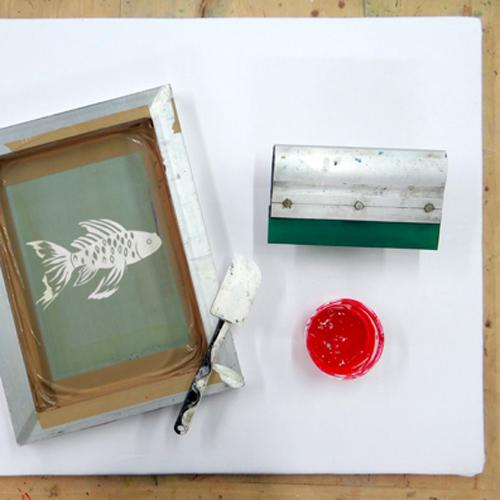 Having a fabric printing pad makes a huge difference when you’re printing at home or in the studio. When screen printing or block printing onto fabrics, it helps to have slight padding underneath your printing surface to ensure you get an even print. You can also pin out fabric to the pad. We use these …


